

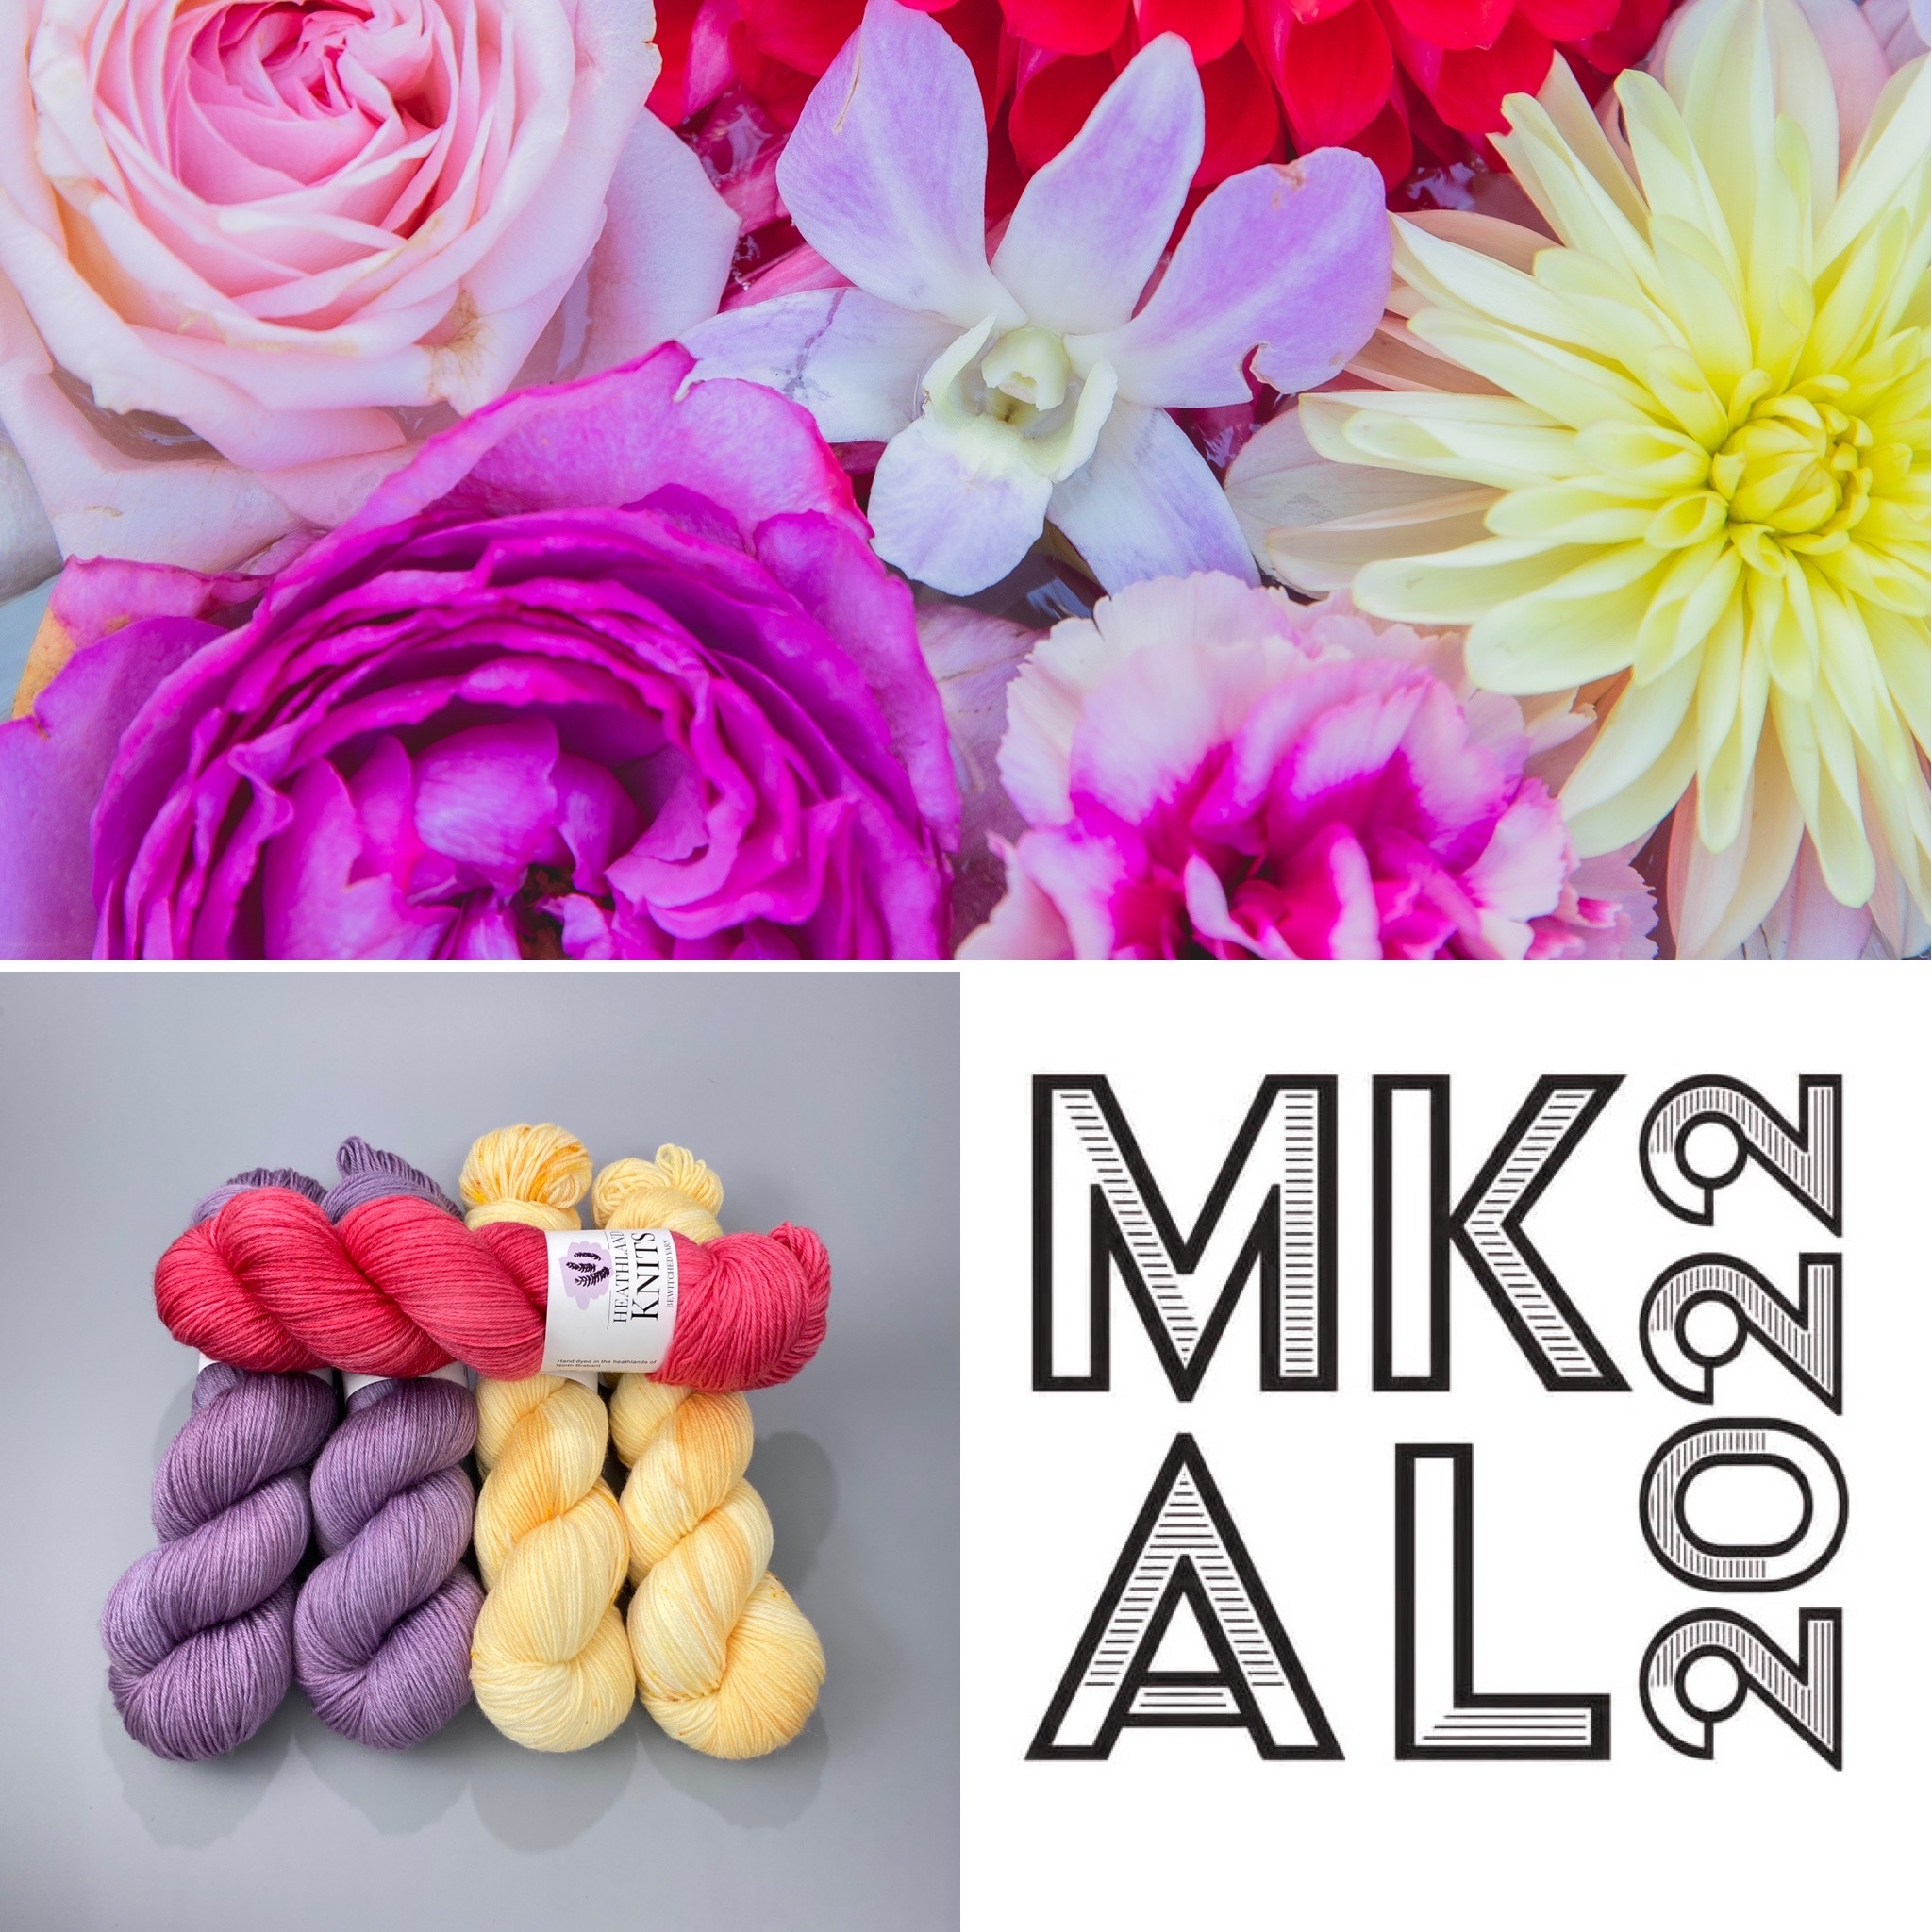
Westknits Mystery Knit A Long 2022
🇬🇧 For the 13th time, Stephen West of Westknits / Stephen & Penelope organized his autumnal Mystery Knit Along. This year is the third time I will participate. As last year, I will take it a bit slower. The sign-up is open since the 3rd of September ’22 and the first clue was published at the 6th October ’22. Stephen had an Instagram Live cast-on party, which can be still watched back in his account.
Pattern:
This year’s pattern for the MKAL is called “Twists and Turns”;
Designer is Stephen West;
The pattern is available on Ravelry.
Yarn:
The required yarn for this shawl is
- 2 skeins of a main color (MC),
- 2 skeins of a contrast color (CC), and
- 1 skein of an accent color (AC) in fingering weight.
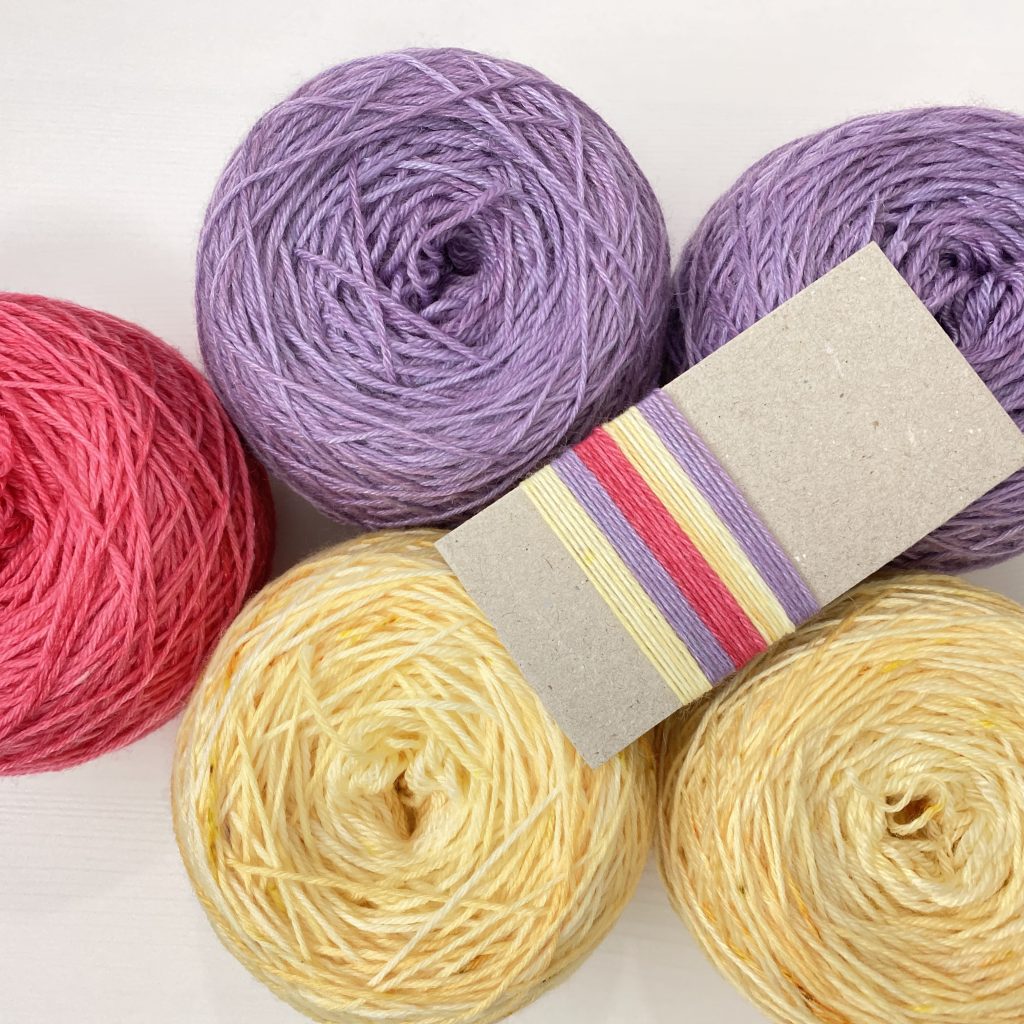
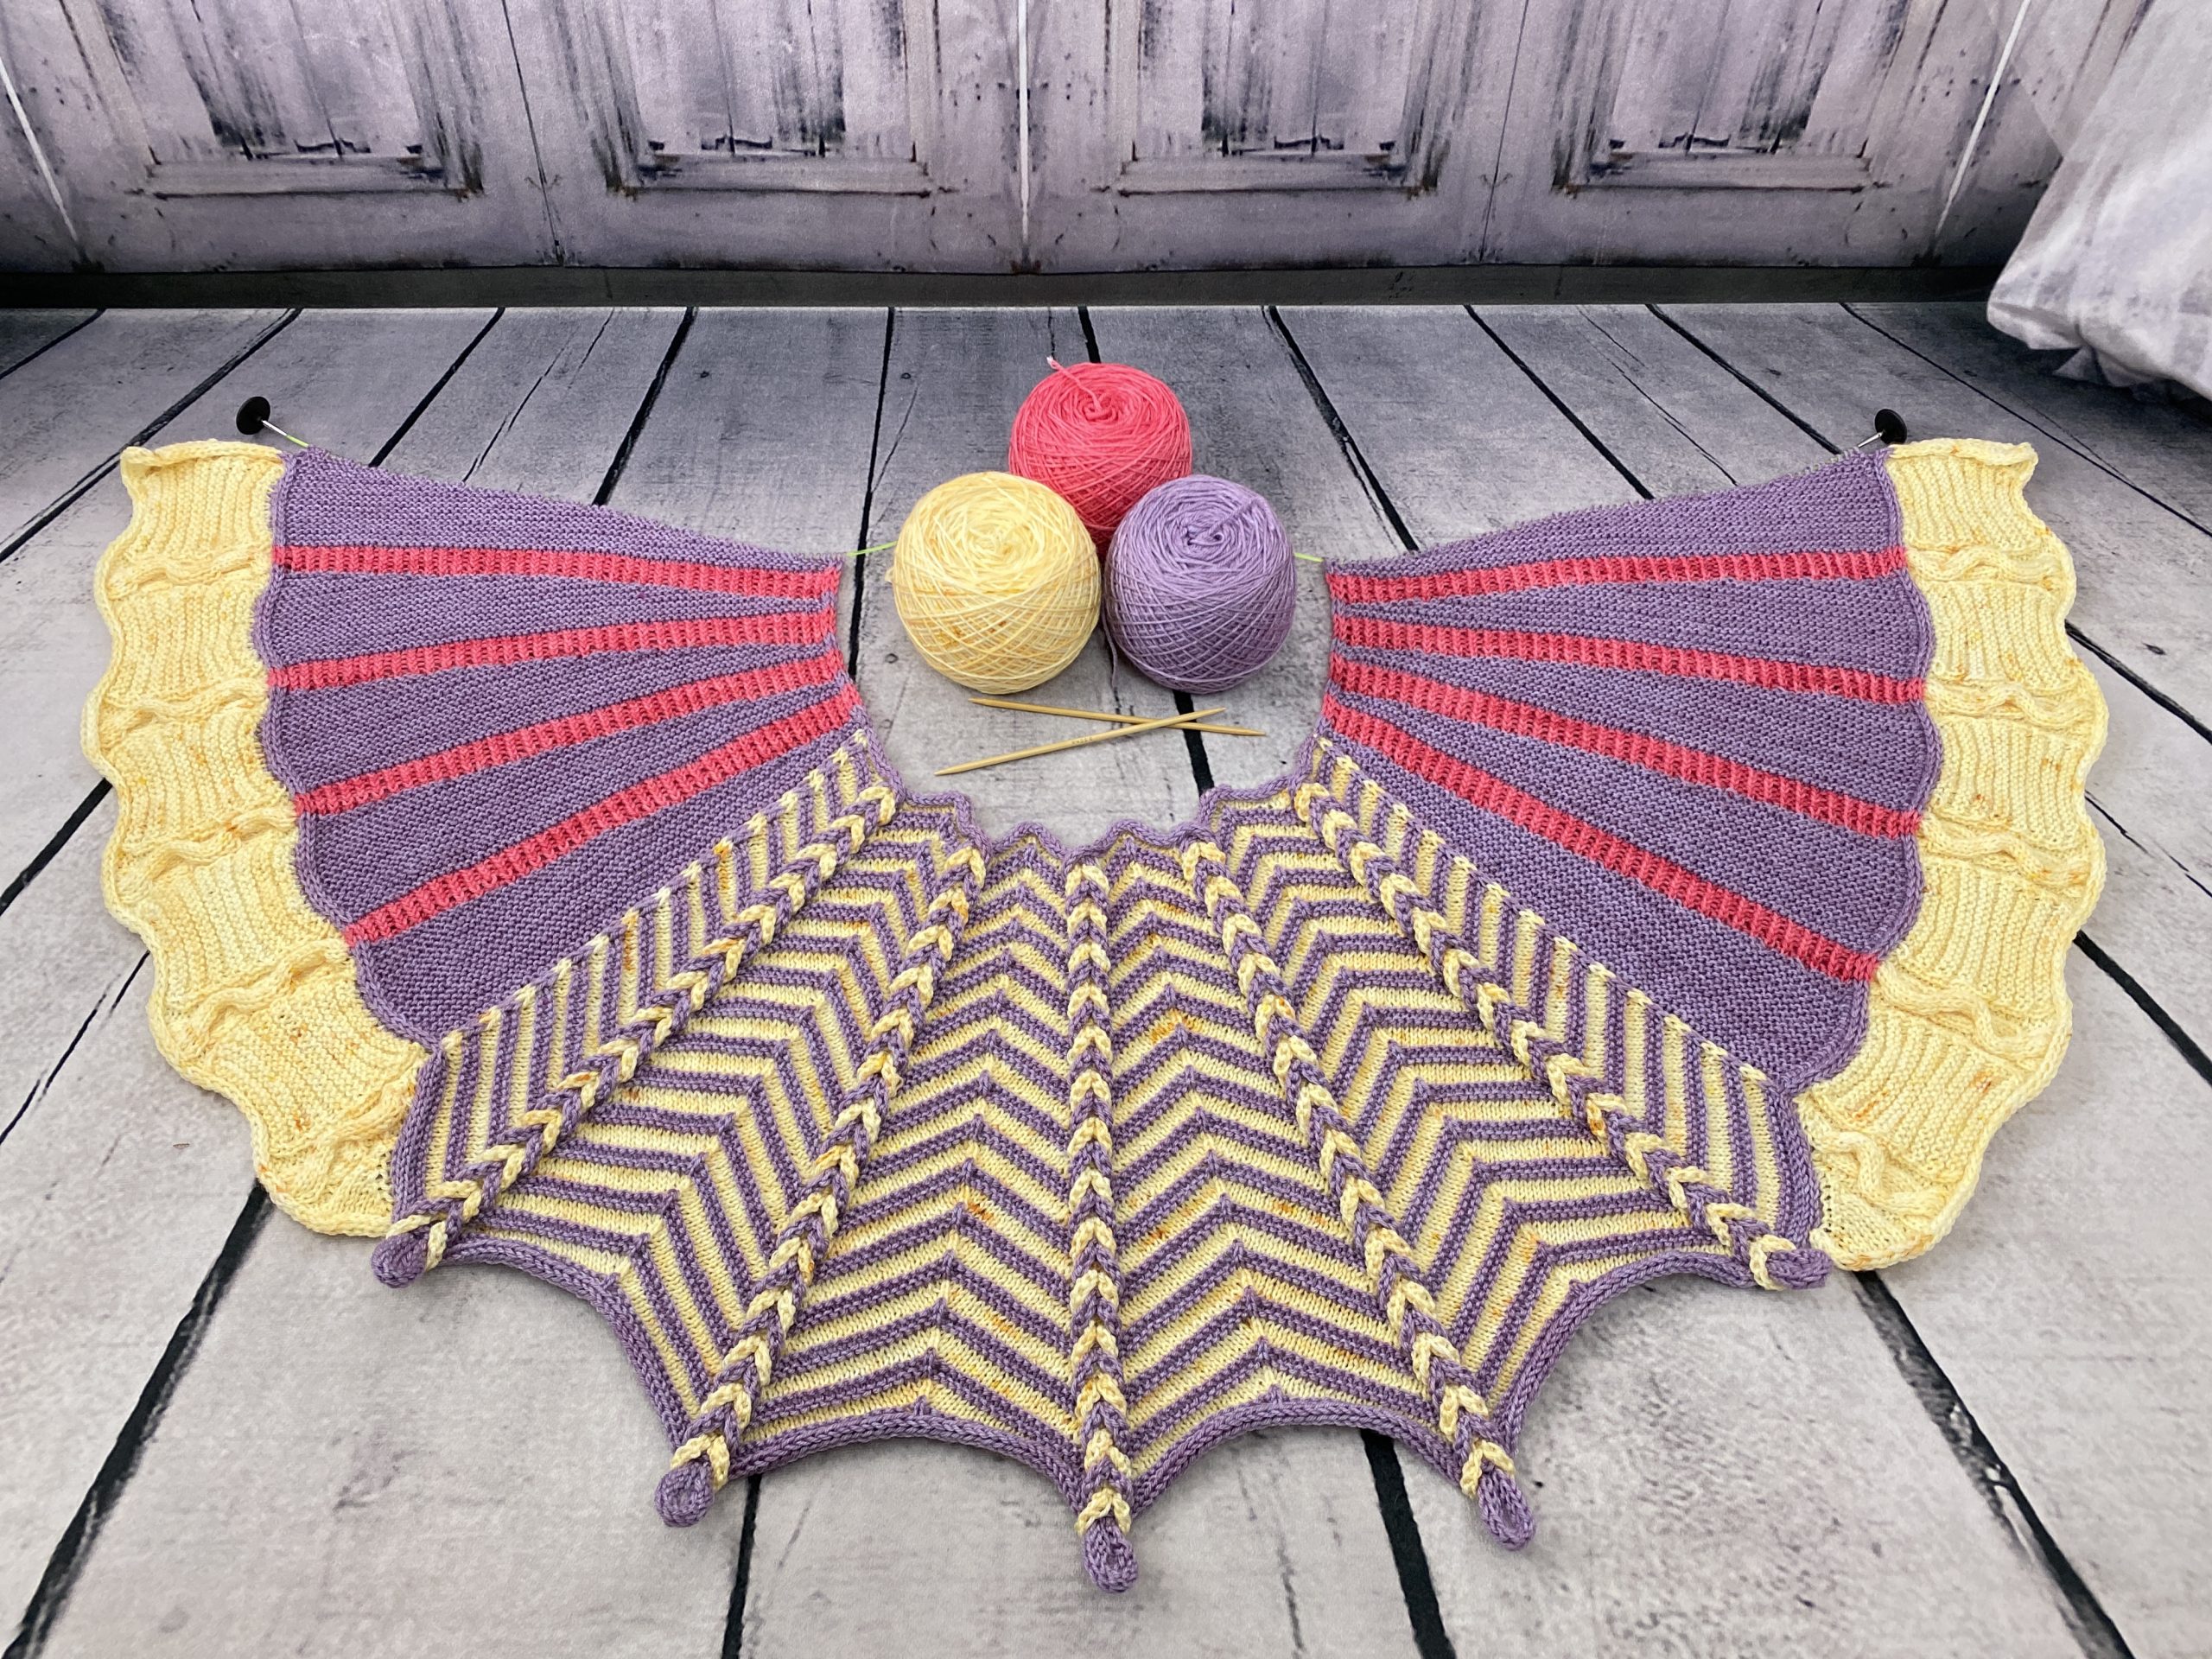
I put together some sets with the Rooted Merino yarn base. I decided to go bold this year and will knit with a set from purple as MC, yellow as CC, and bright pink for the AC. More sets will be available in my Etsy shop from Monday, 5th September on.
Info:
FAQ about the MKAL can be found either at Stephen and Penelope or at Westknits.
Videos by Westknits
Twists and Turns Kit Reveal
Clue dates: 6. / 13. / 20. / 27. October 2022
Report:
After my fist MKAL was such a race that I got completely stressed out, I decided last year to knit along in a slower pace not minding if I manage to knit one clue before the next one is published. What a difference! I could enjoy the whole KAL much more! Of course, it was hard again to resist all the craziness at Ravelry and on Instagram. A lot of beautiful yarn kits are showing up, which made me doubt my own choice, continuously.
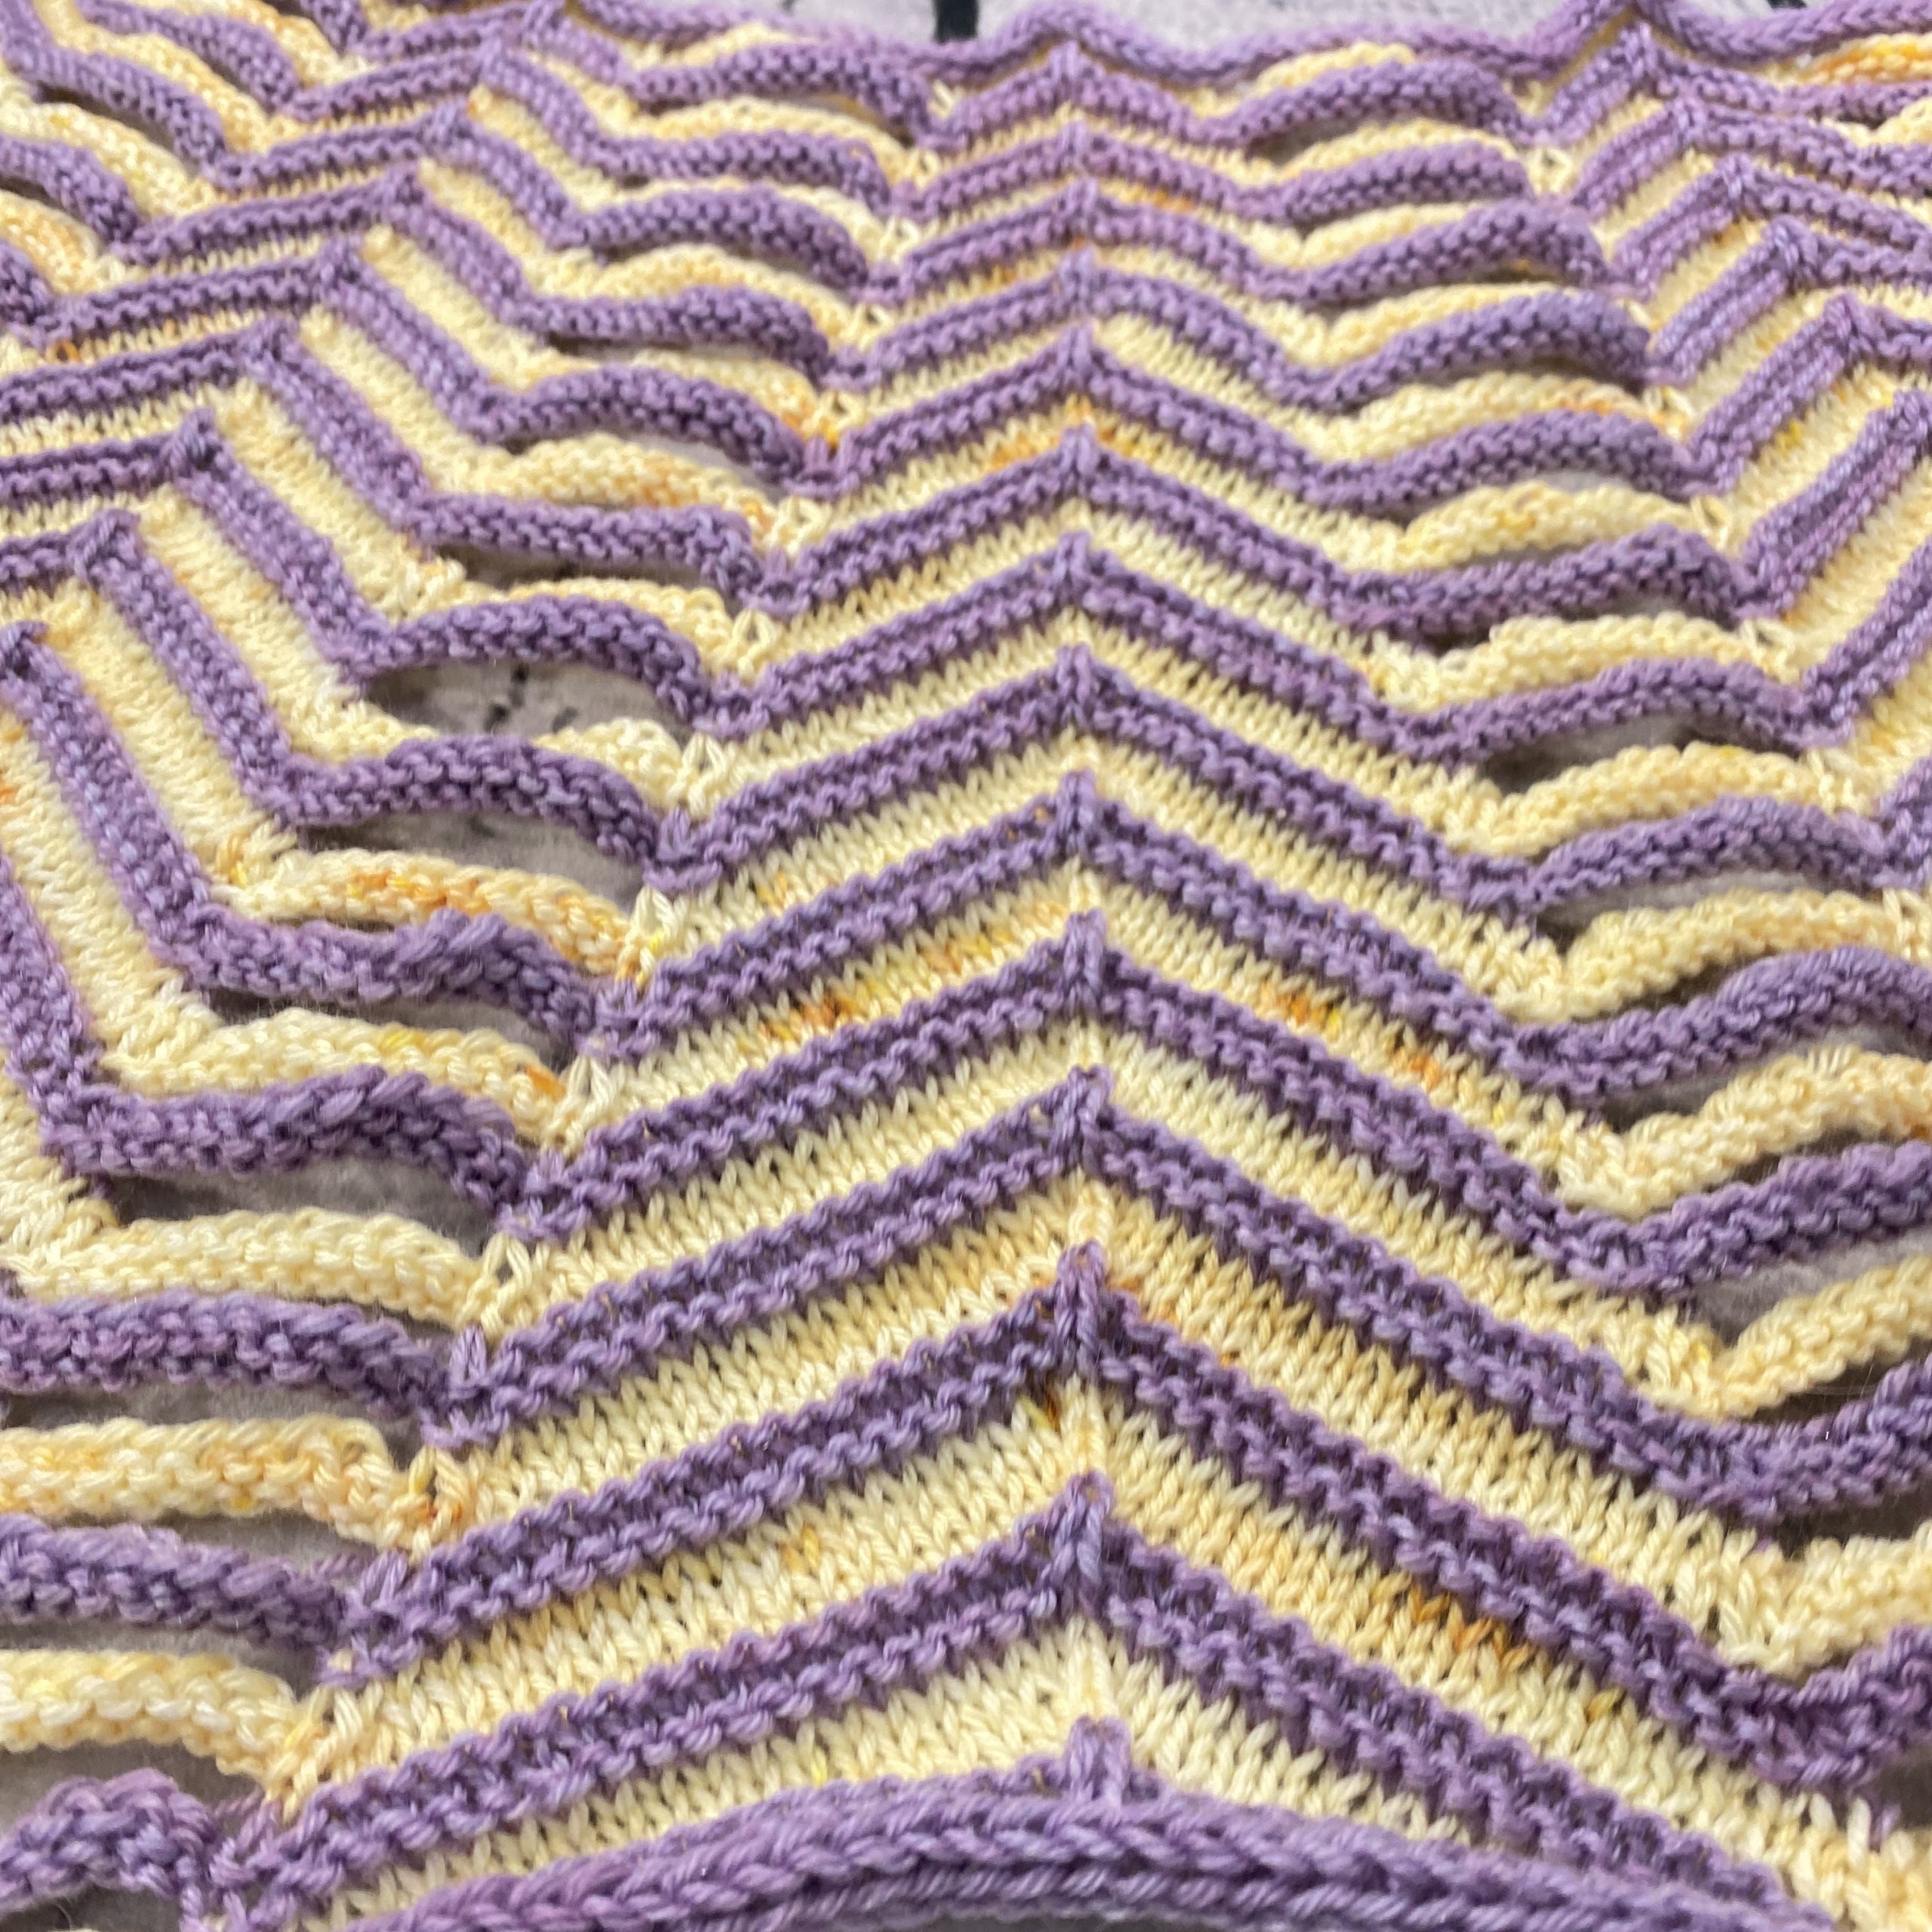
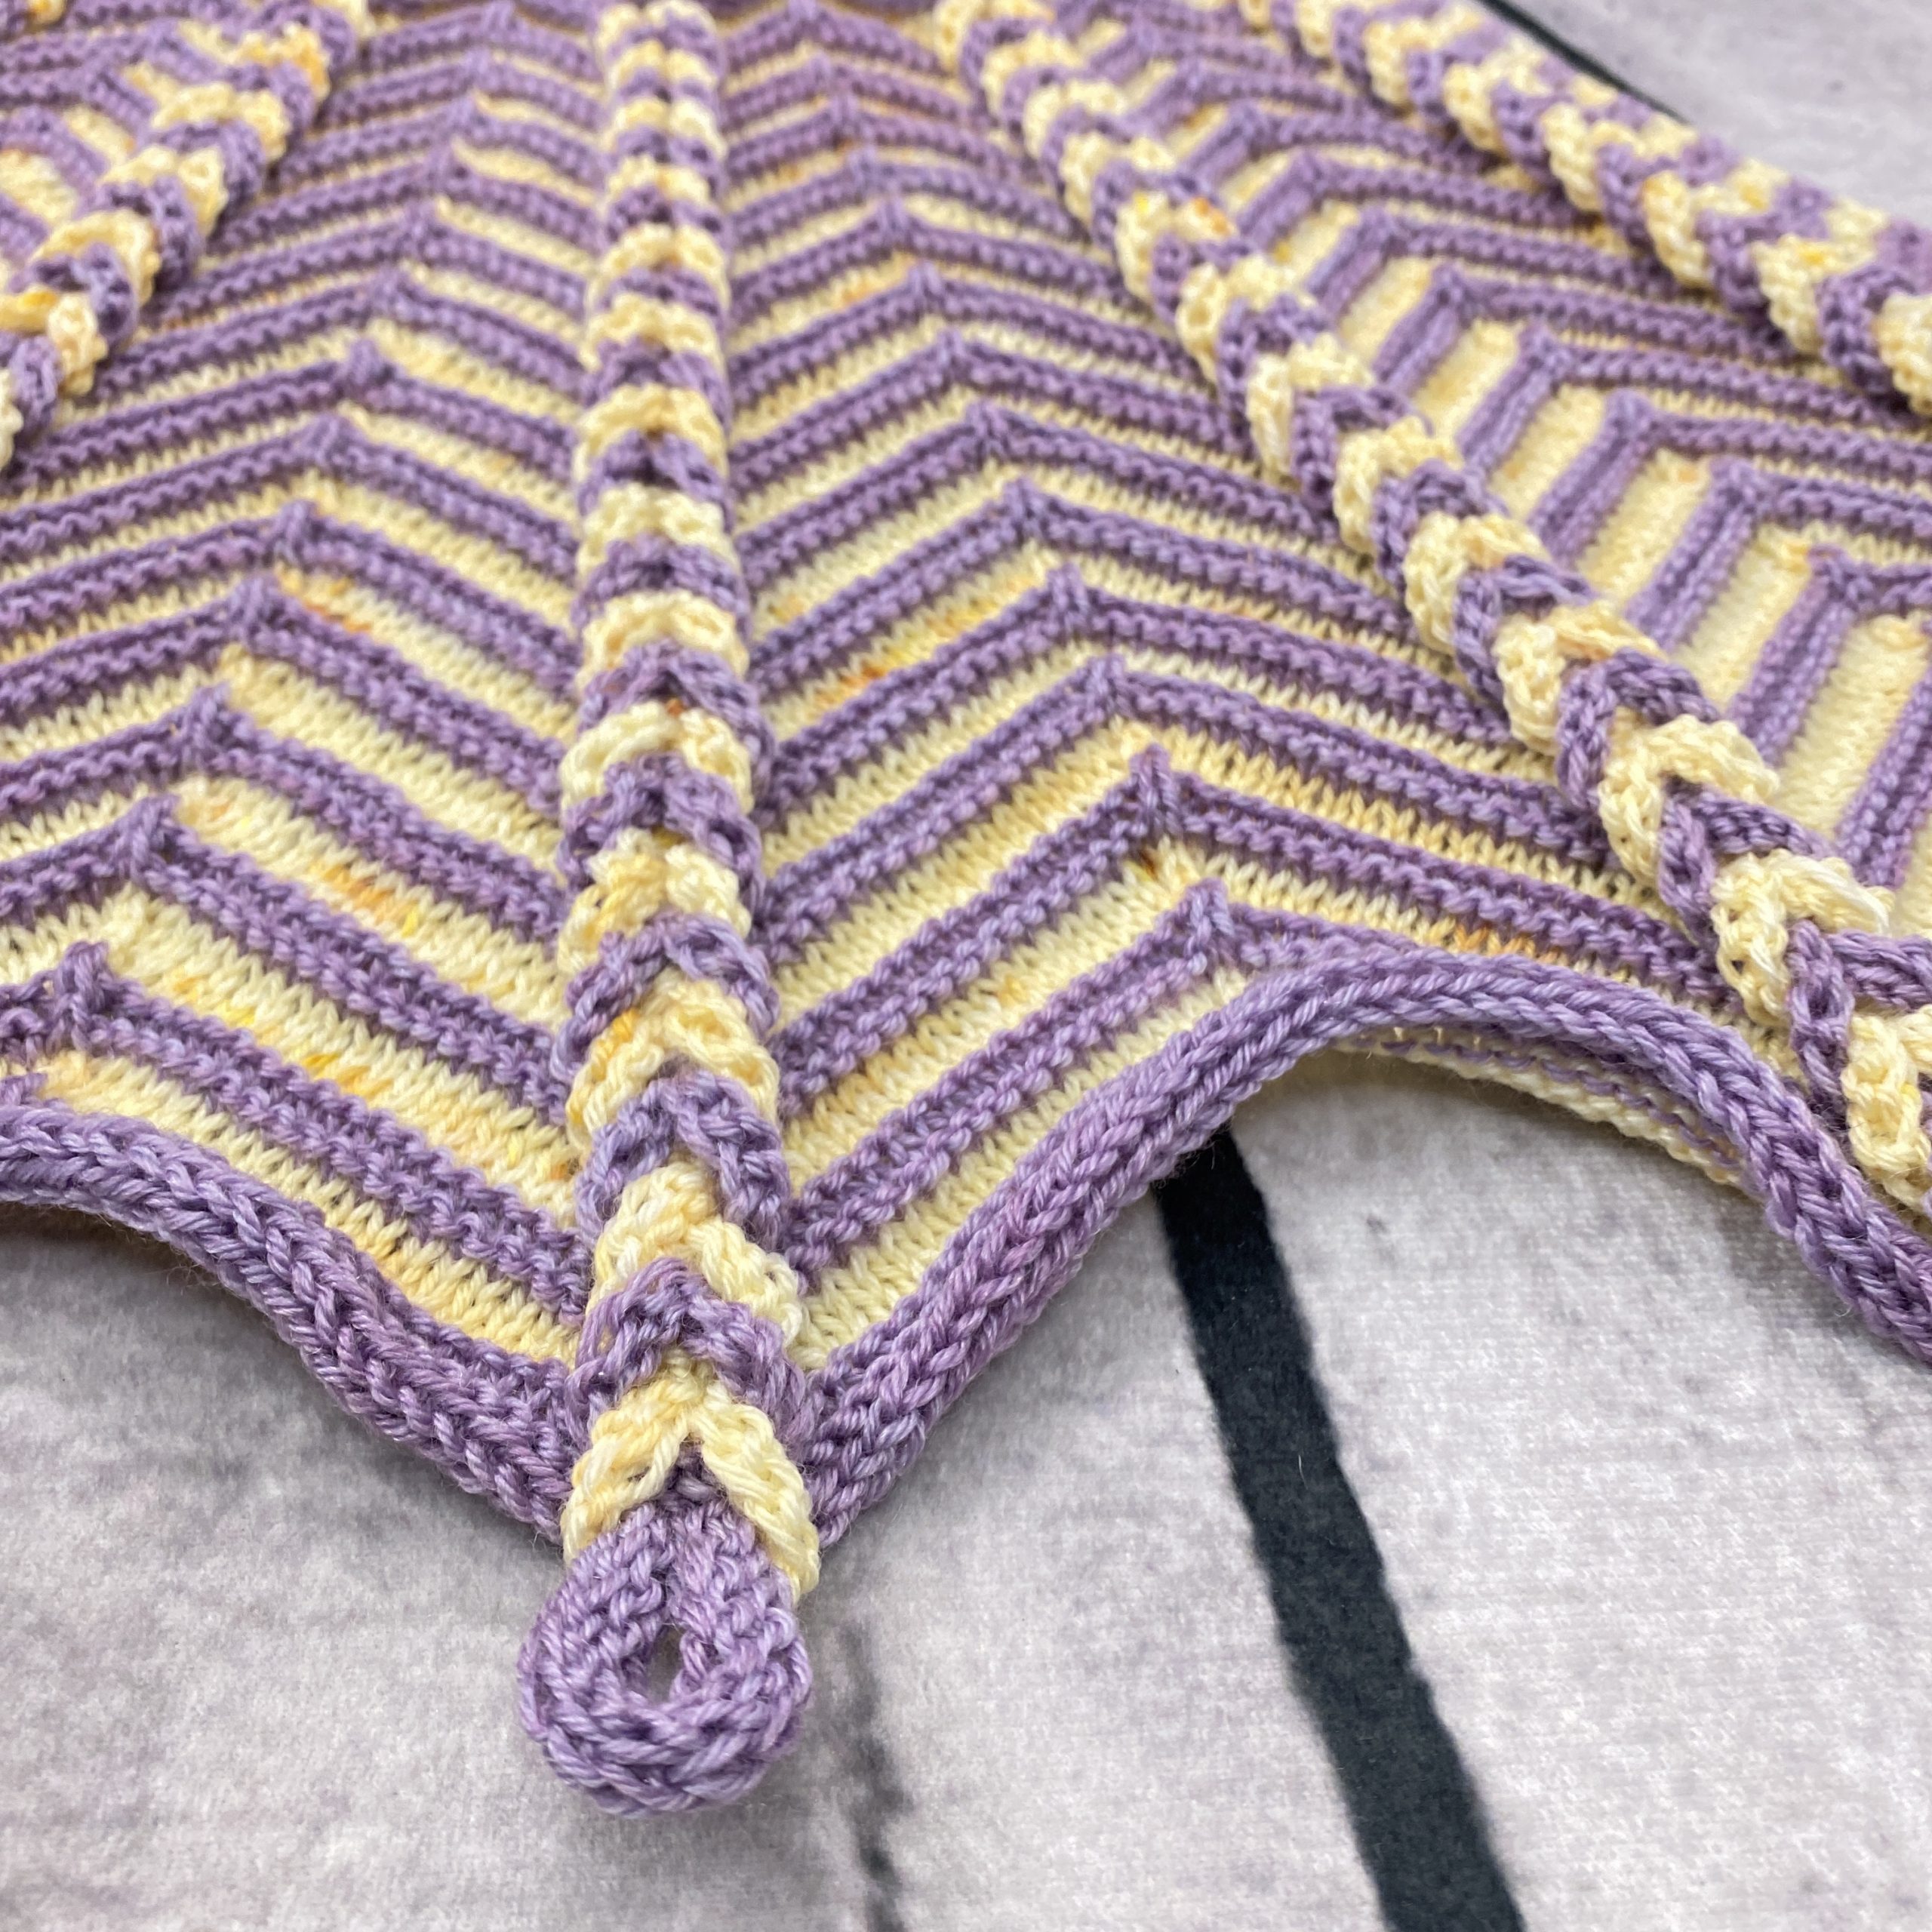
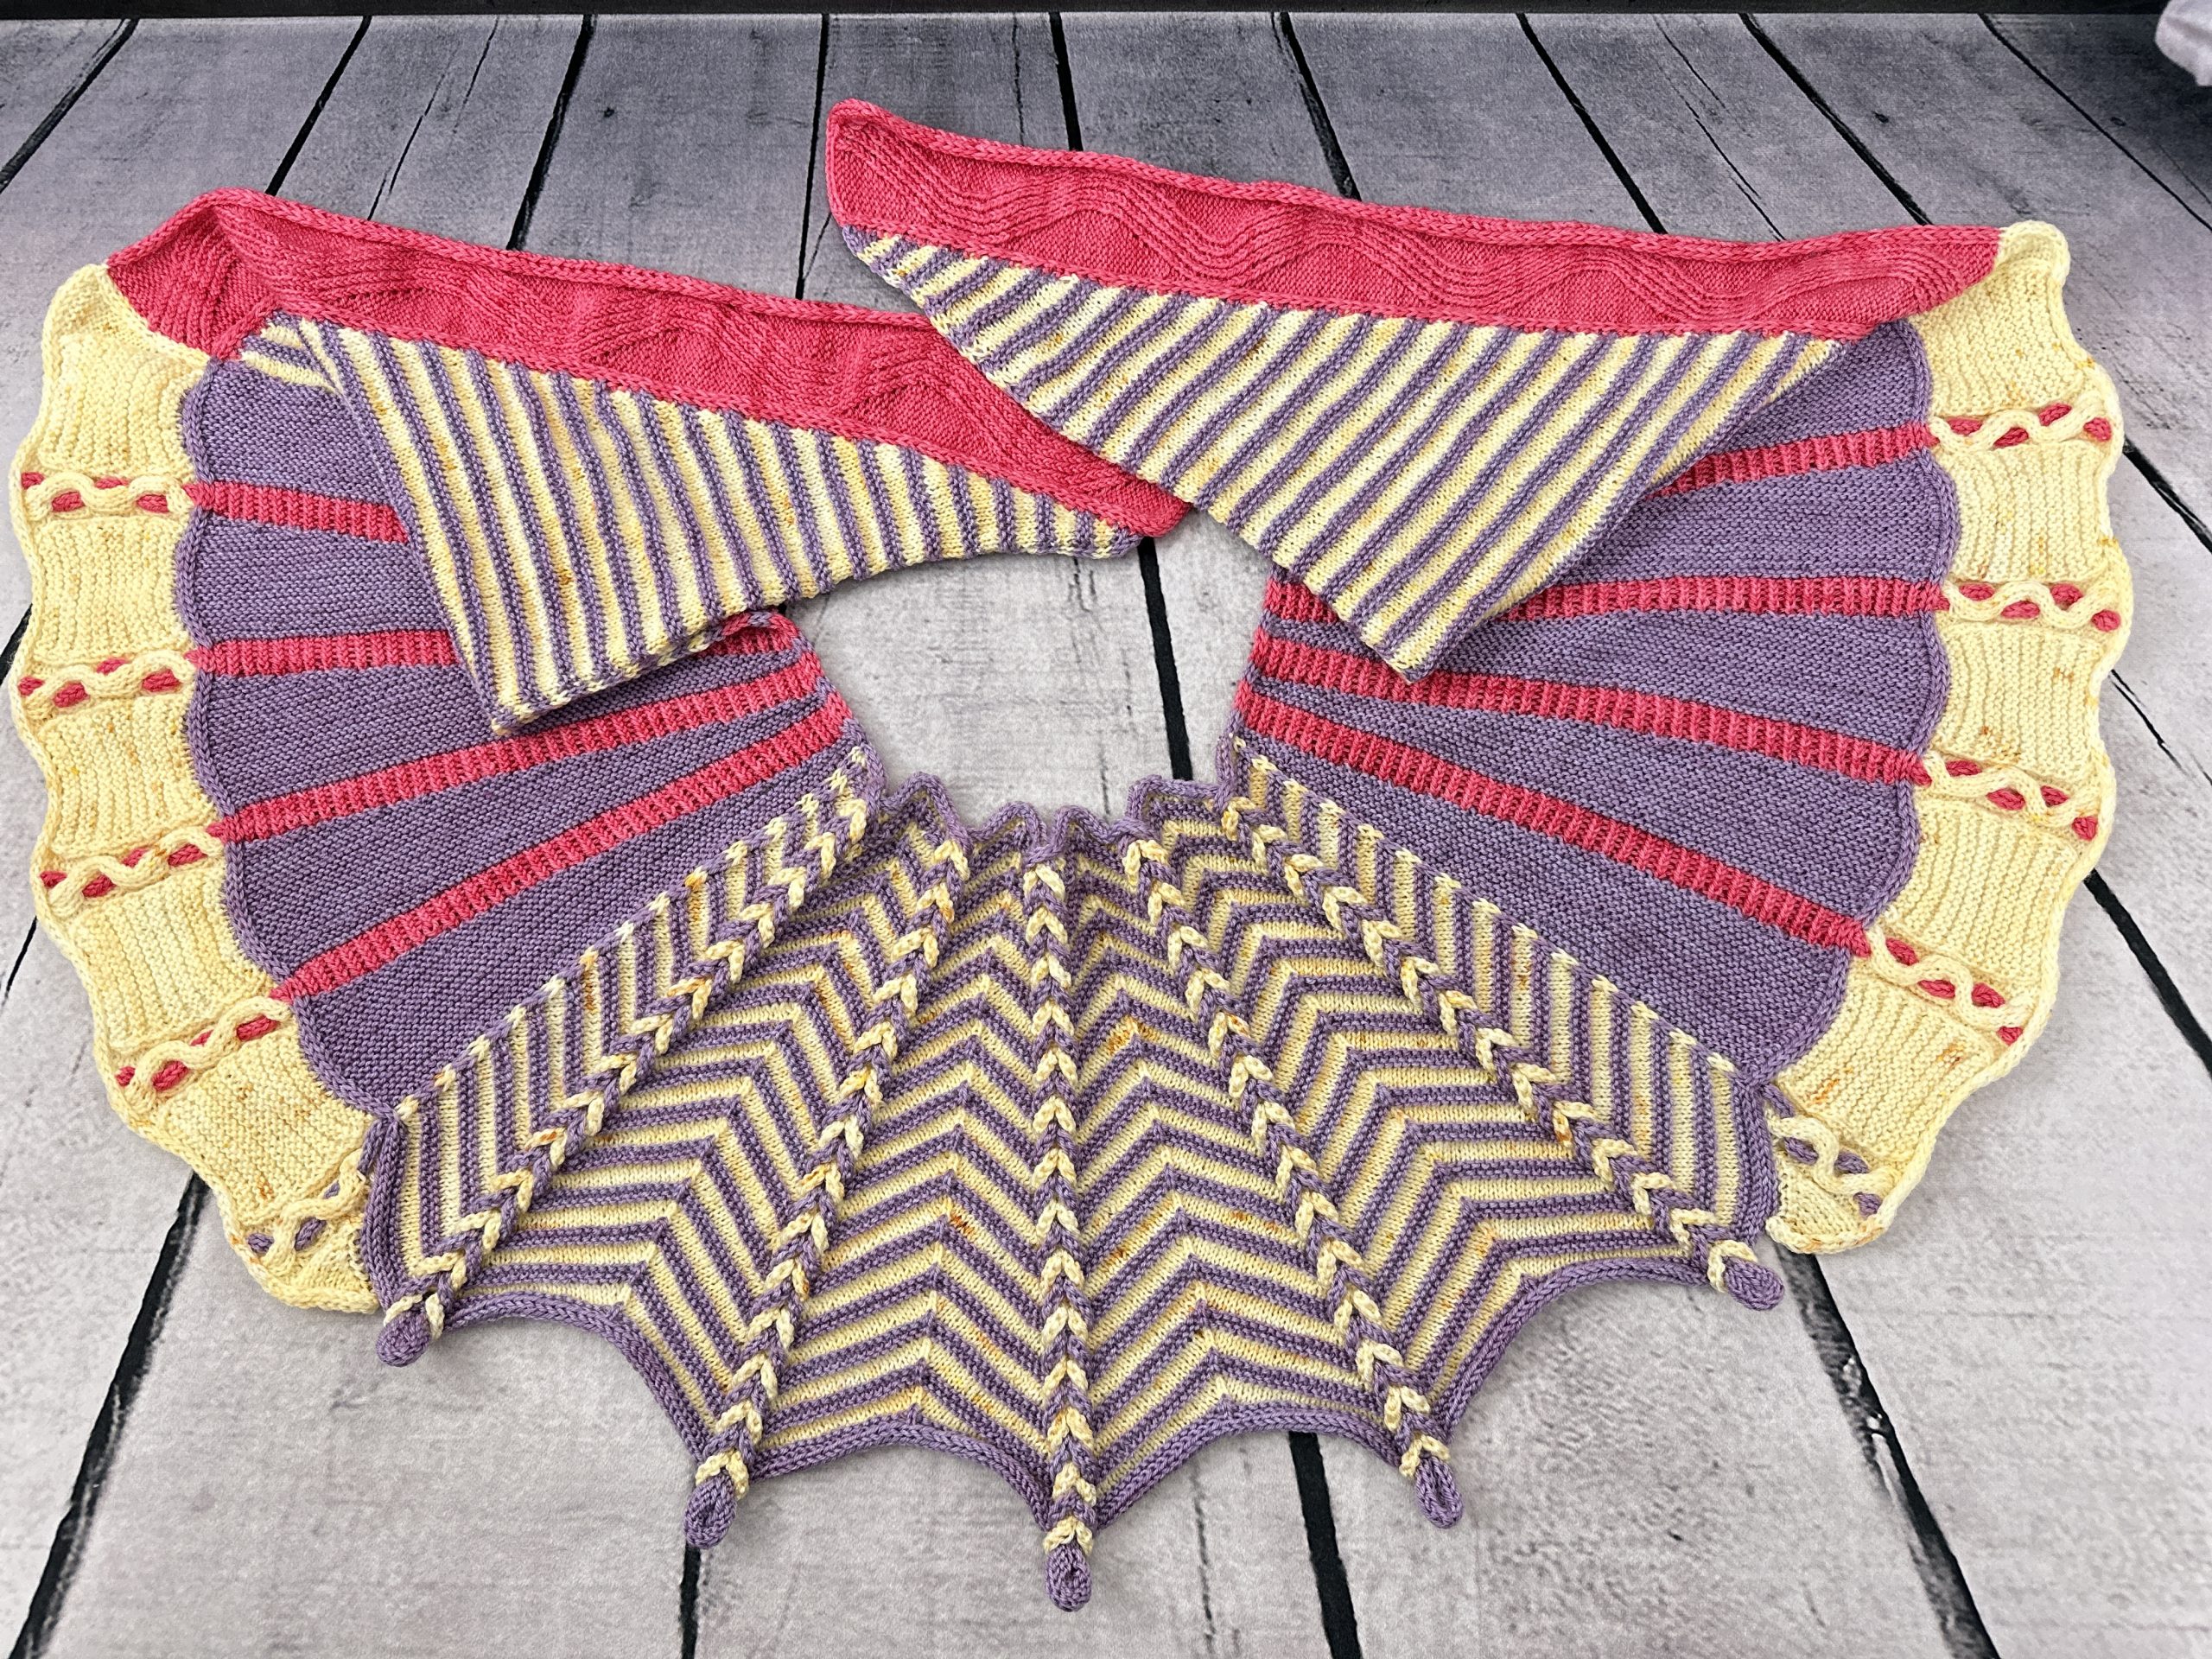
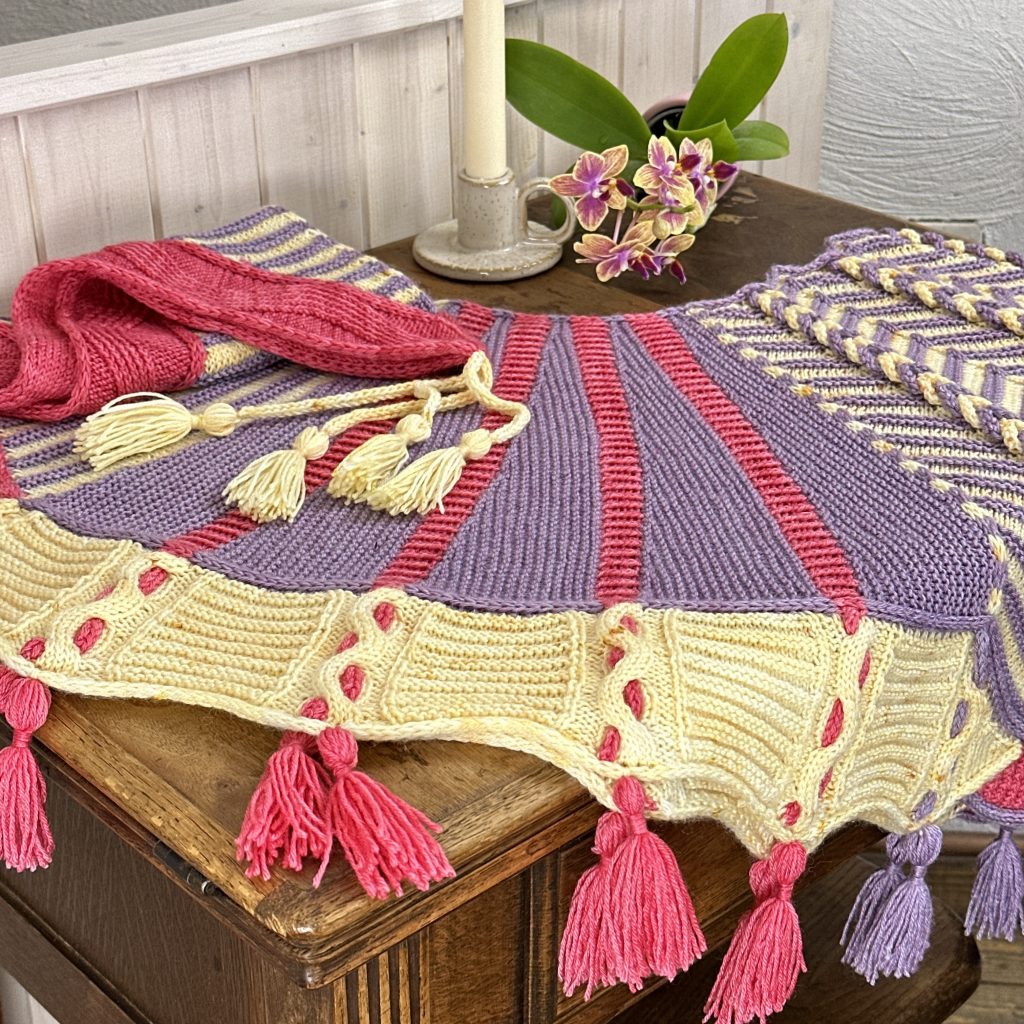
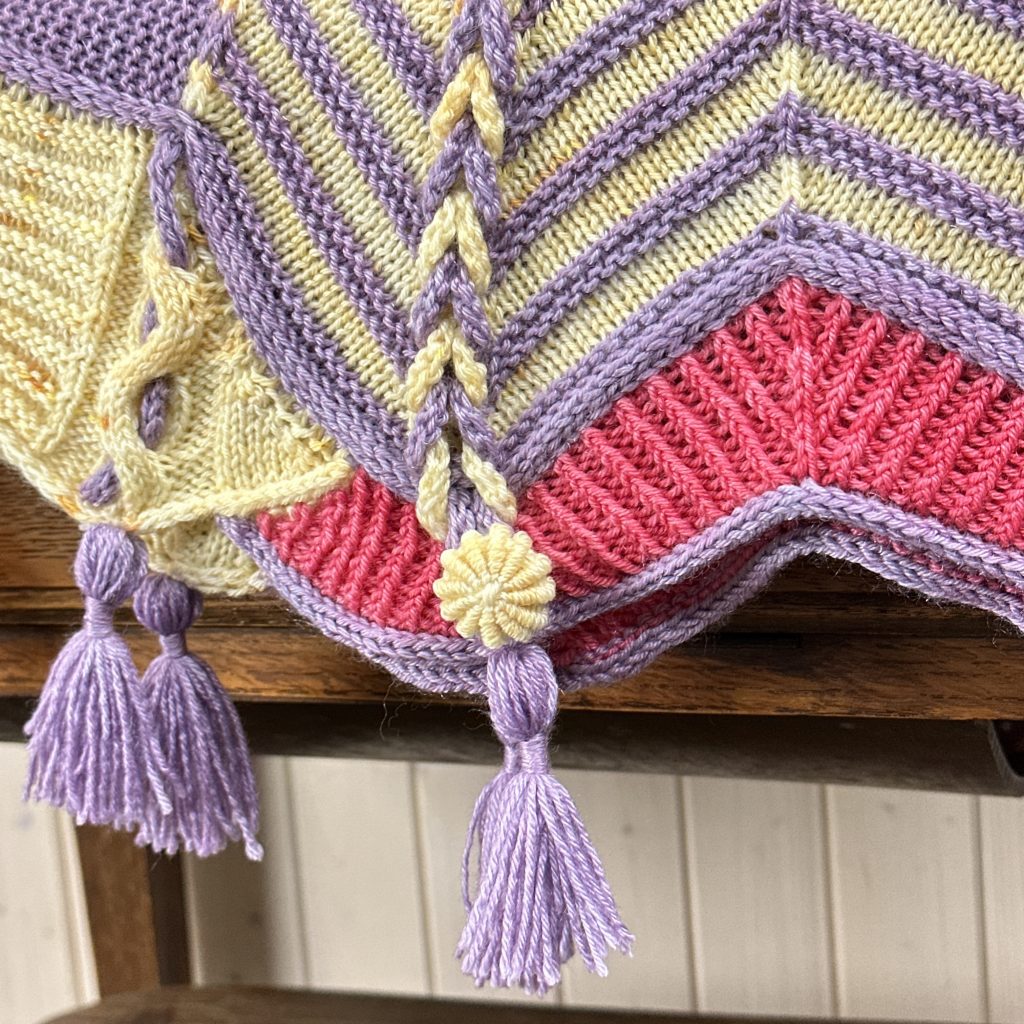
6th October: The first clue is out! I caked my yarn in time and started immediately to knit. Clue 1 is containing only one section, but it’s great! The section is starting with an i-cord edge and continuing in striped chevrons of MC and CC. The chevrons are keeping some large holes, that will at the end used for amazing braided loops. It’s difficult to describe. Just see the pictures.
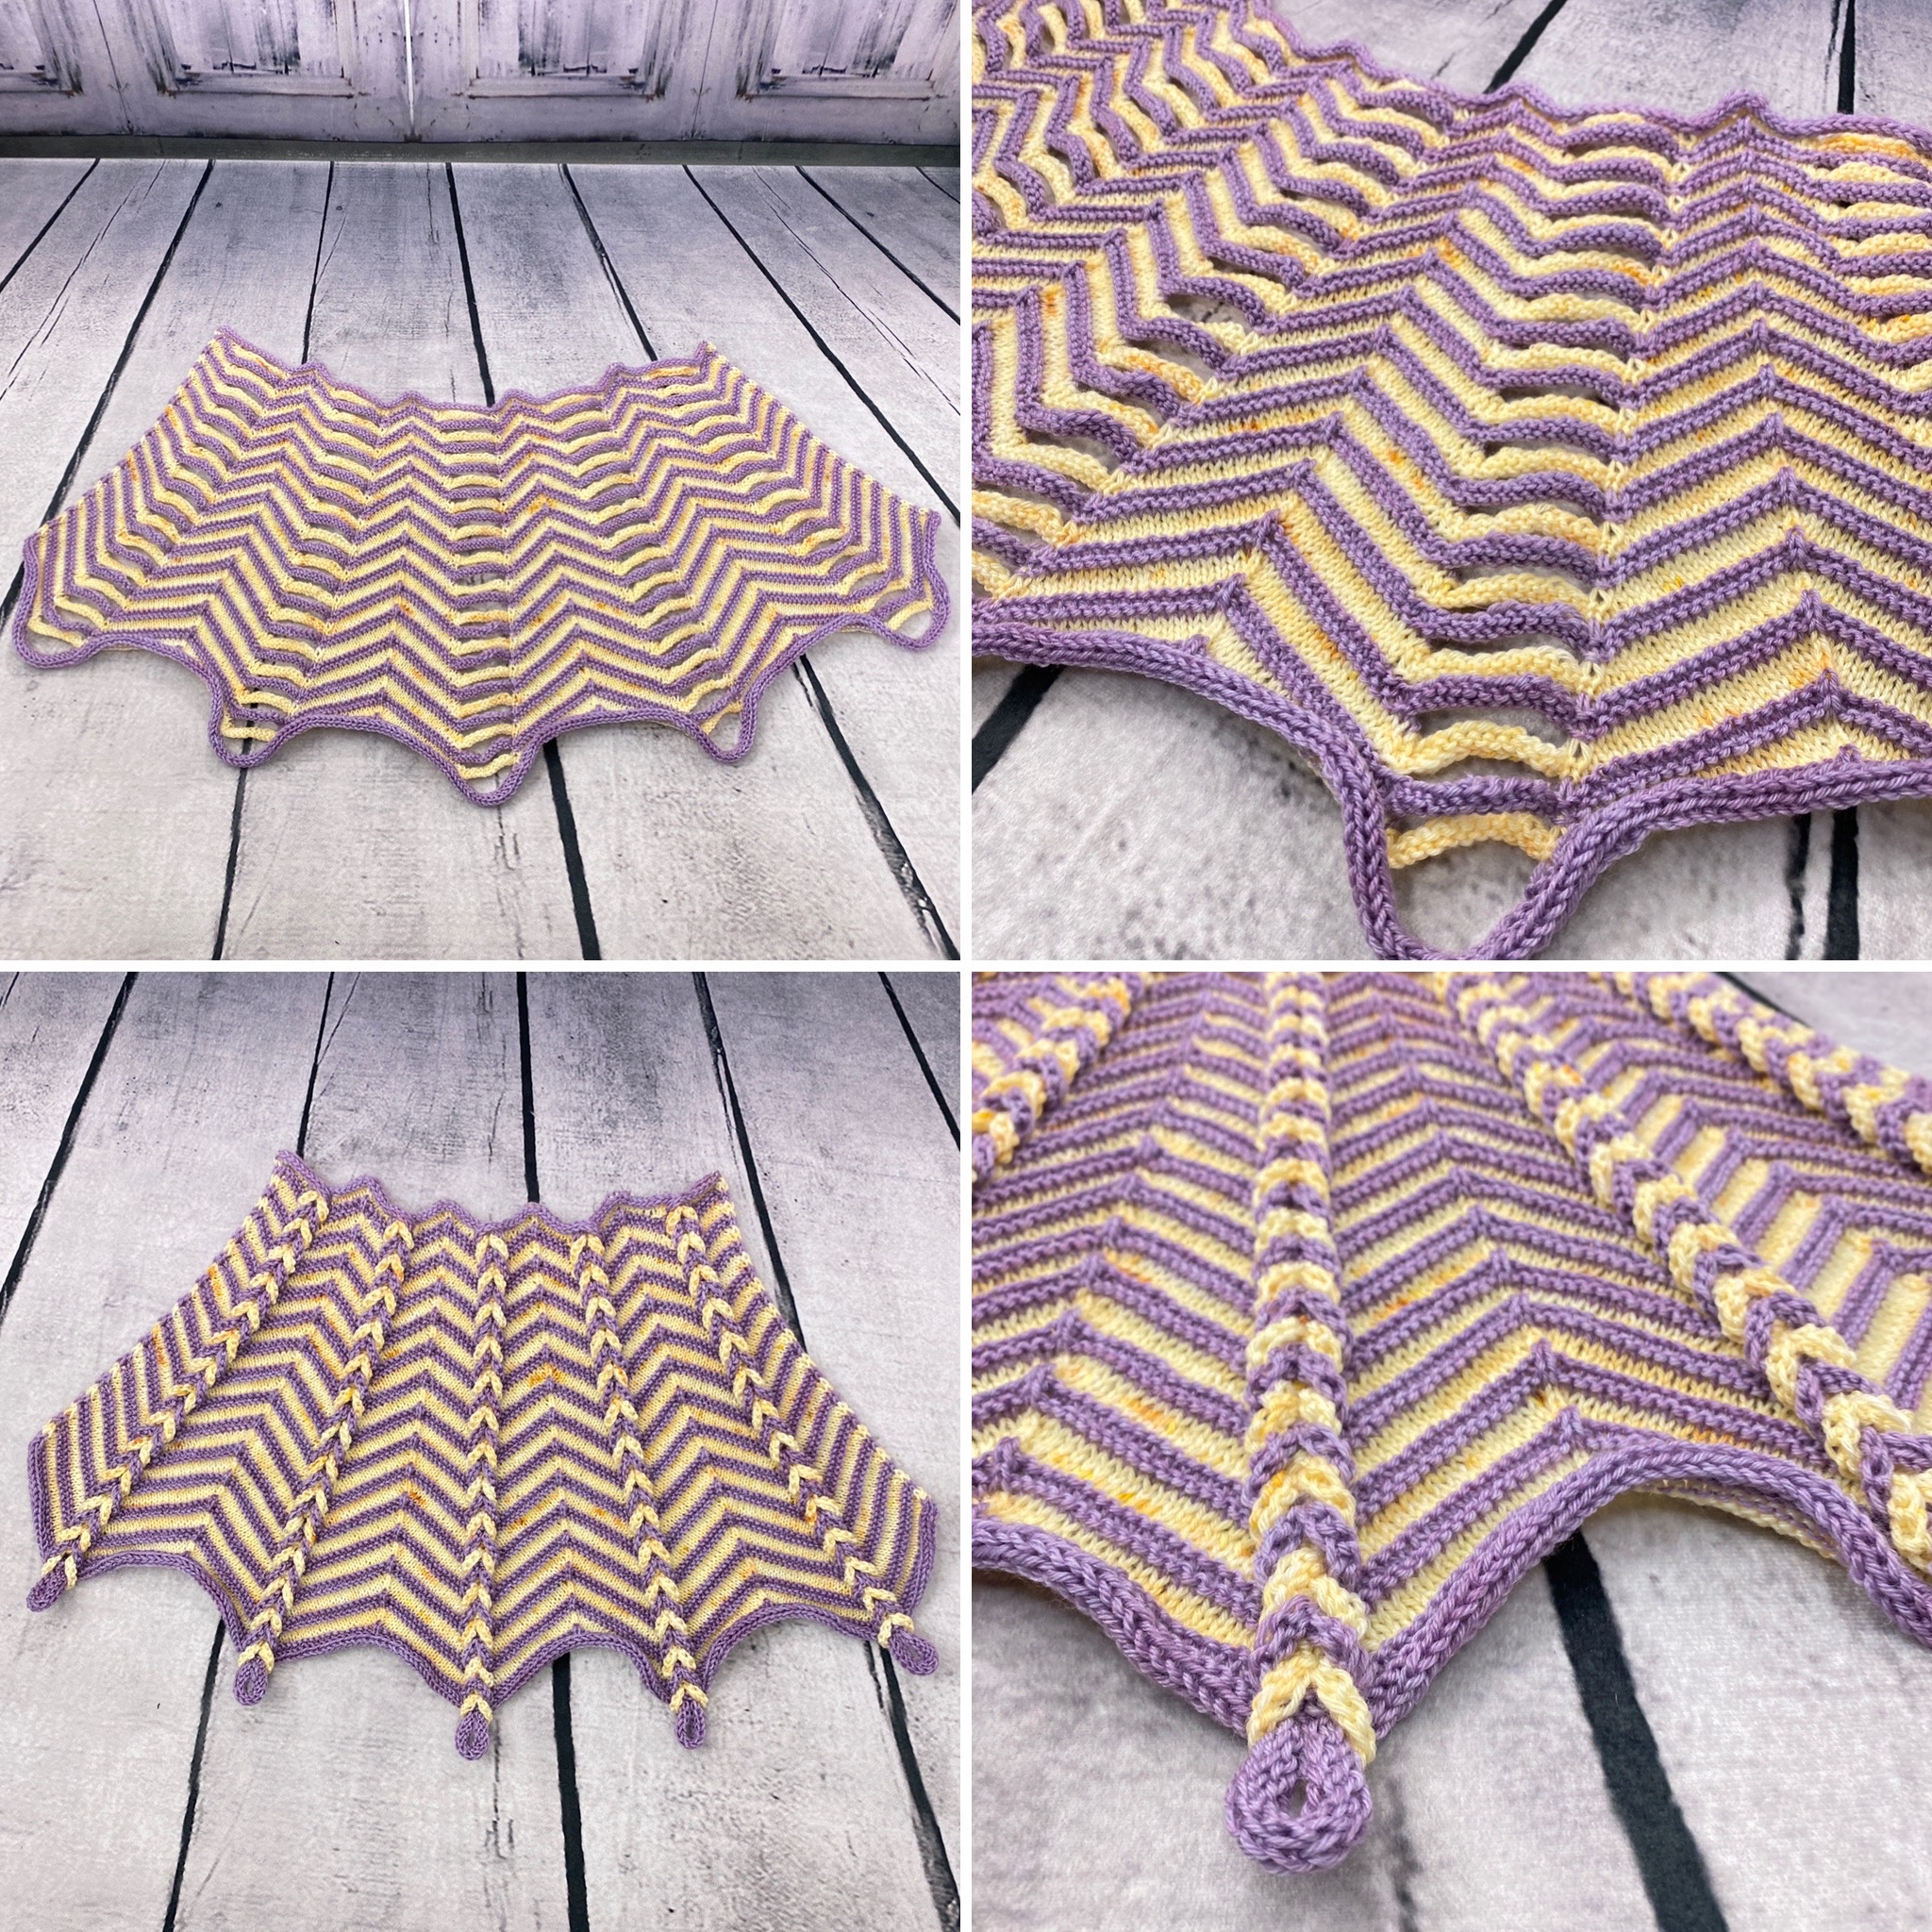

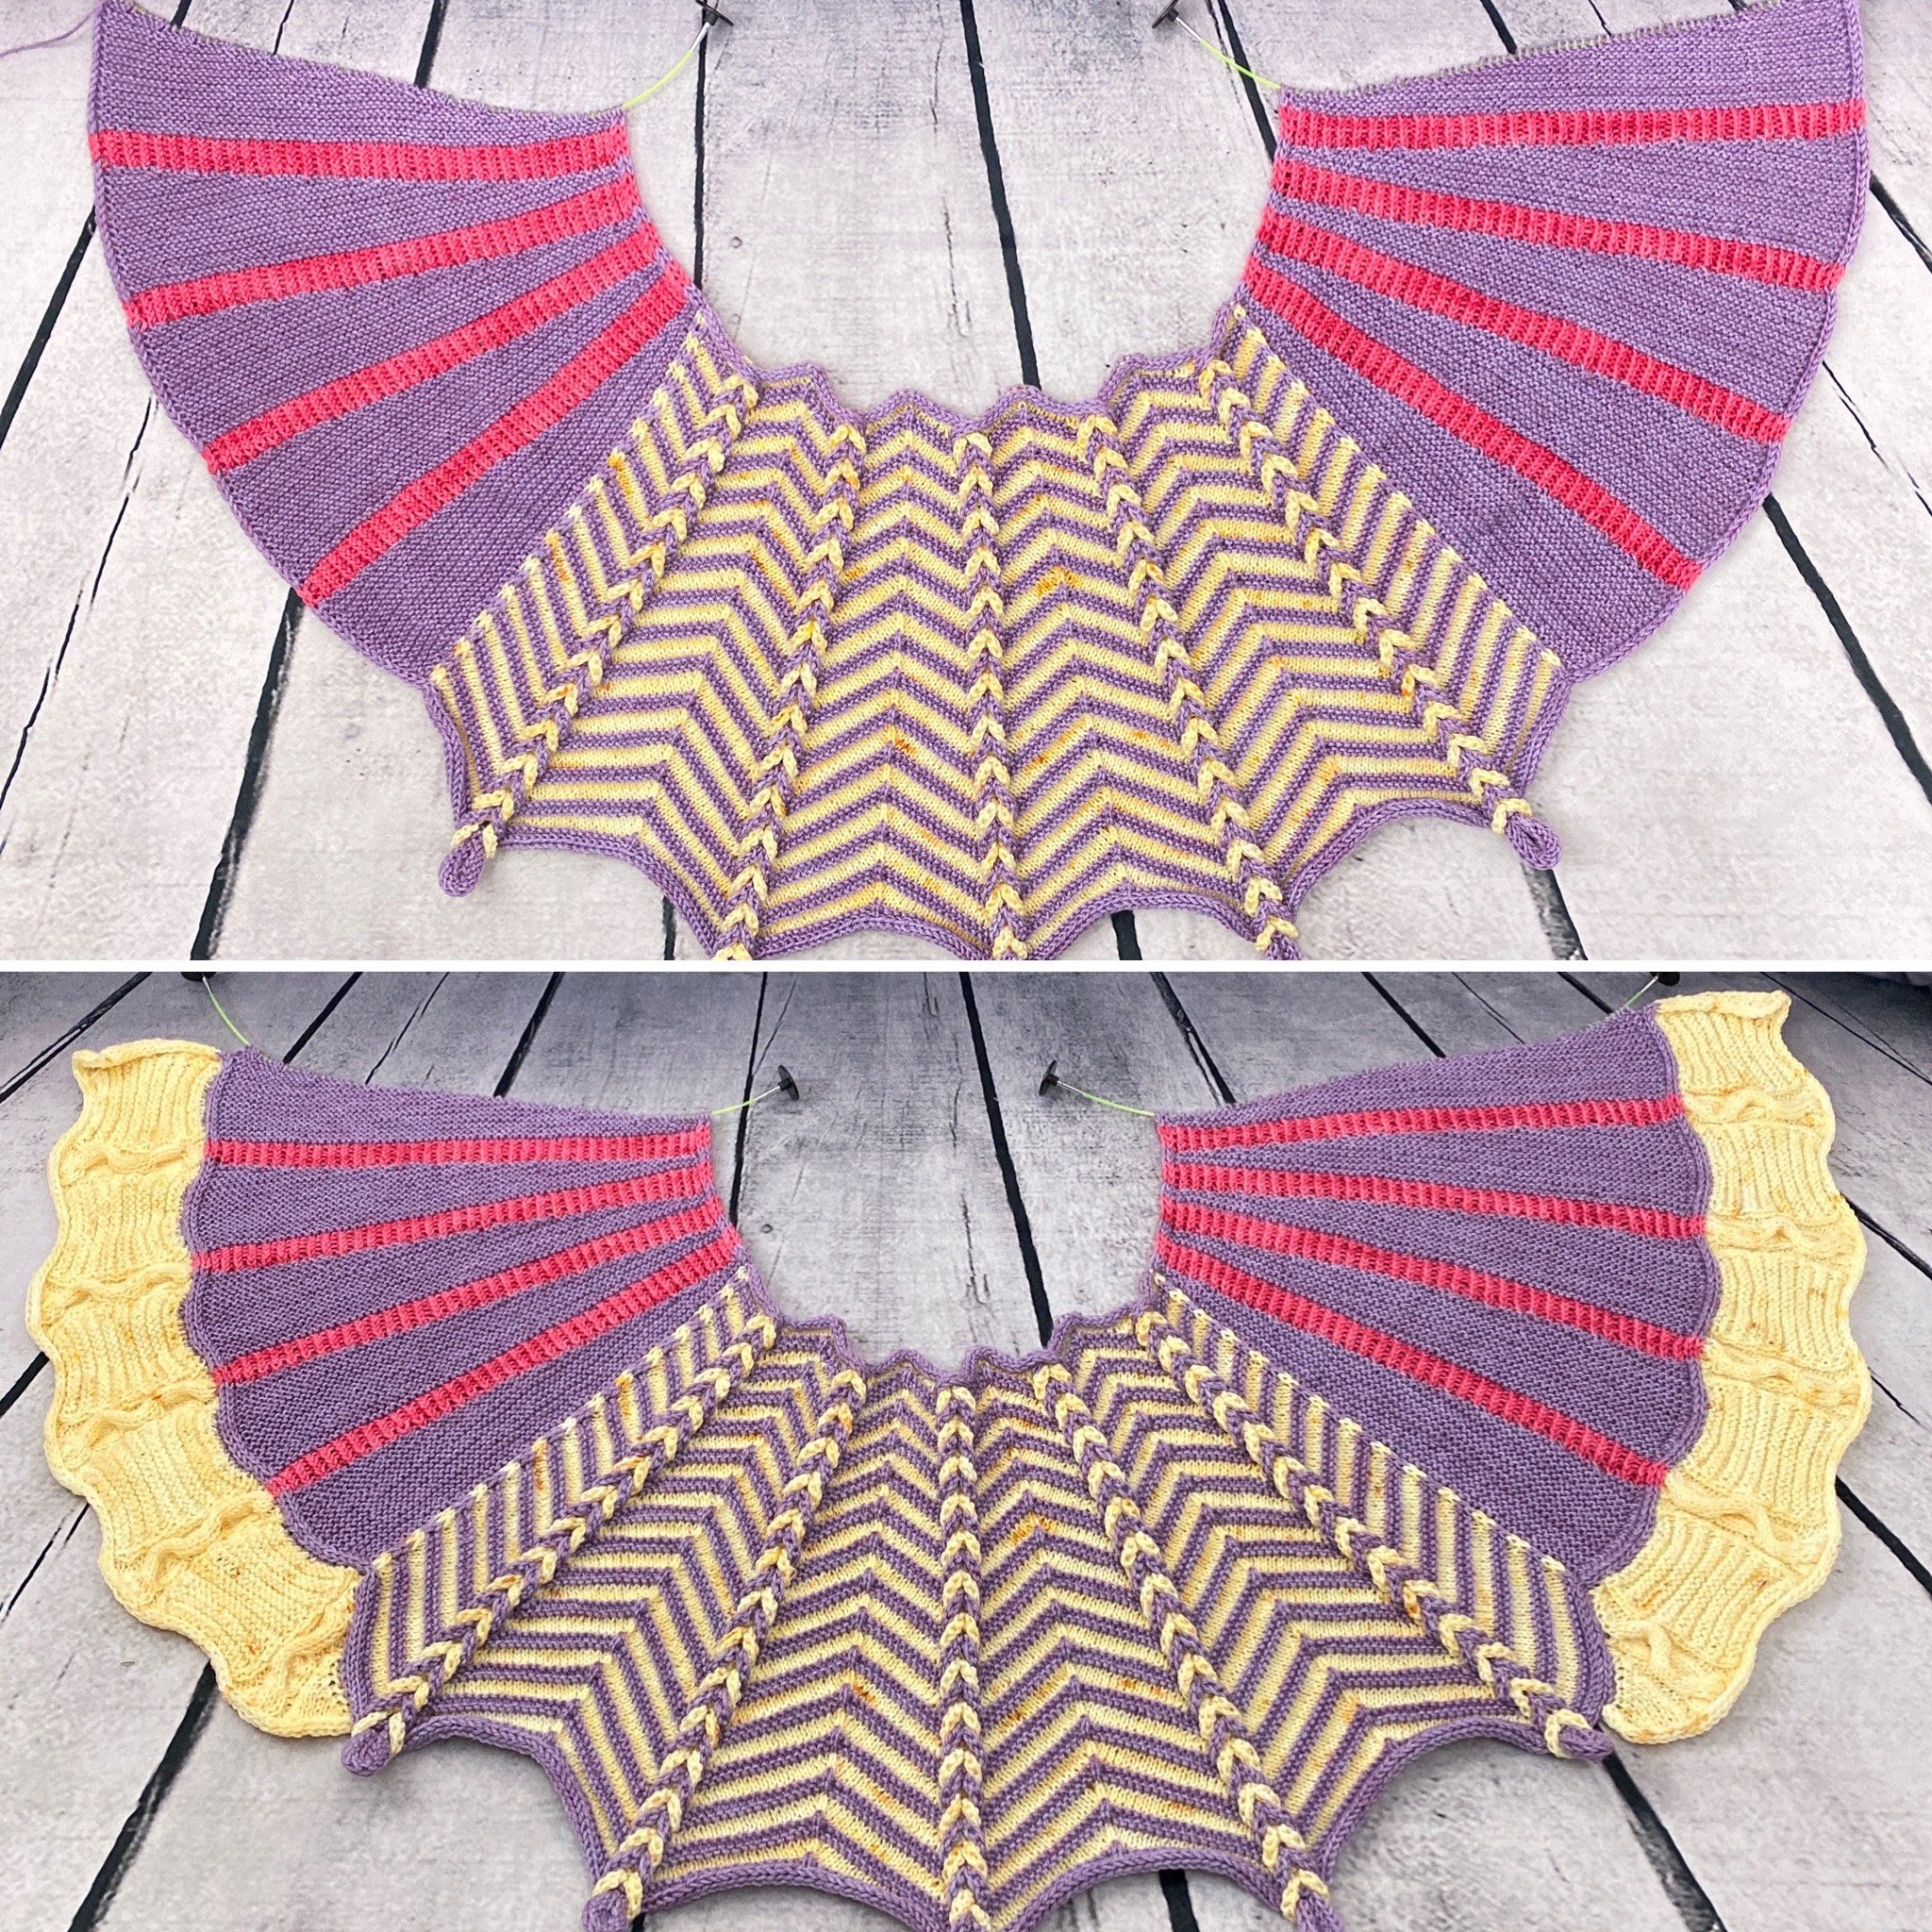
13th October: The second is clue containing four sections (2 to 5).
Sections 2 and 3 are adding some “bat wings” left and right of the chevron triangle of clue 1. For this short row wedges in MC are alternated with ribbed stripes using the CC.
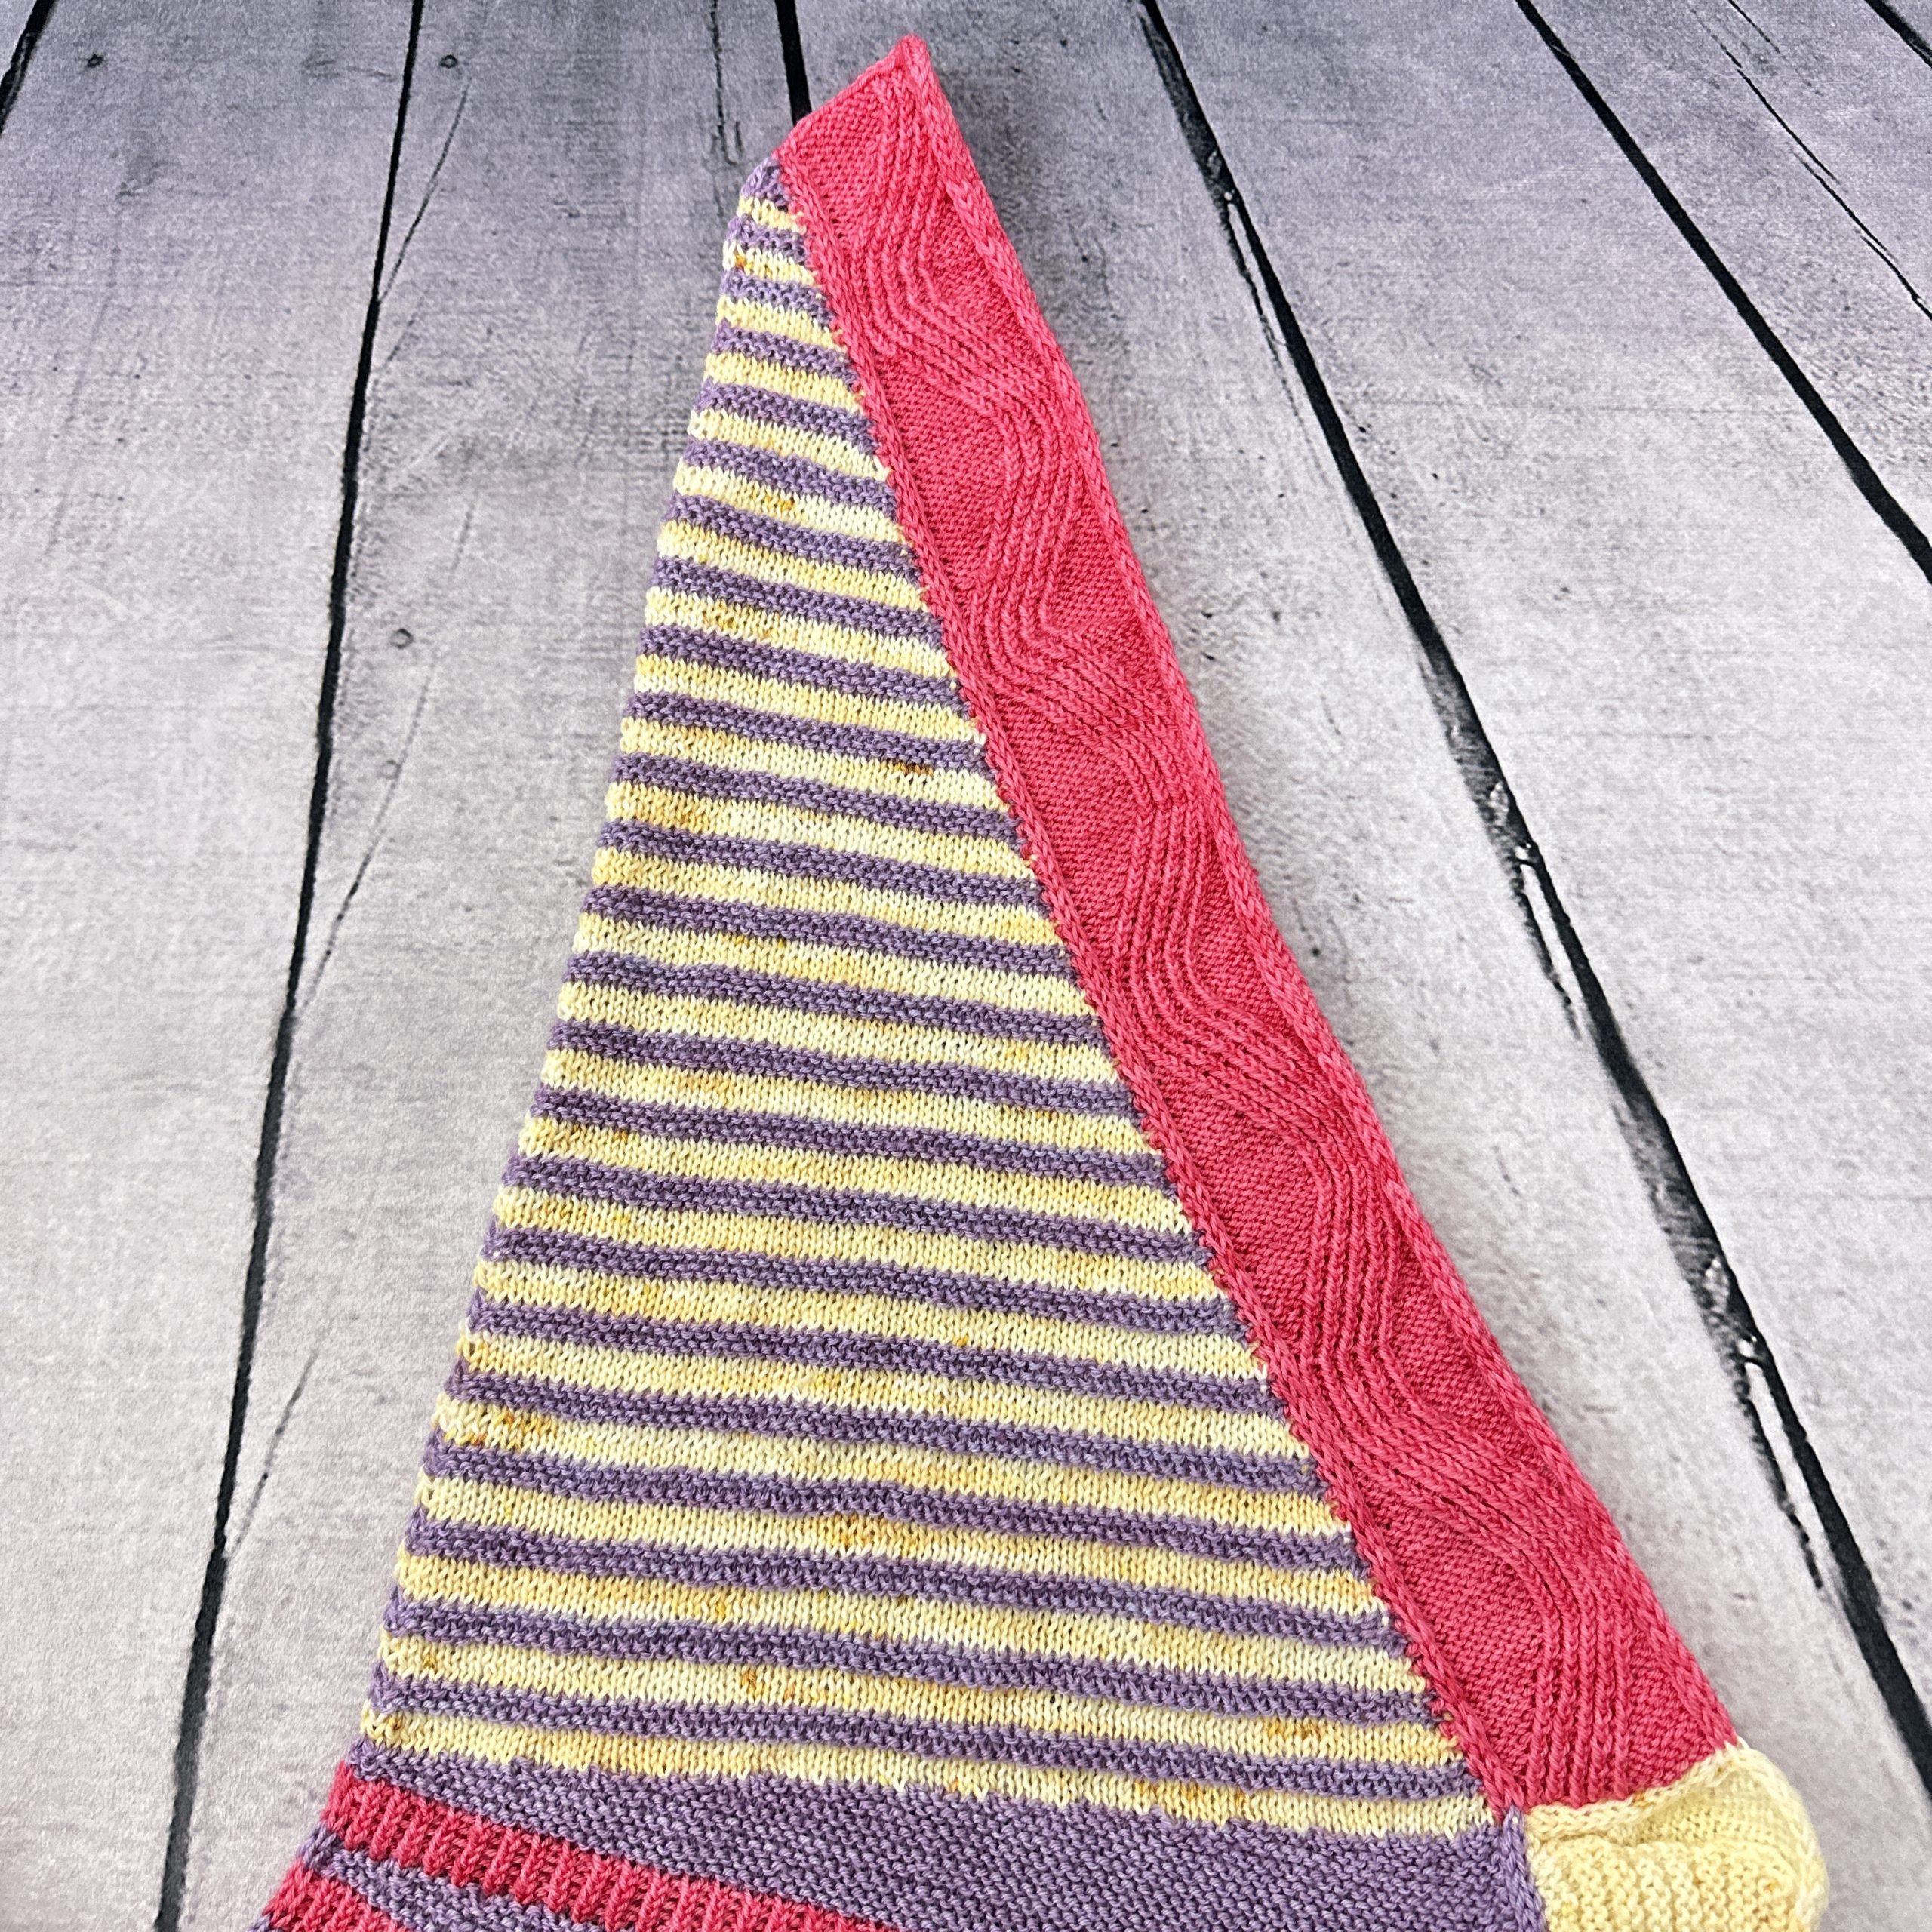
Sections 4 and 5 are expanding these wings towards the bottom with cable sections. The original pattern is using a smaller s-shape cable pattern alternated with a larger horseshoe pattern (or antler, as Stephen is calling it). I am not particularly fond of the horseshoe pattern, since it is a rather bold, wide cable pattern. I decided to not use it (and after seeing clue 3 regretted it a tiny, tiny bit, since they are used for some optional embellishment). I replaced the horseshoe pattern with a knit-purl-ladder (stitch details are on my Ravelry page). Still, at the end I like the result more with the reduced cables. In my opinion it is fitting the rest of the shawl better.
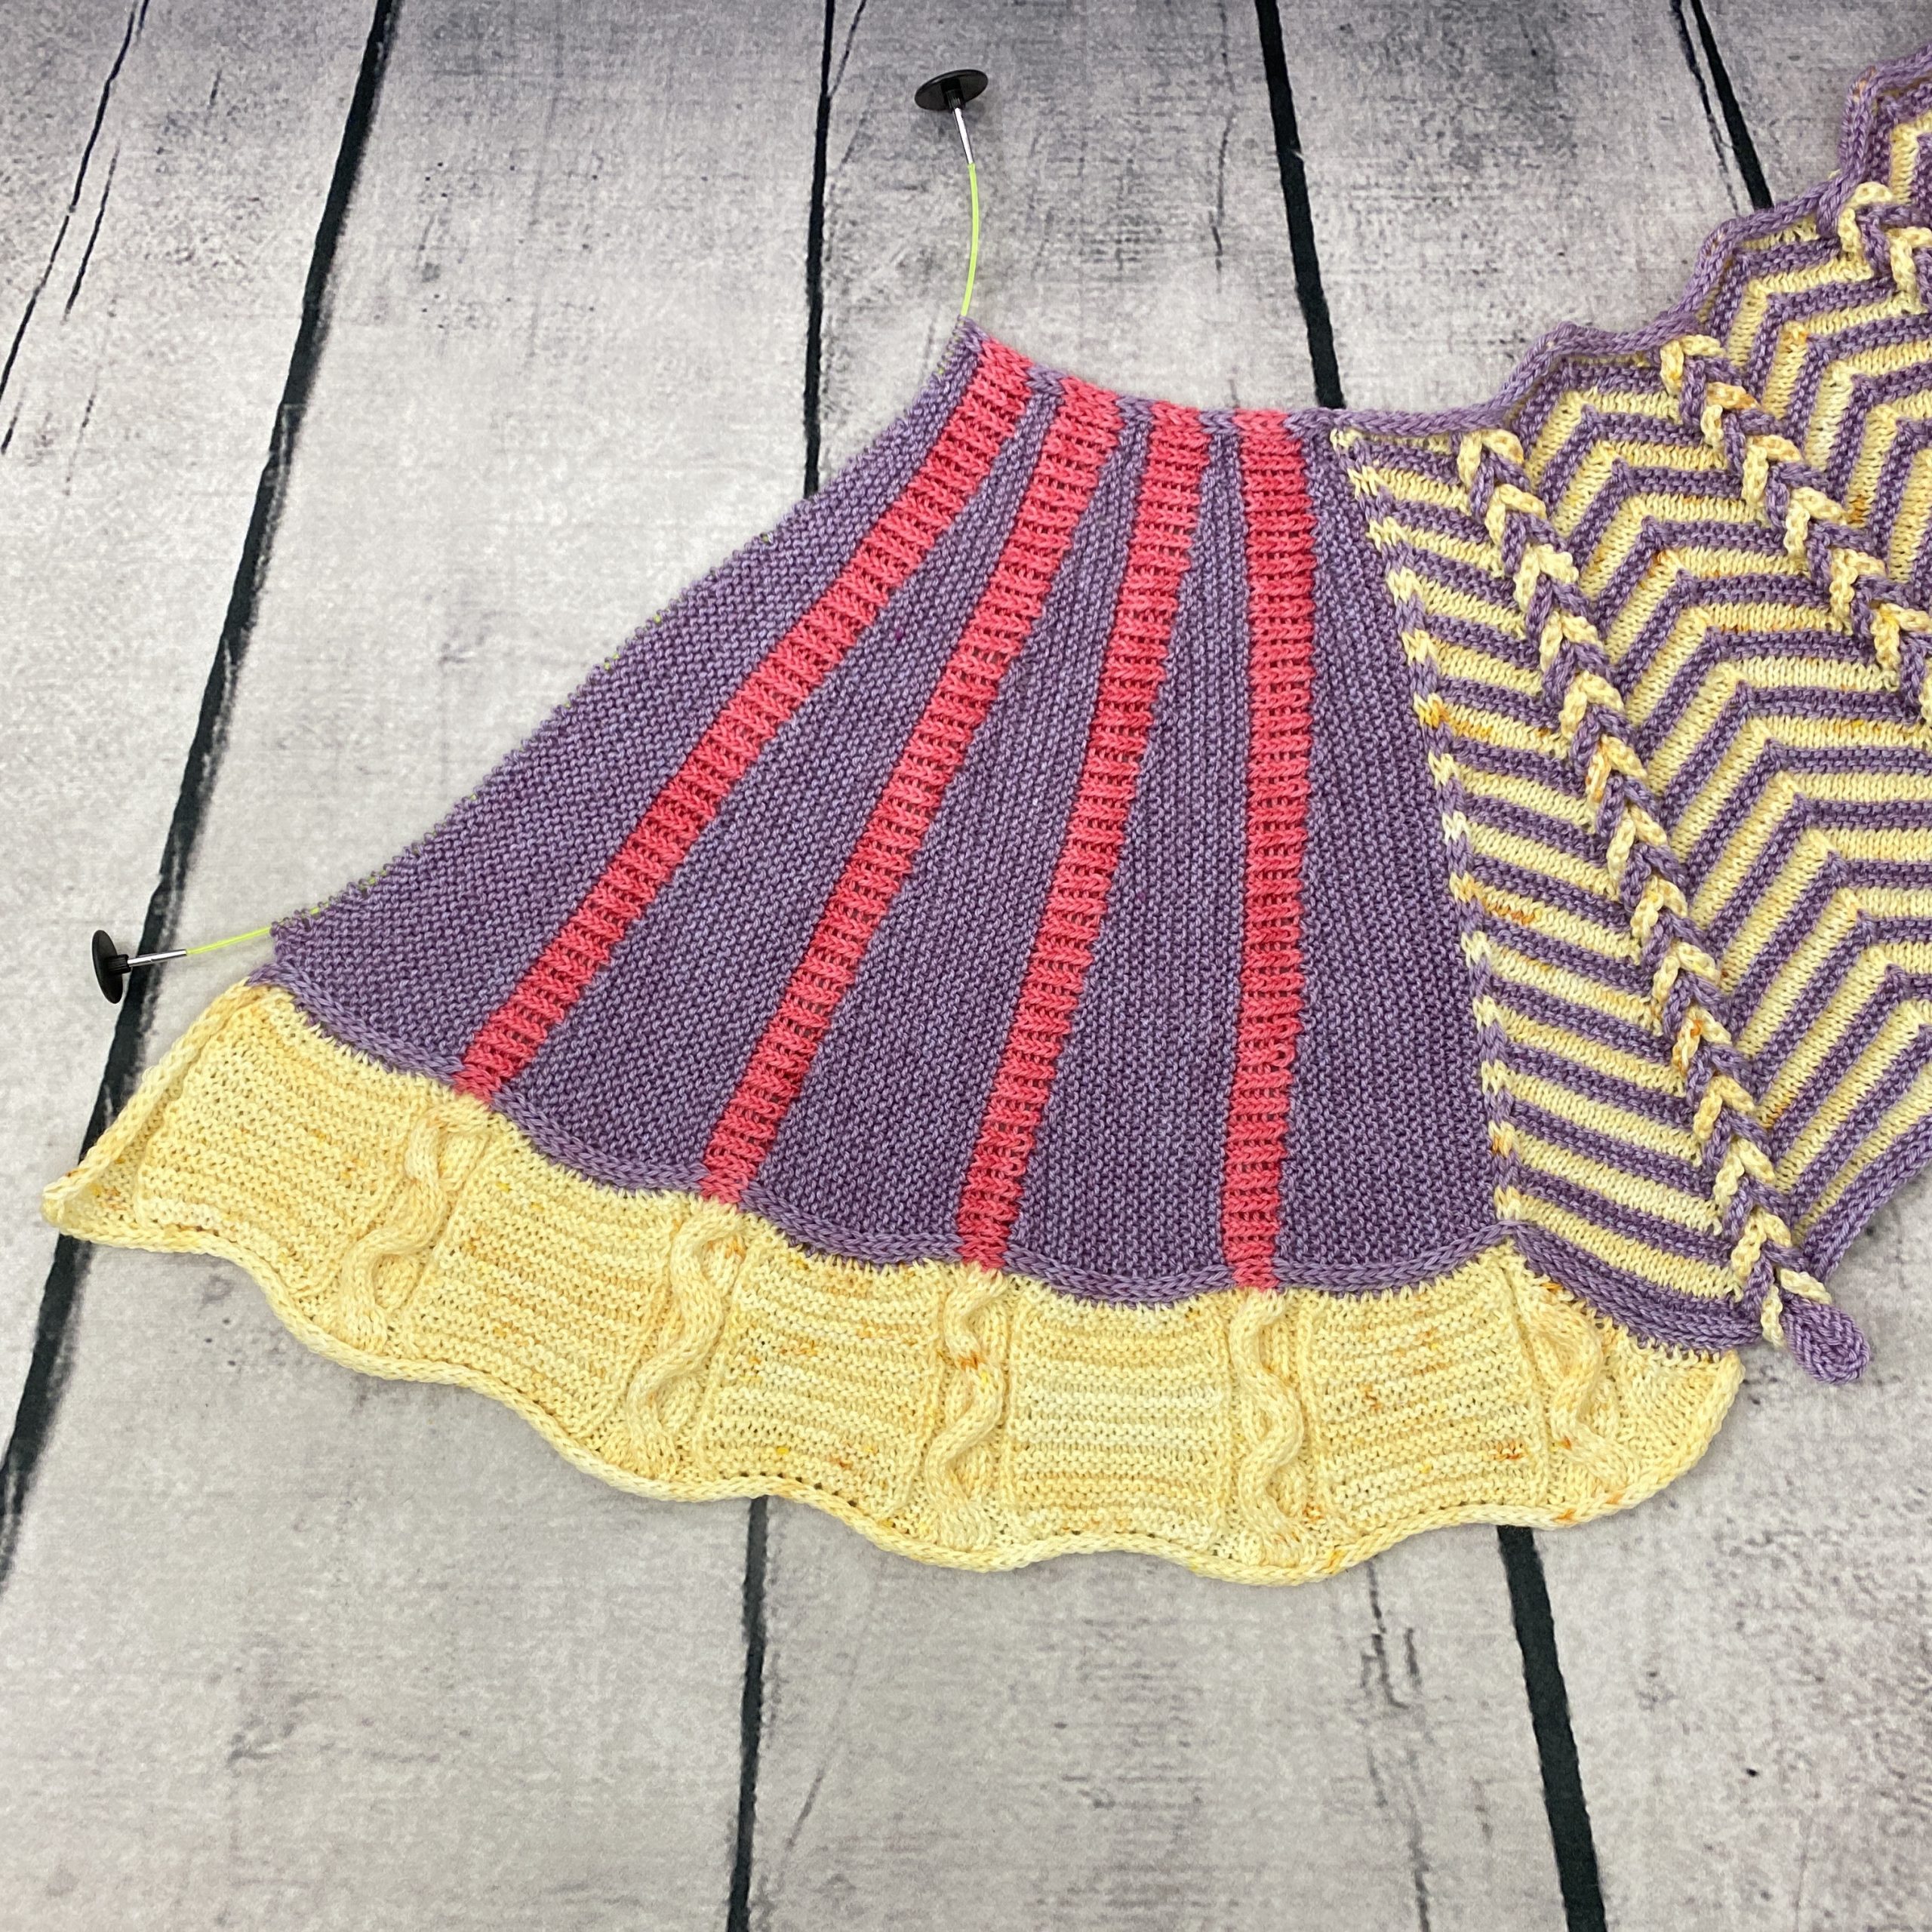
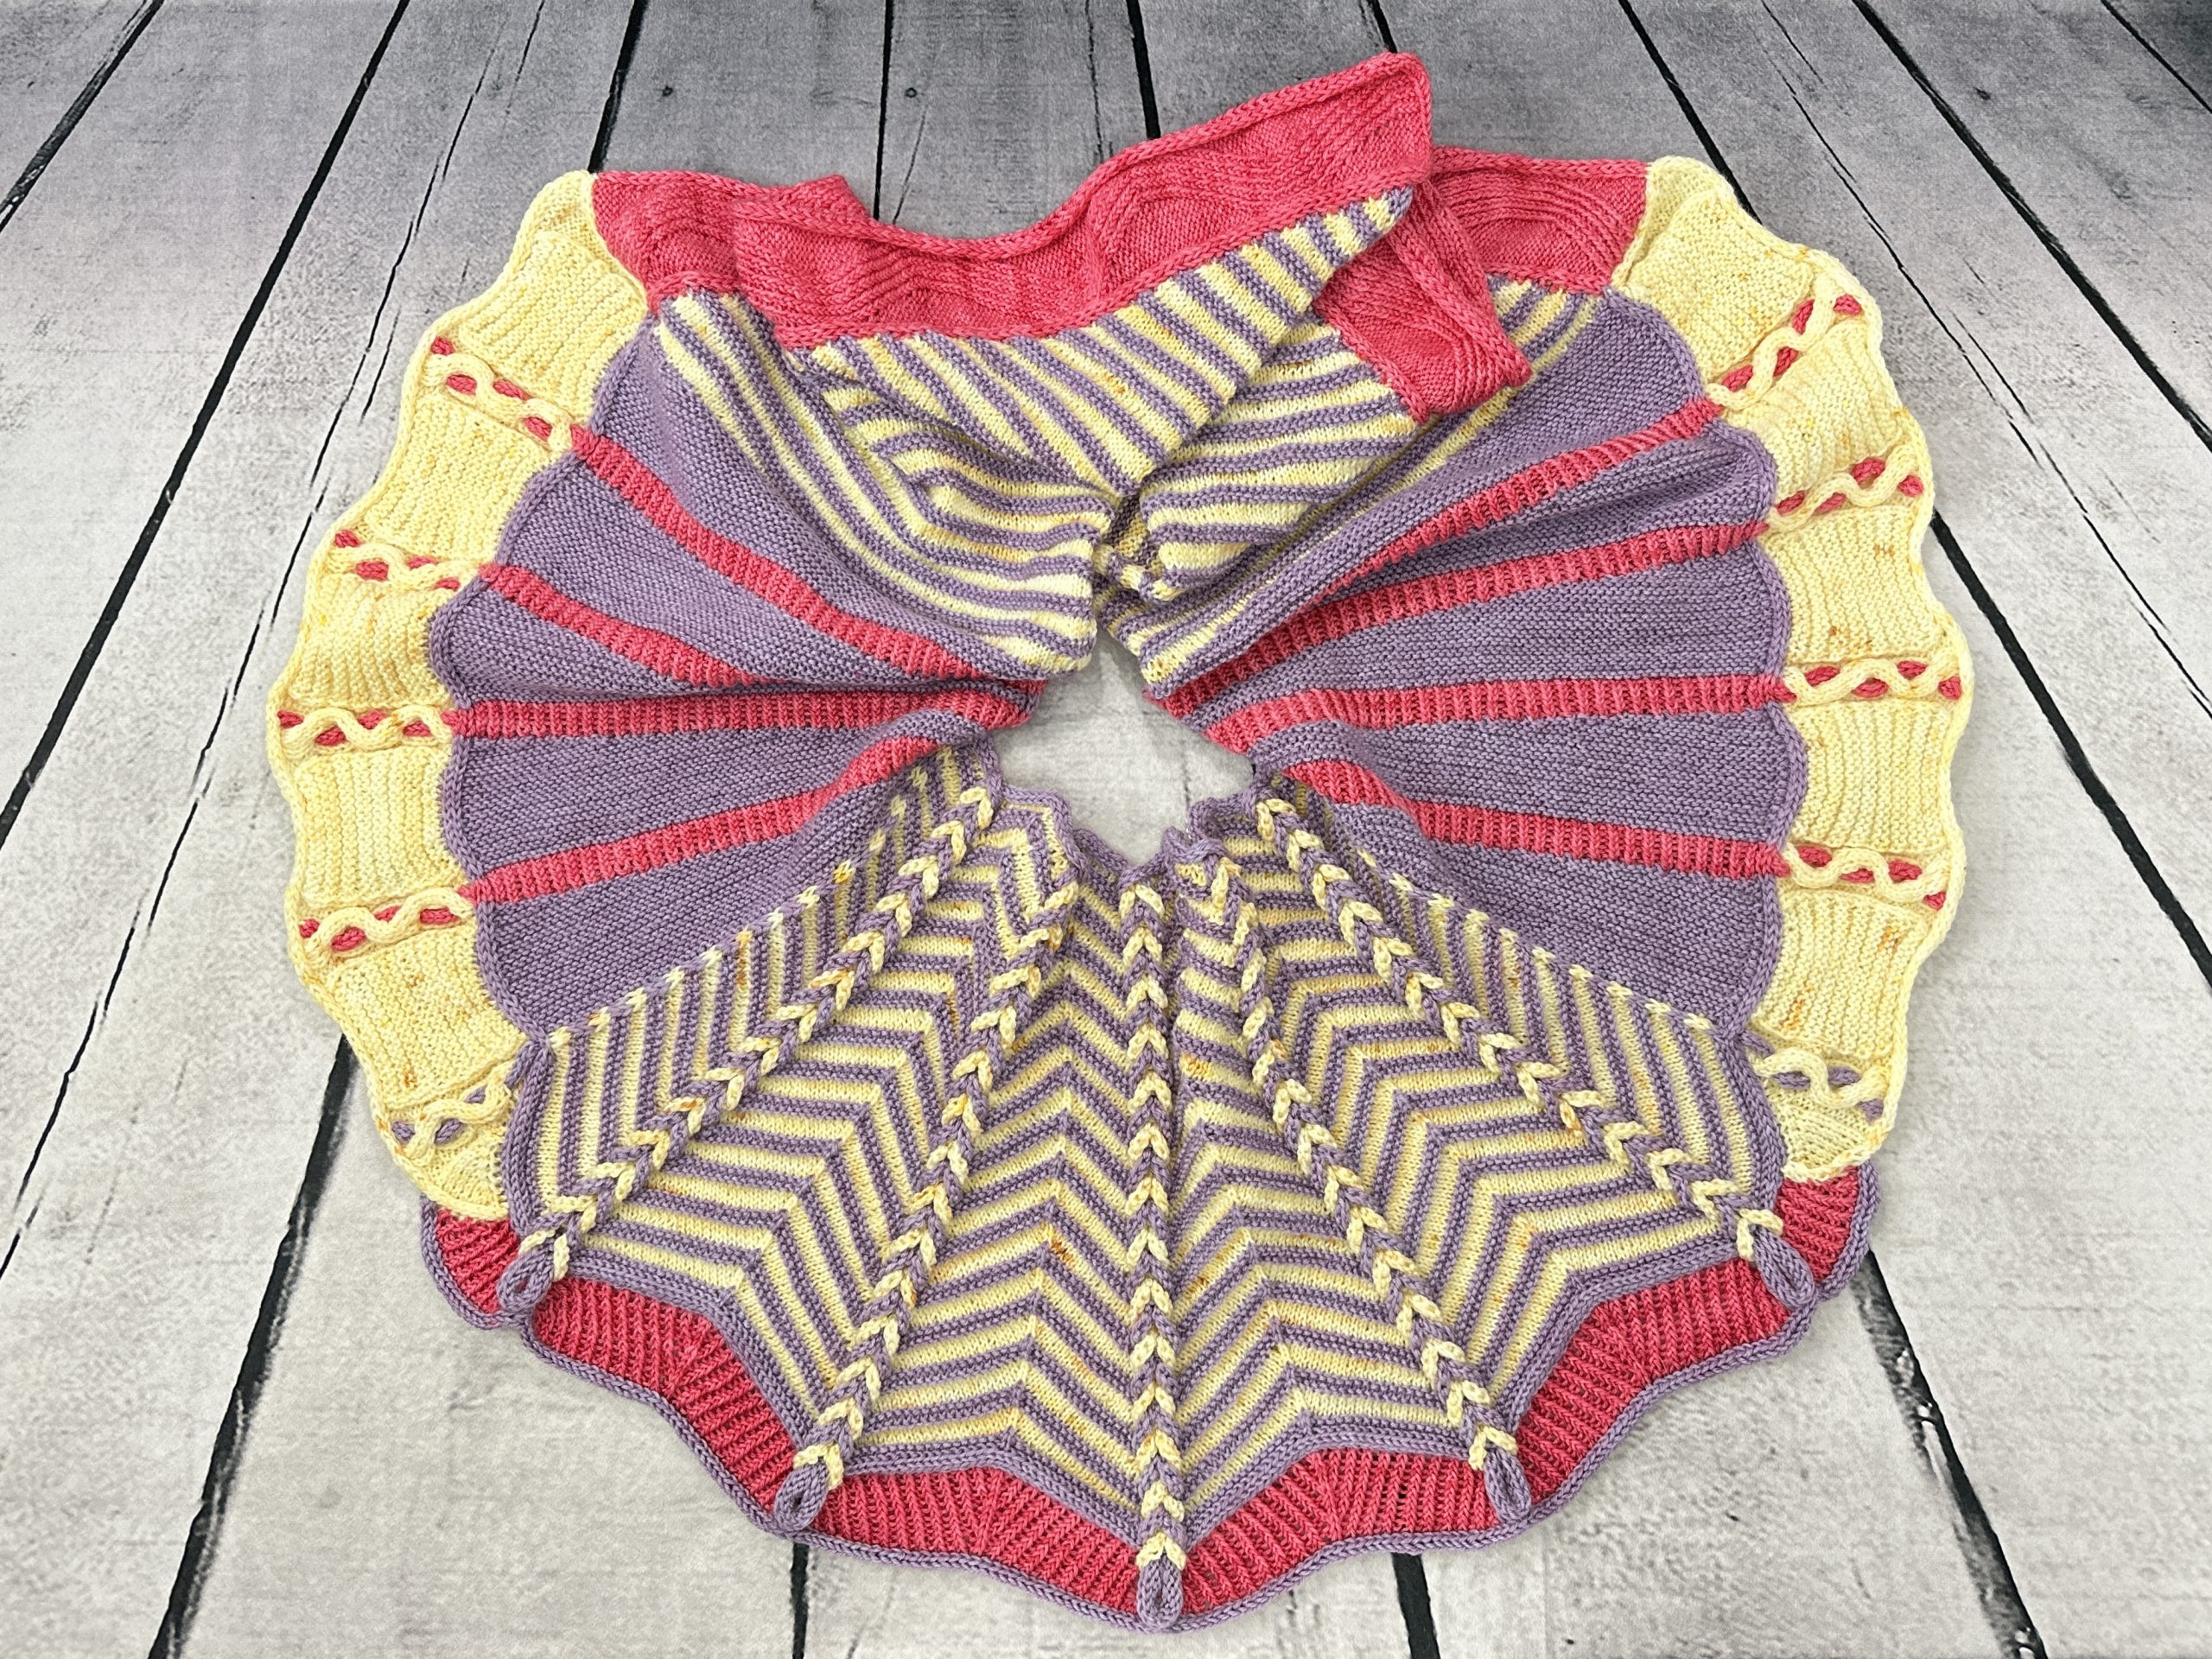
20th October: The third clue is out – and it is making the whole shawl design even more a mystery than ever!
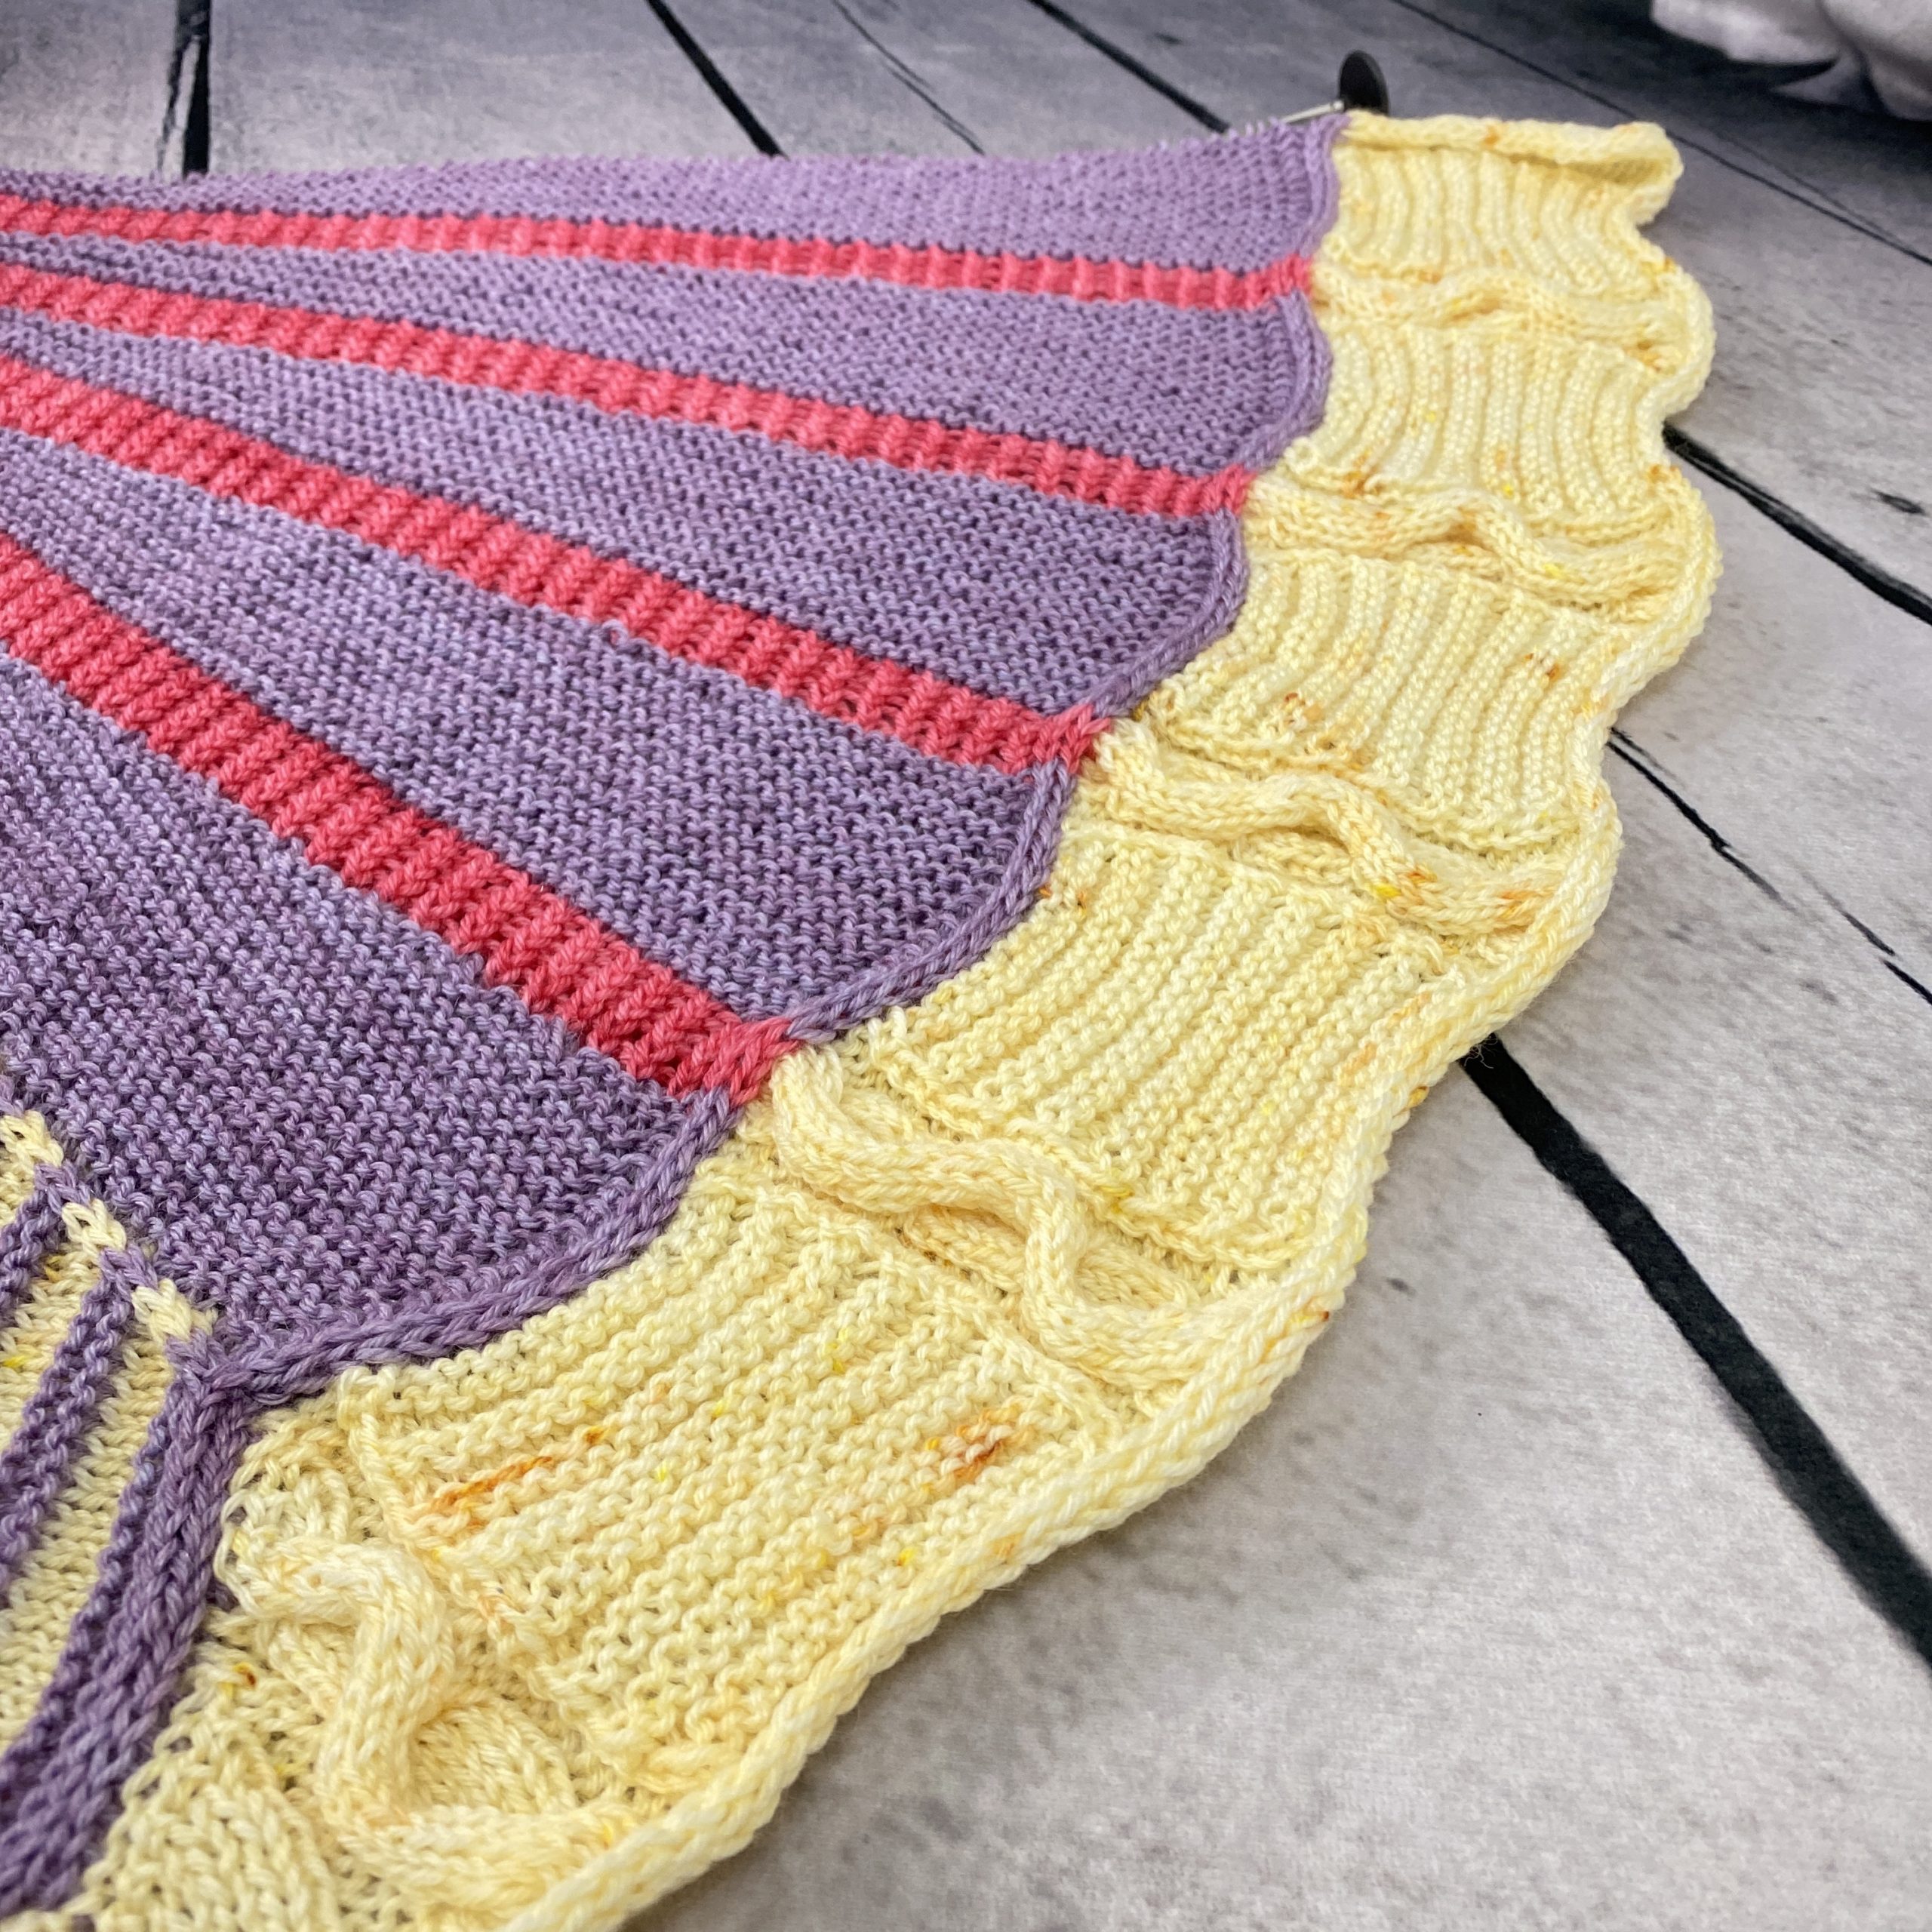
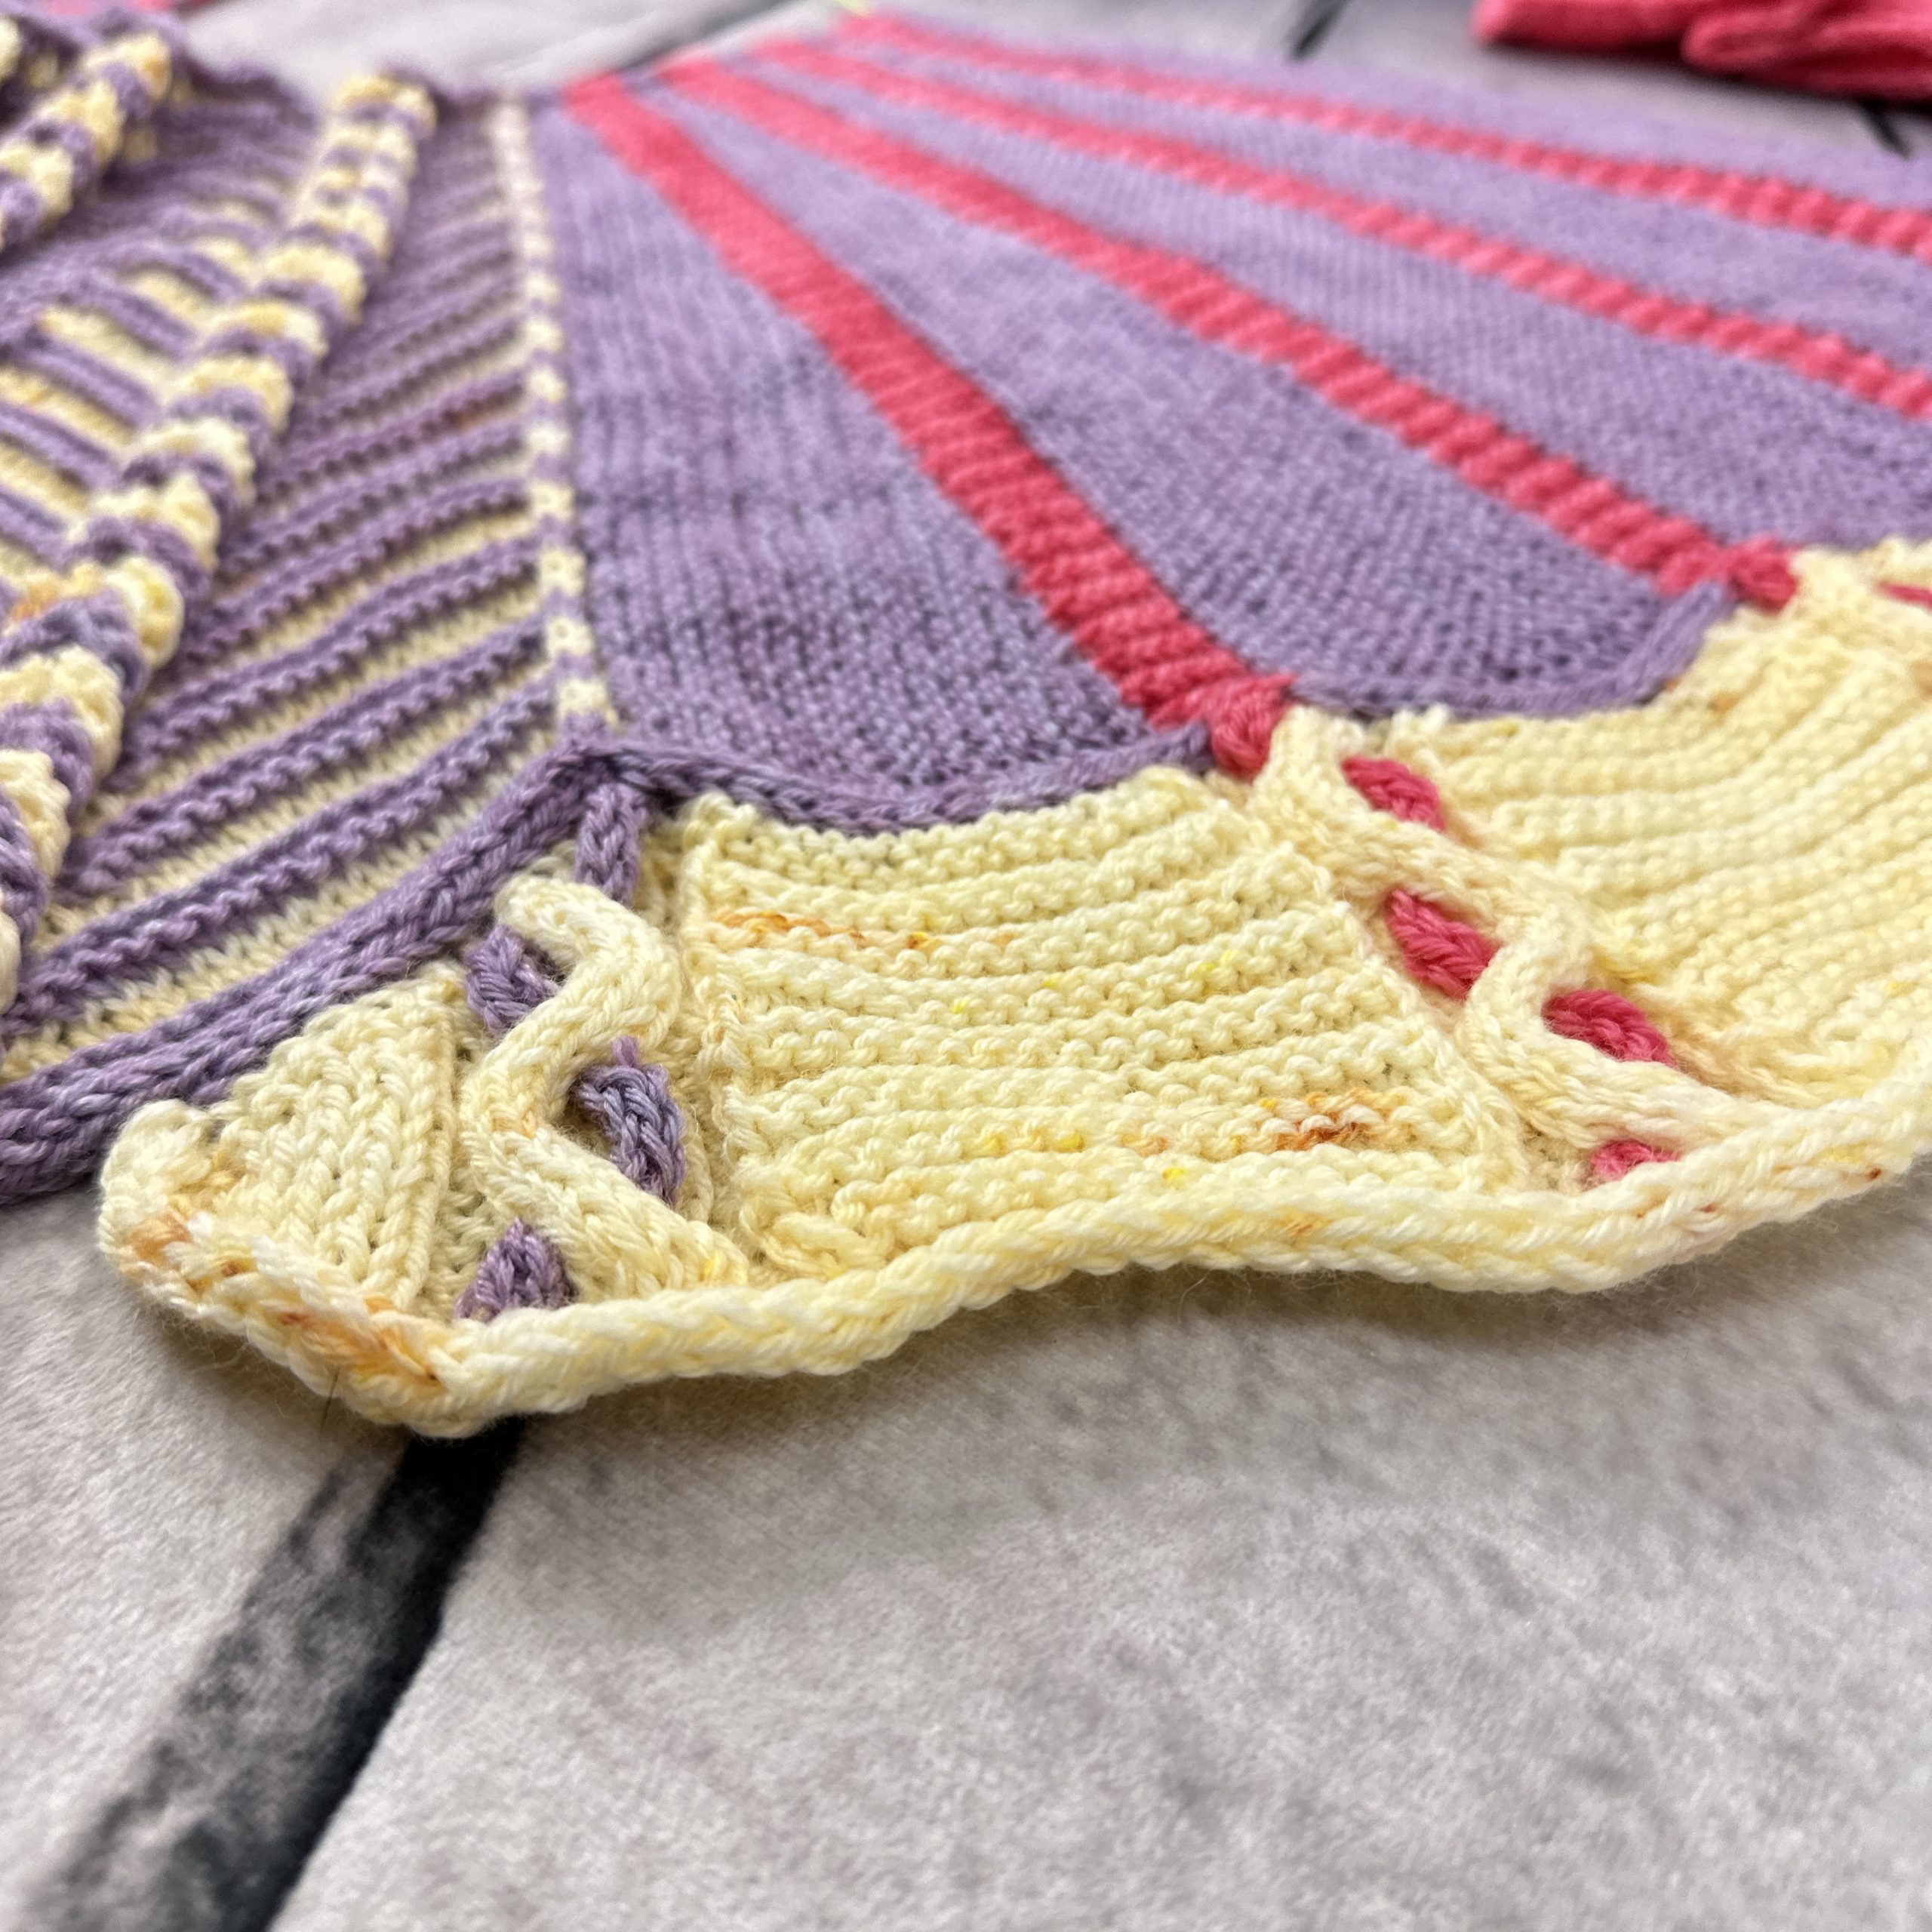
Sections 6 and 7: Using more, small cable techniques, the CC cable sections 4 and 5 are extended further to the left and the right. On each side a long, narrow strip is added showing a wavy pattern.
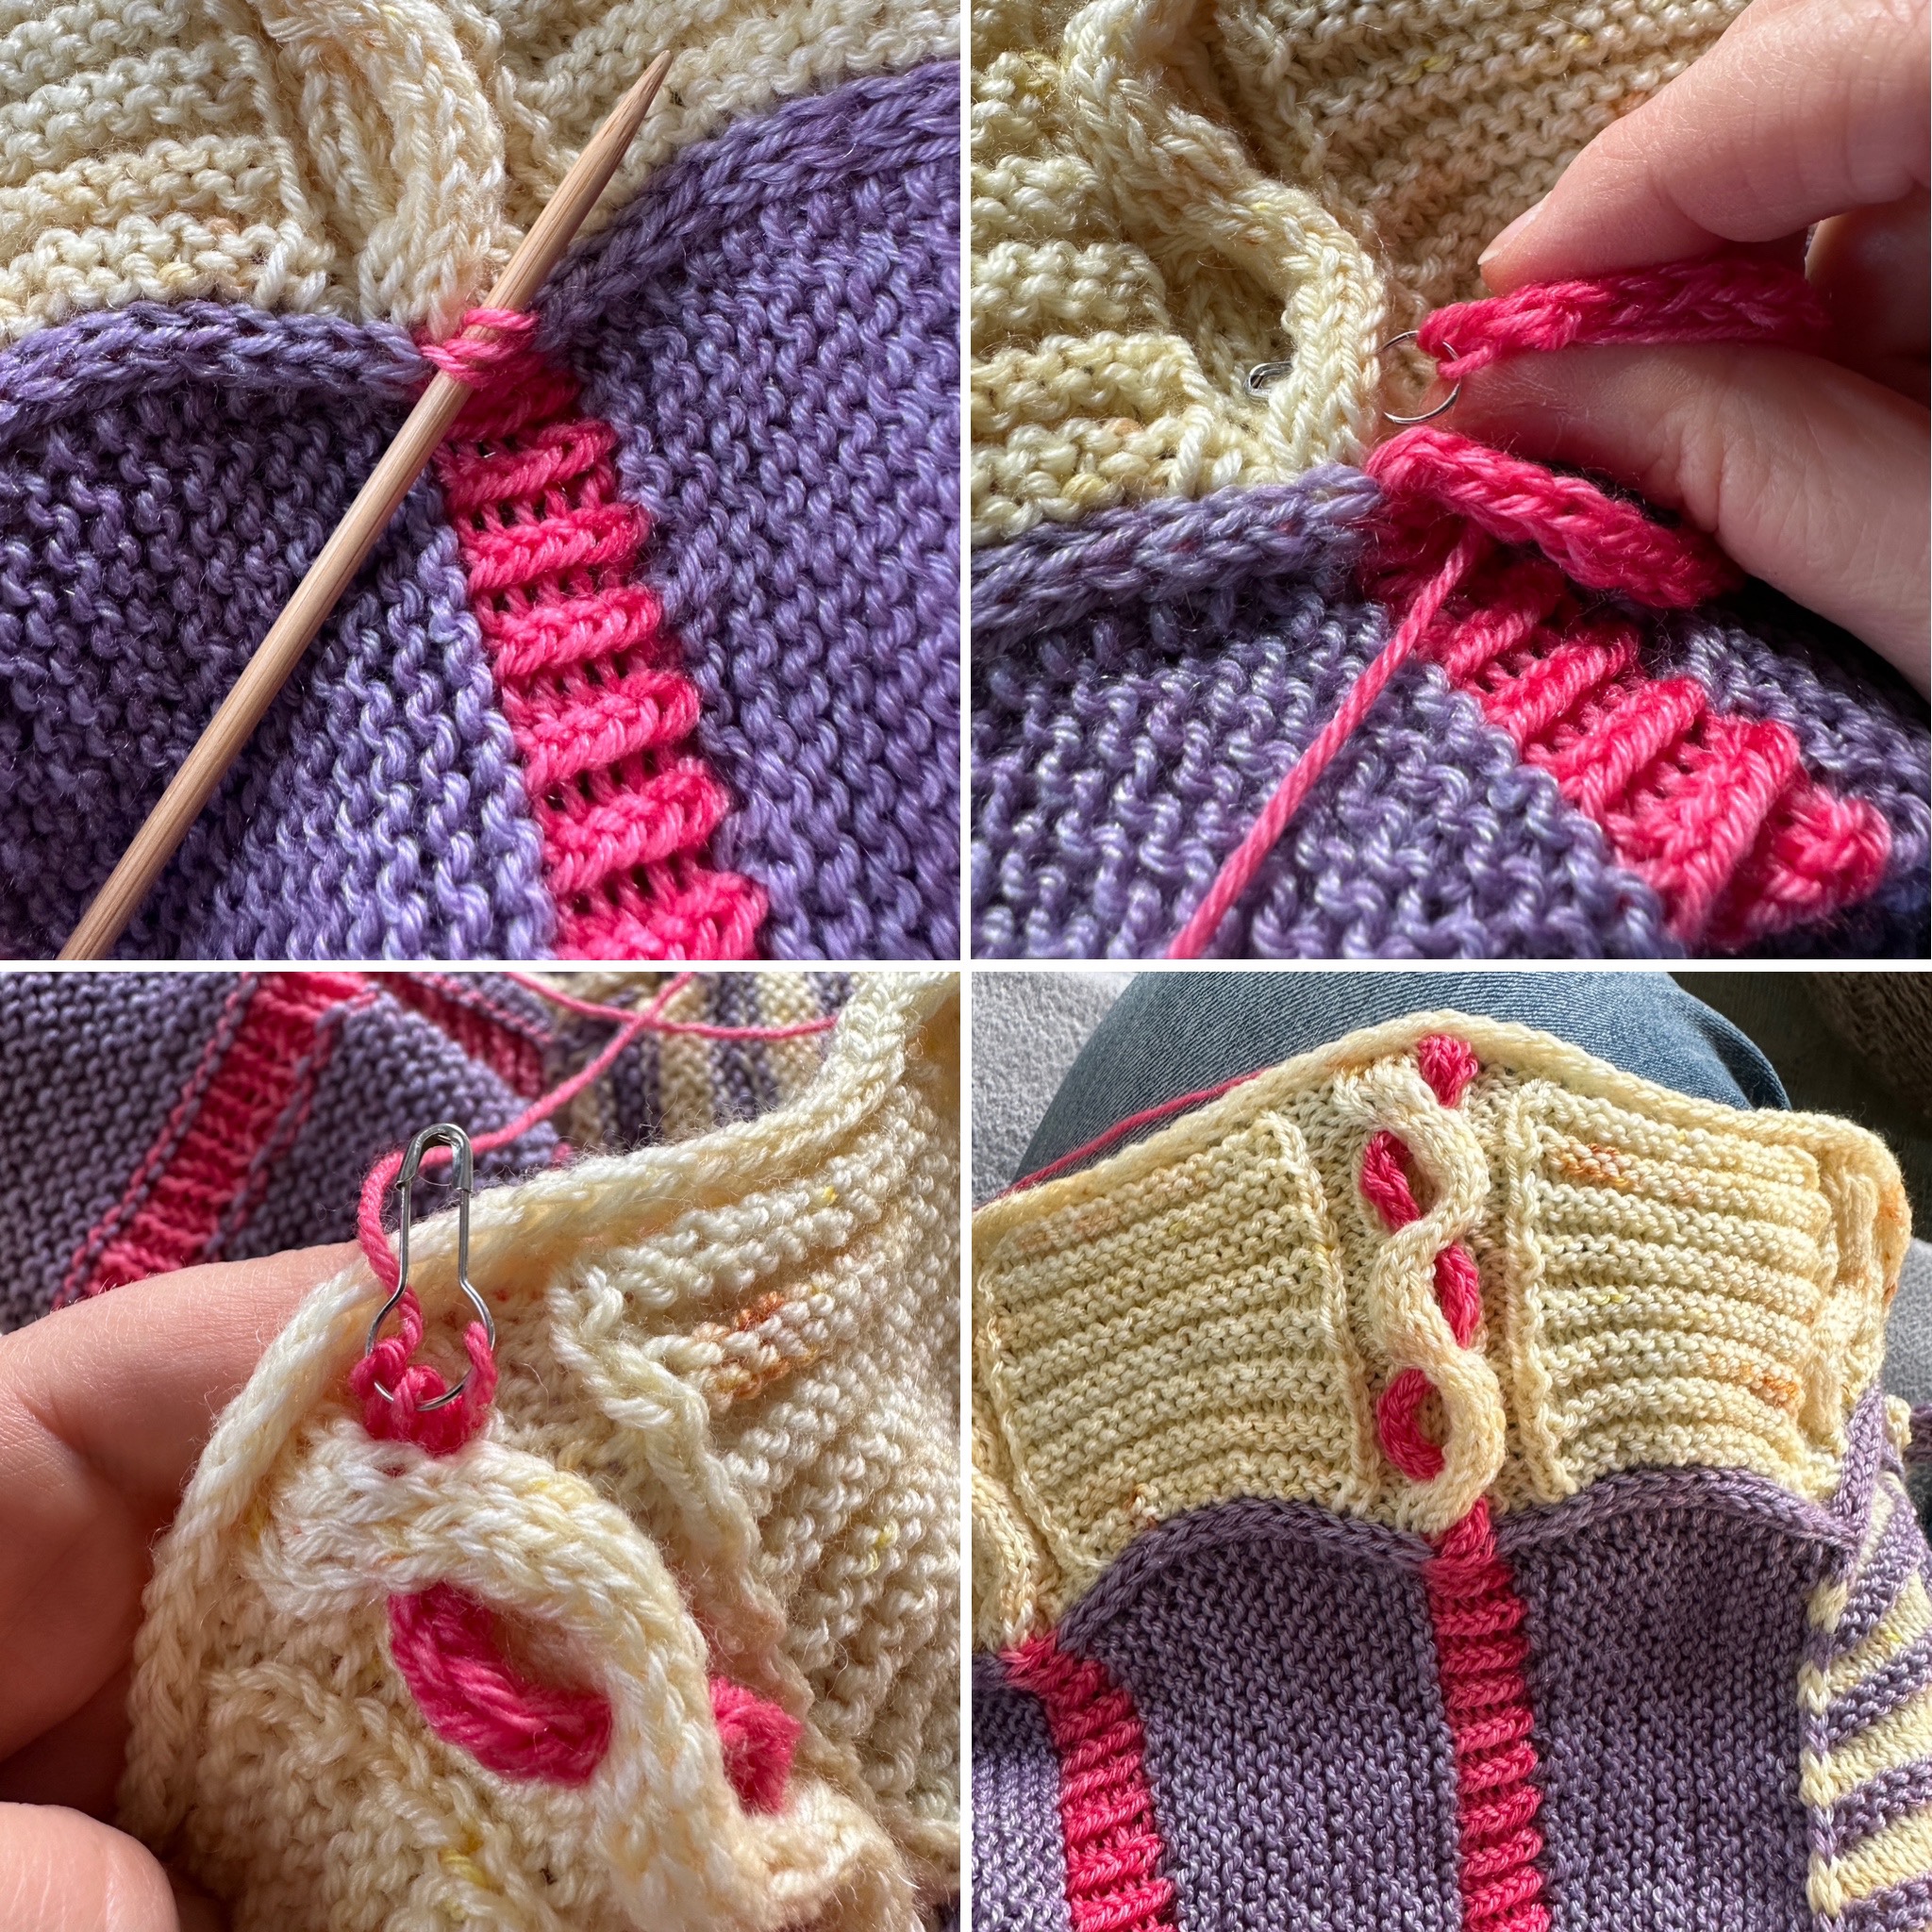
Optional extra: The (in my shawl) missing horseshoe / antler cables would get some i-cord embellishments with the AC. Since I decided to not knit them, I cannot add the embellishment. But I can still add some extra i-cord embellishments on the s-cables. I picked up the three AC stitches of the lower i-cord edge of sections 2 and 3. I used these stitches to knit a roughly 25sts measuring i-cord. With a safety pin i secured the live stitches and pulled the i-cord through the s-cable. To finish, I grafted the three stitches to the lower i-cord edge of the cable part of sections 4 or 5. One of the following pictures is showing the details. Sections 4 and 5 are having each a shorter s-cable closest to section 1. There is not AC stripe. Here, I used the MC for the i-cord embellishment.


27th October: The fourth and last clue is published. This clue is putting all the loose threads together.
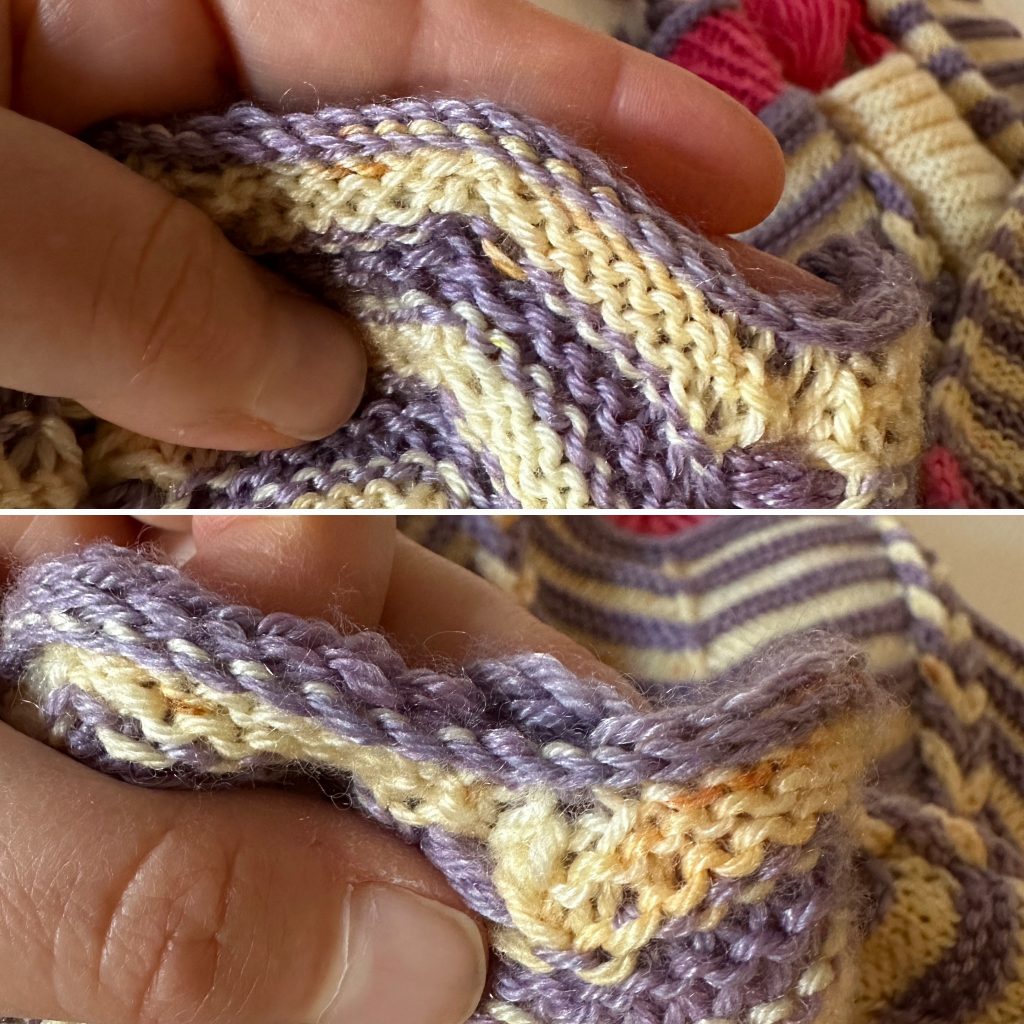
Sections 8 and 9: These two sections are finally using the live stitches of sections 2 and 3 to build two triangles along the stripes of sections 6 and 7. The first row of each side is closing the short row gaps by picking up the little bump of the turning stitch and knitting it together with the coming stitch. Since the garter stripes of sections 3 were worked purling, the bump of the turning stitch is on the wrong / left side of the gab. It is difficult to reach. Therefore, I slipped the stitch before the coming gap, picked up the little bump, and knitted the slipped stitch together with the picked up bump through the back loop (see picture below). After finishing sections 8 and 9 the sides of the shawl are done.
Section 10: This last section finally solves the mystery of what happens to the loose loops from the first section. In fact, it’s not as spectacular as I had hoped. The backs of the loops are simply knitted to the rest of the shawl.
However, before the loops are touched, the stitches between the first and last loop along the bottom edge are picked up. Using these stitches, the shawl is then extended with a ribbed chevron stripe in AC. The shawl can now either be bound off early, or extended with more chevron stripes using MC and CC. These section 10 stripes are visually extending the stripes from the first section without being joined to the left and right sides of the shawl (check the original pattern for photos).
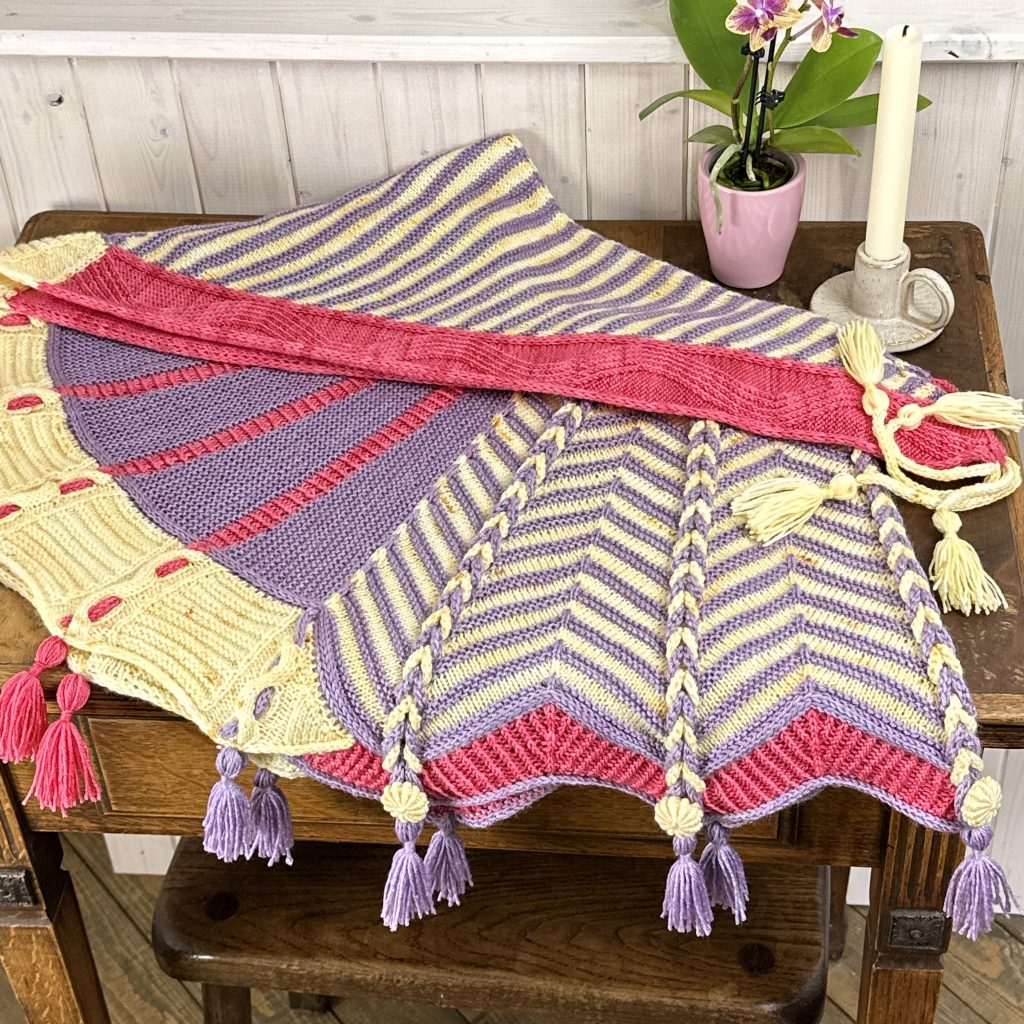
I struggled with this part of the design for a long time. For me, the shawl somehow did not form a unit, because the section 10 stripes are not connected to the sides of the shawl and also protrude downwards like little “mouse teeth”, hanging lower than the rest of the shawl. I have therefore decided for the short version of the shawl, since sections 10 has about the same length as the rest. In addition, I picked up more stitches at the left and right side of the outer loops of sections 1, so that the middle is connected to the sides of the shawl.

Final touches:
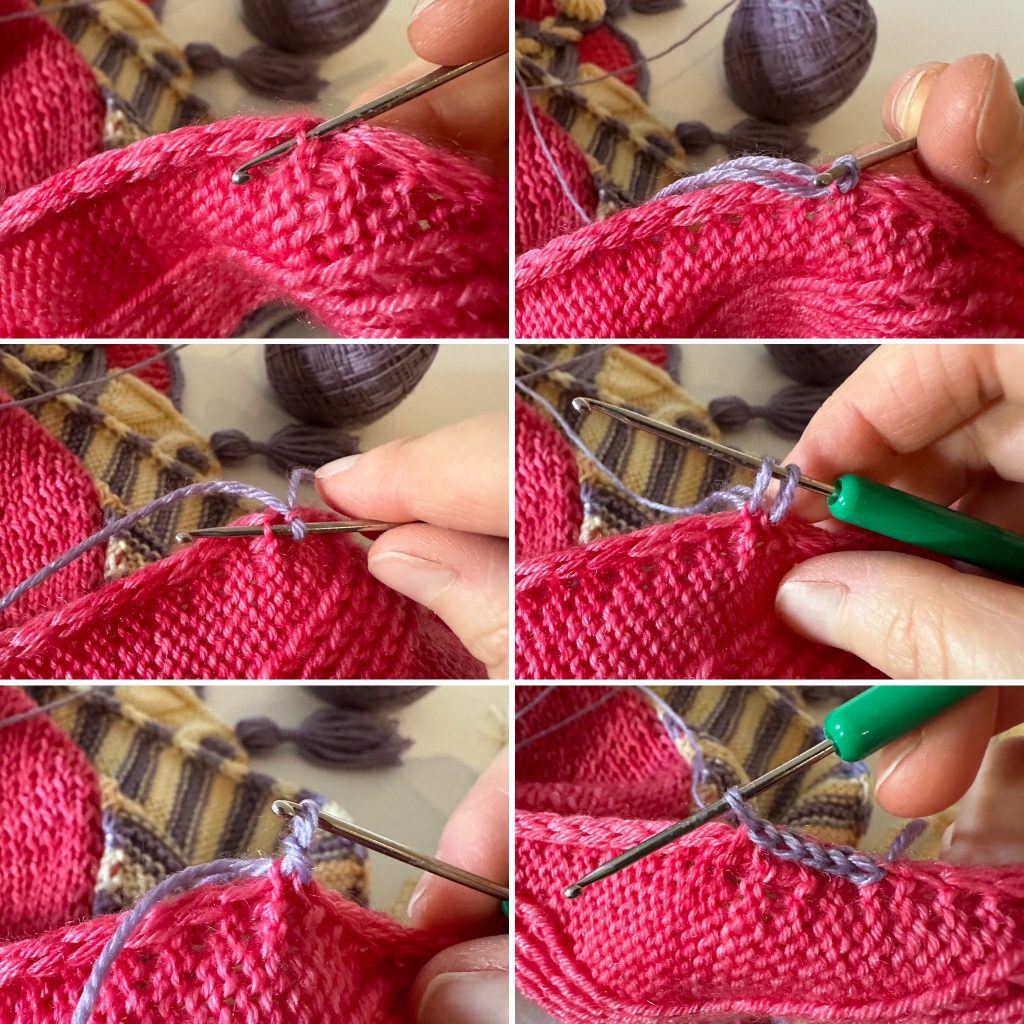
The upper edge of the first section turned out relatively stretchy in width. It did not provide too much stability. Therefore, I used a small crochet hook and did a row of crochet stitches along the WS of the top edge with the MC, also fixating the starting loops of the section into place. I show that on the following pictures at the AC stripes to have more contrast: 1. Pick up one of the “ladders” below the i-cord and pull a loop through; 2. pick up the next ladder and pull another loop through (two loops on hook); 3. pull the second loop through the first (one loop on hook); continue steps 2 and 3. The right photo is showing the real result at the top edge. The line is almost not visible.
To personalize my shawl, I added tassels to the ends of the cables and loops. I closed the open loops from section 1 with buttons that I made after a tutorial by Kate Davies.
More details are given on my Twists and Turns Ravelry project page.

🇩🇪 Der deutsch Text folgt sobald das MKAL abgeschlossen ist.
🇳🇱 De Nederlandse tekst zal volgen …


One Comment
Comments are closed.