
Showing off the beauty of hand-painted yarn in a cowl
🇬🇧 Quite a while ago, I had found this tutorial for a cowl worked with the knitting machine, which I wanted to knit for the fall. However, the instructions are not written for a machine with standard needle gauge and thin yarn but for a chunky machine with larger needle gauge and thicker yarn. That (and the good weather) has kept me from tackling the project so far.
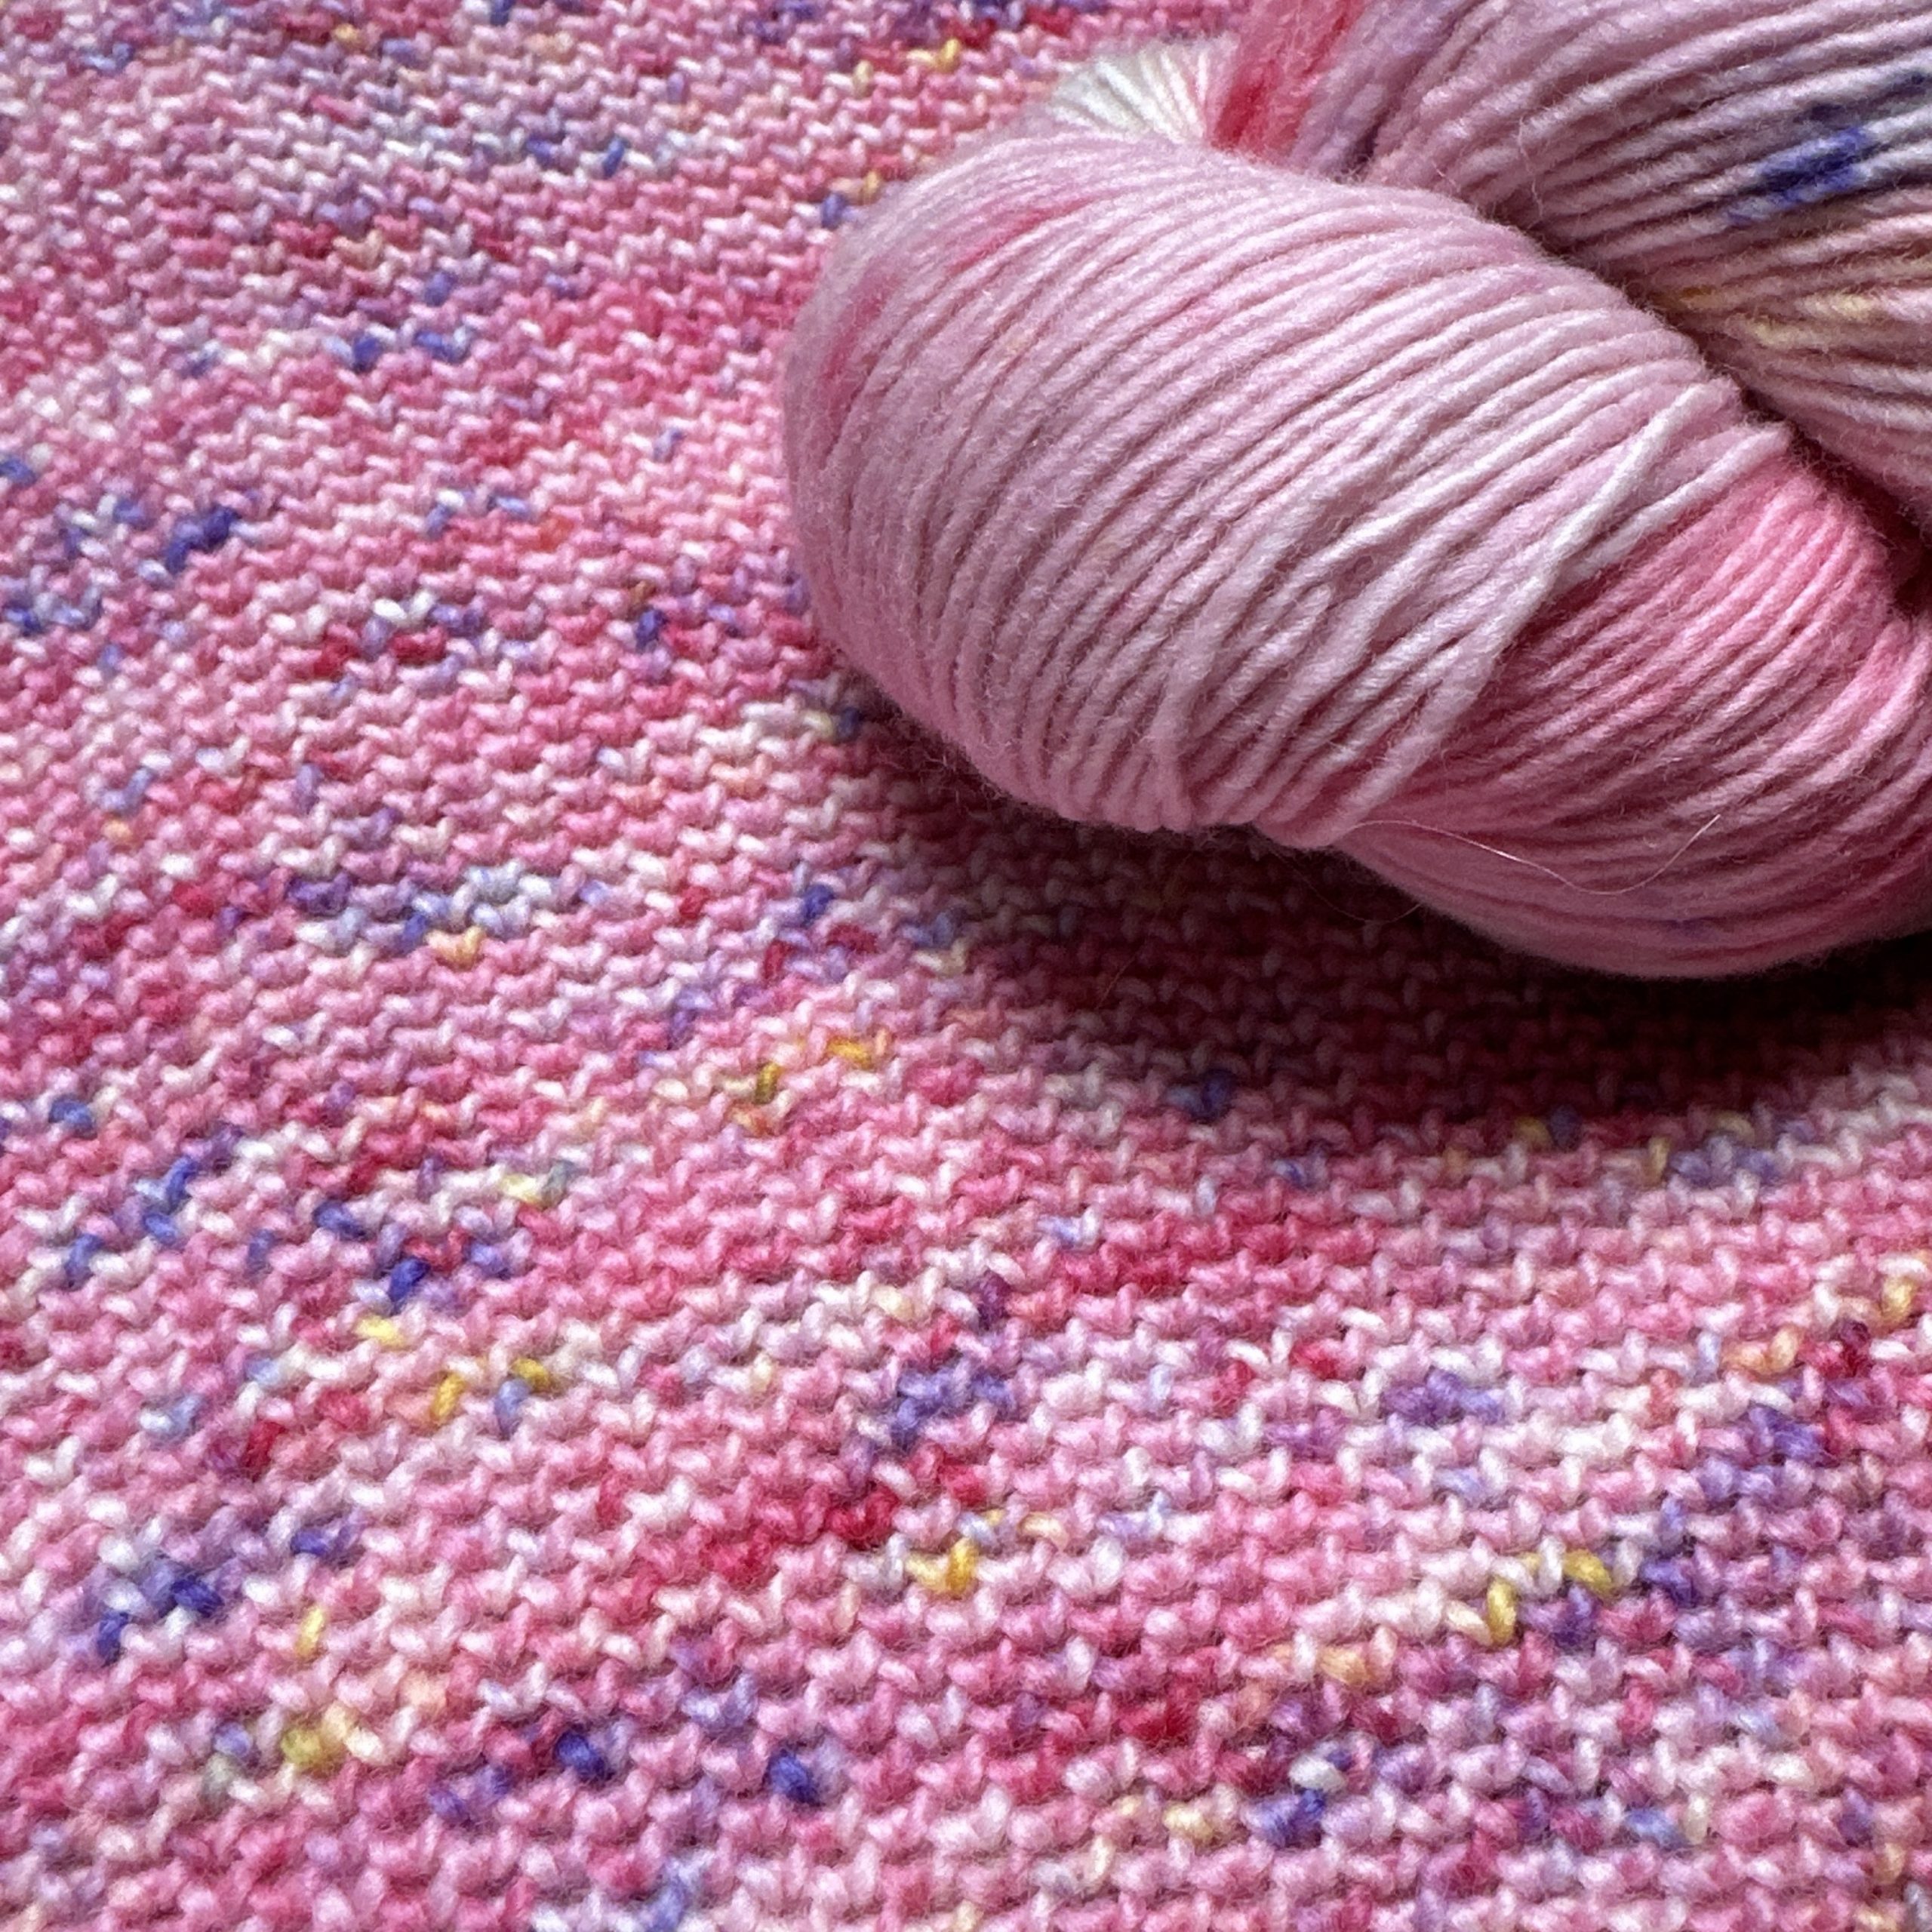
Now that the weather has turned more autumnal, I started rewriting the instructions so that I could knit the cowl with my standard gauge machine. The first thing I did was knitting a gauge swatch for the yarn I intended to use for the cowl. Over the summer, I had dyed a beautifully soft, single-ply yarn that I saved for a special project. This yarn would be used for the cowl, now.
While the swatch was drying after washing, I thought some more about the instructions. In order to make it fit the gauge of my machine, I would have to recalculate all the measurements and steps in the instructions based on the swatch. In addition, another knitter told me, that she had not had the best experience working an instruction with a completely different yarn gauge than intended, because the knitted fabric would have a completely different thickness and therefore a completely different stand than the original designer had intended in the instructions. She had raised a not insignificant point. Something knitted from thick yarn has a very different “feel” than something knitted from thin yarn. Which gave me the idea to use the original cowl instructions only as rough inspiration and get creative myself.
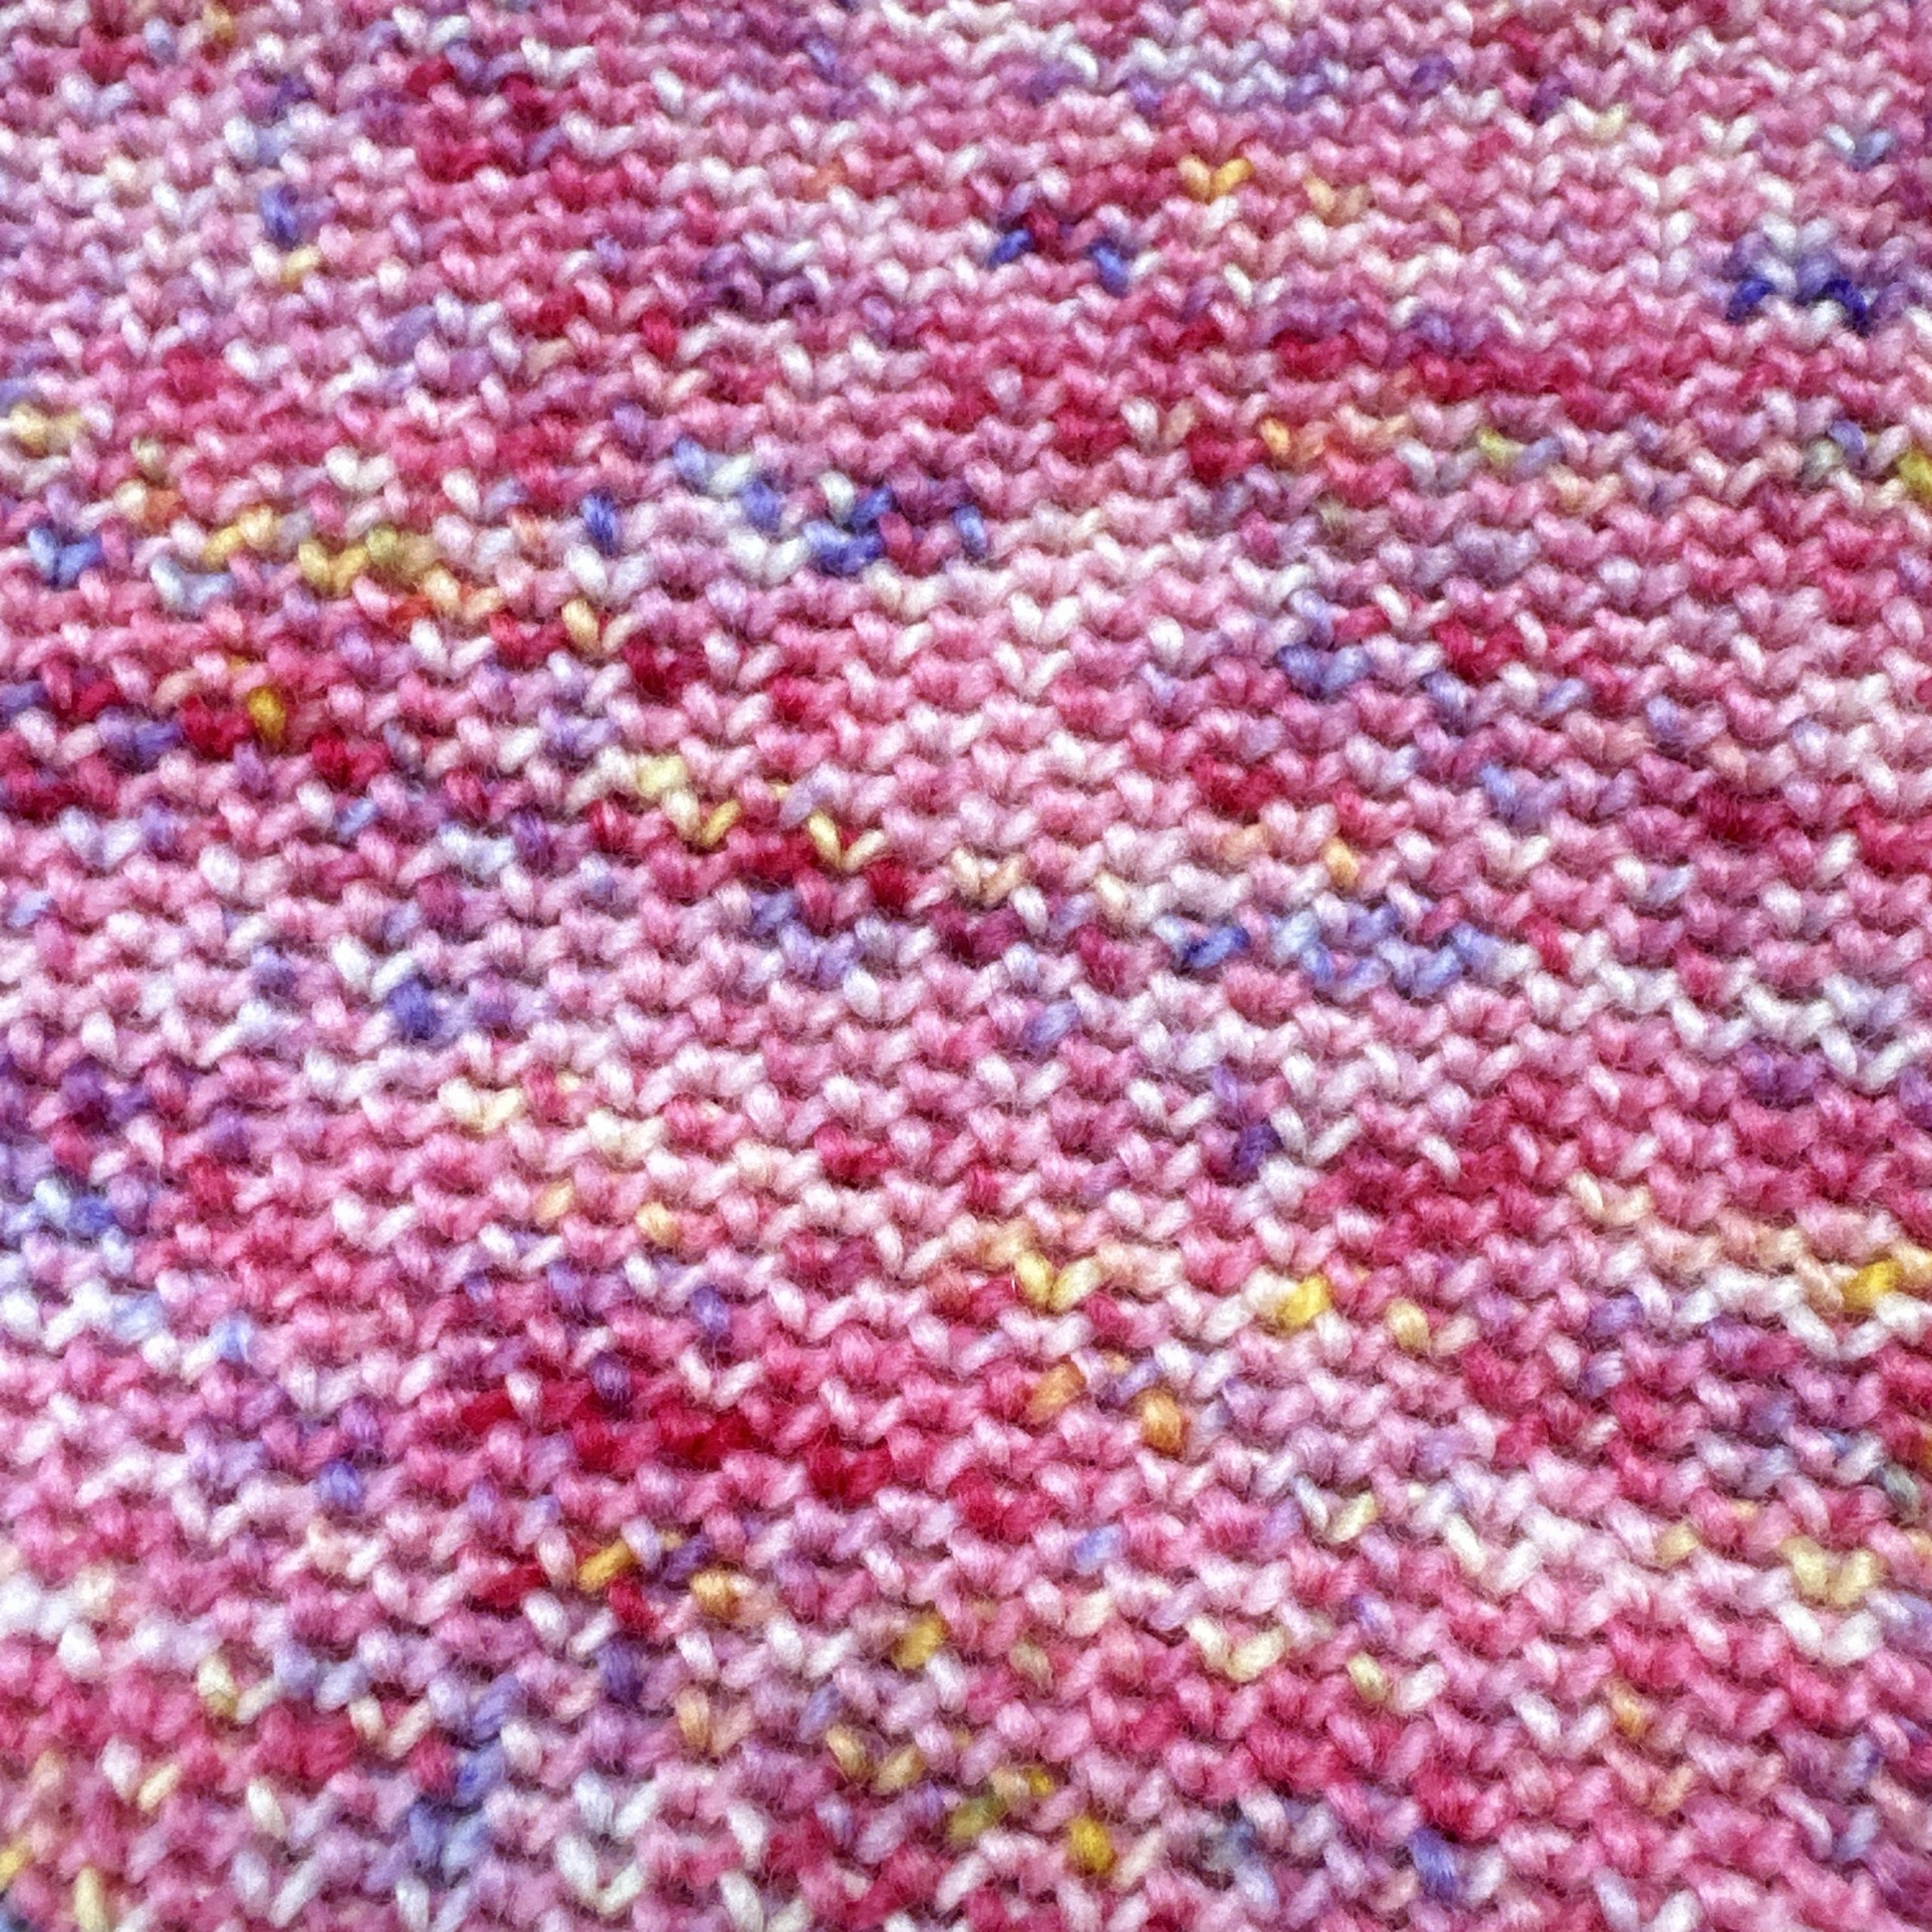
I thought that if I would work with a textured machine pattern that would directly add thickness and therefore stance to the knit, I could possibly make up for the lack of volume that would come from a thicker yarn. So, in addition to my already knitted stocking stitch swatch, I did a second gauge swatch in a tuck pattern, using the Brother standard J1 punch card. In this pattern, every other stitch is tucked and the knit gets much more volume.
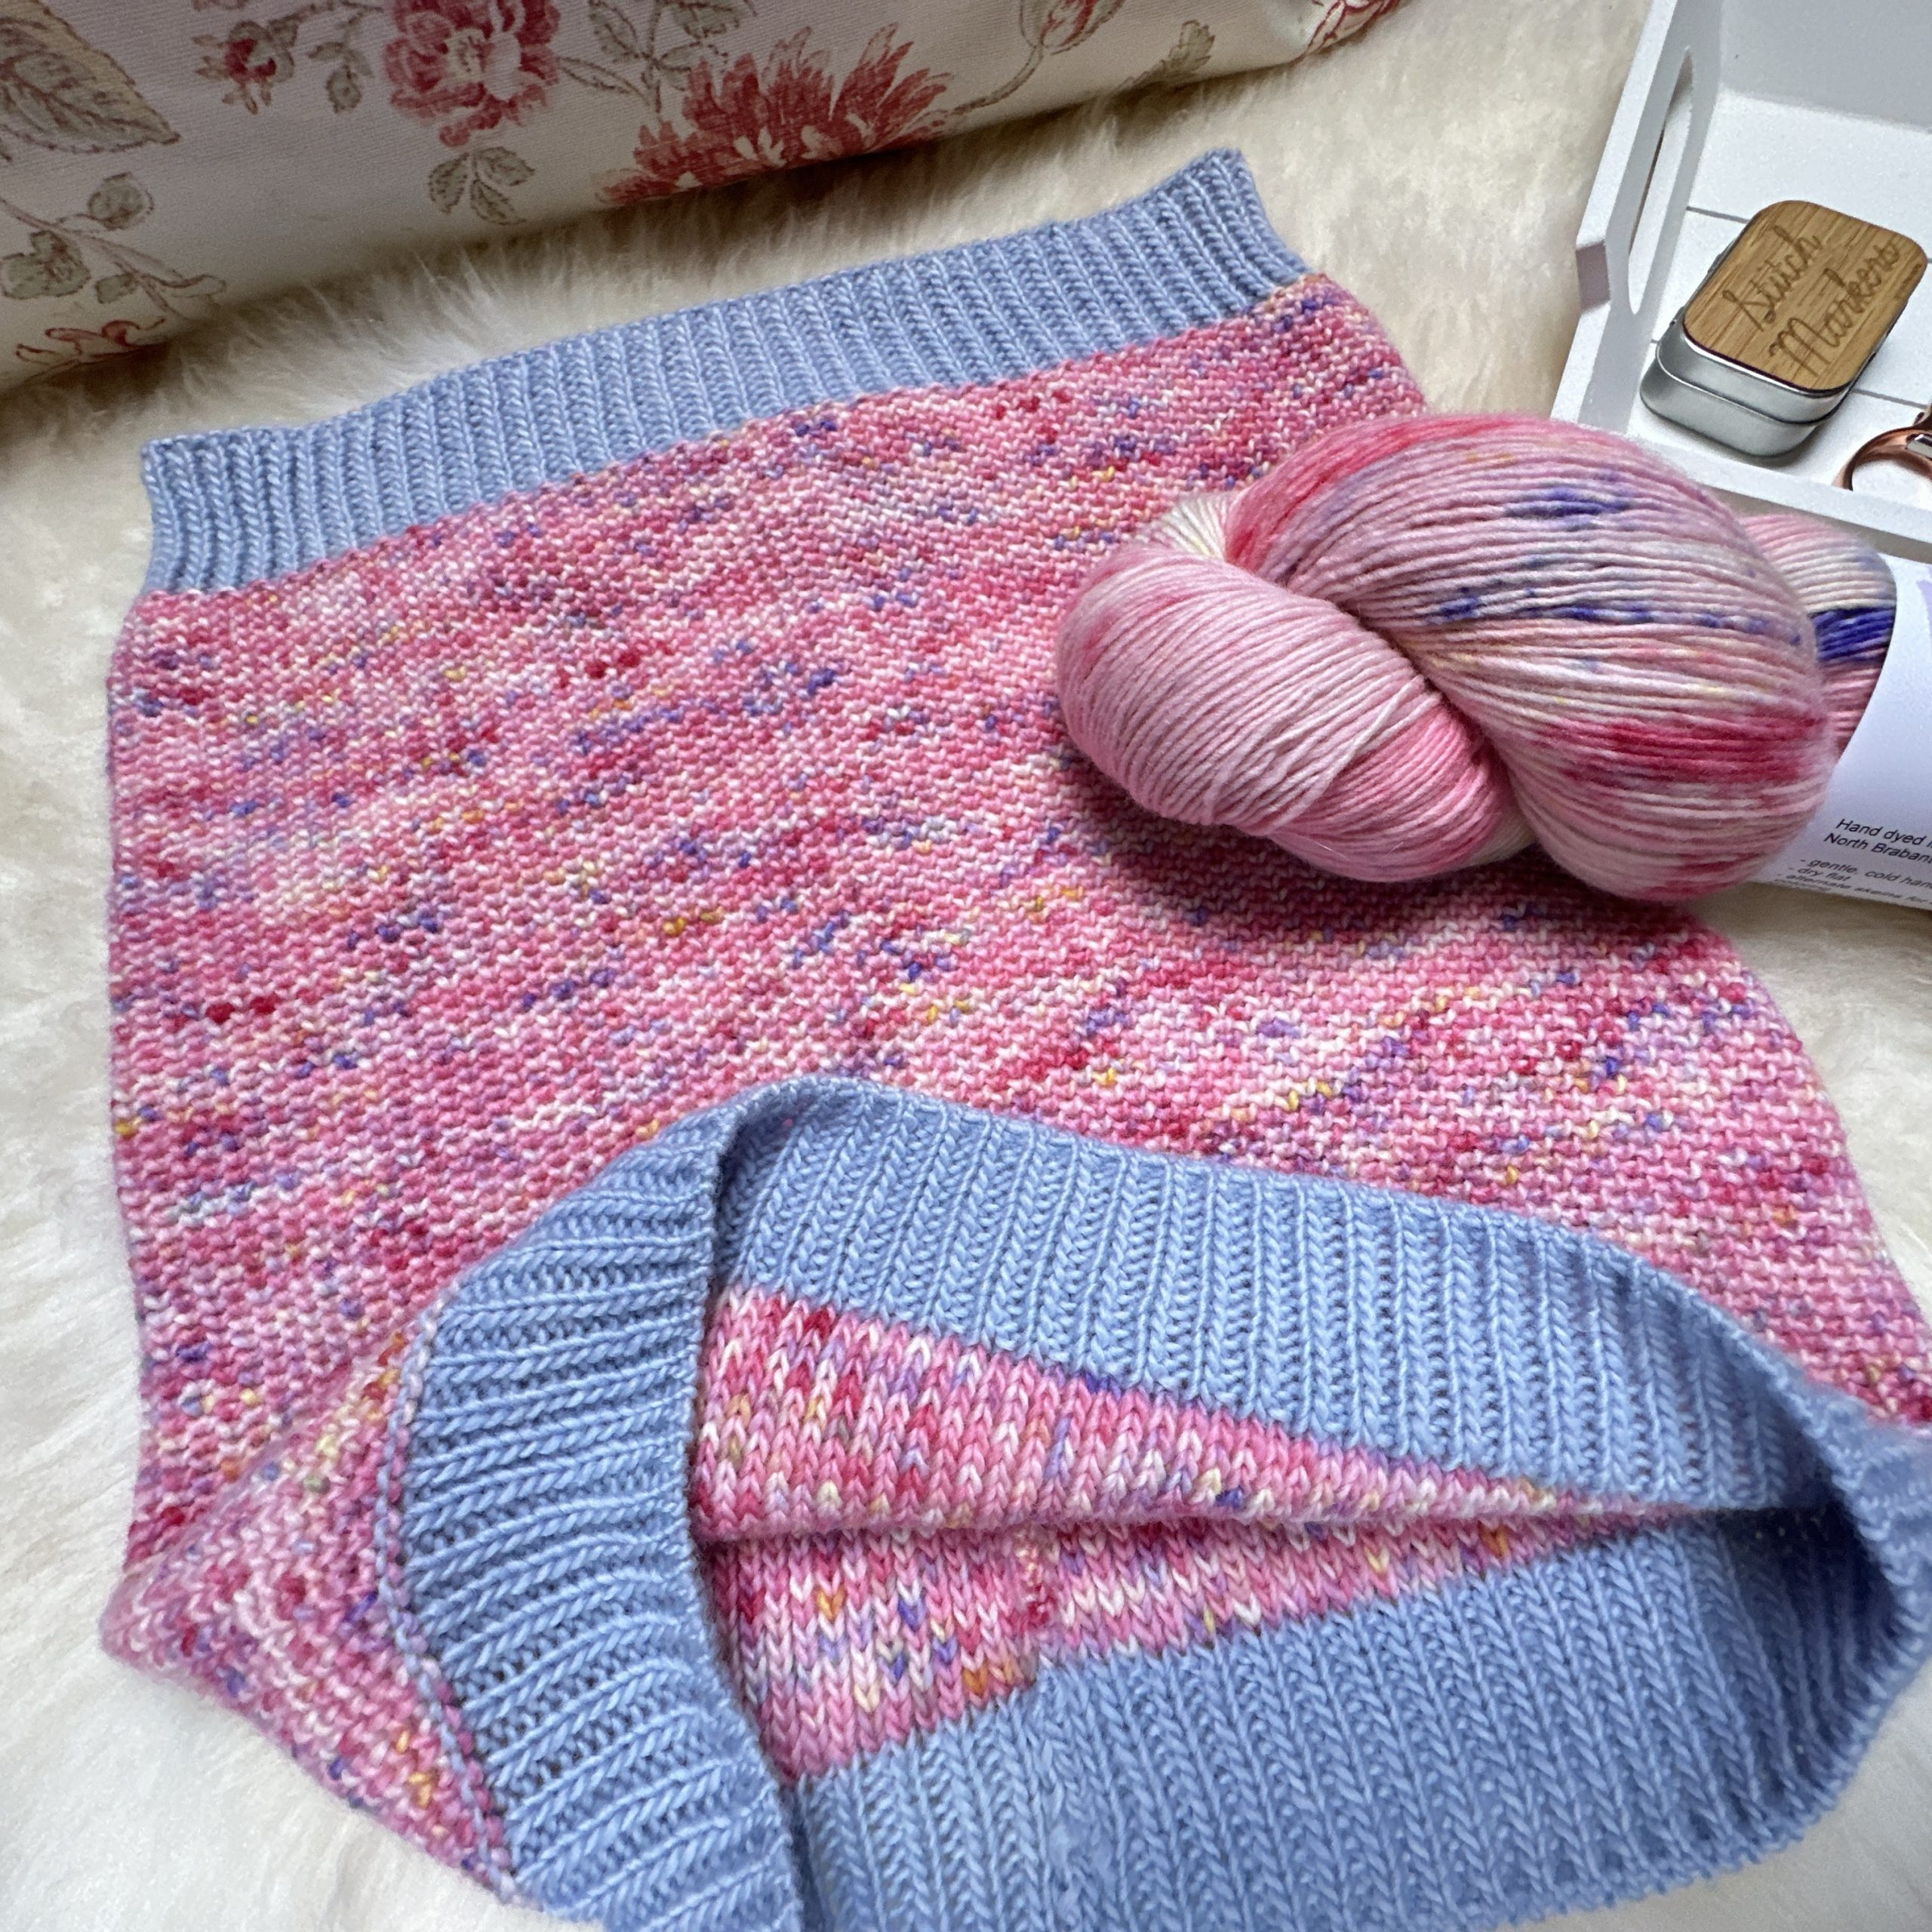
Using the gauge swatches, I calculated the number of stitches and rows needed to knit a cowl that has a circumference of about 61 cm (30.5 cm wide) and a height of 33 cm. Here, I used the original pattern as a guide. Normally, the ribbing is worked with a smaller needle size because of their elastic behavior. However, since tuck stitch knitting always turns out wider than something that was knitted in stocking stitch, I planned to use the same needle size or machine tension for the ribbing as for the rest of the cowl. Overall, I planned the cowl to be worked flat with a seam on the back. Since I mainly wanted to try out the thickness and feel of the fabric, I didn’t (yet) plan for the drawstrings that were included in the original instructions.
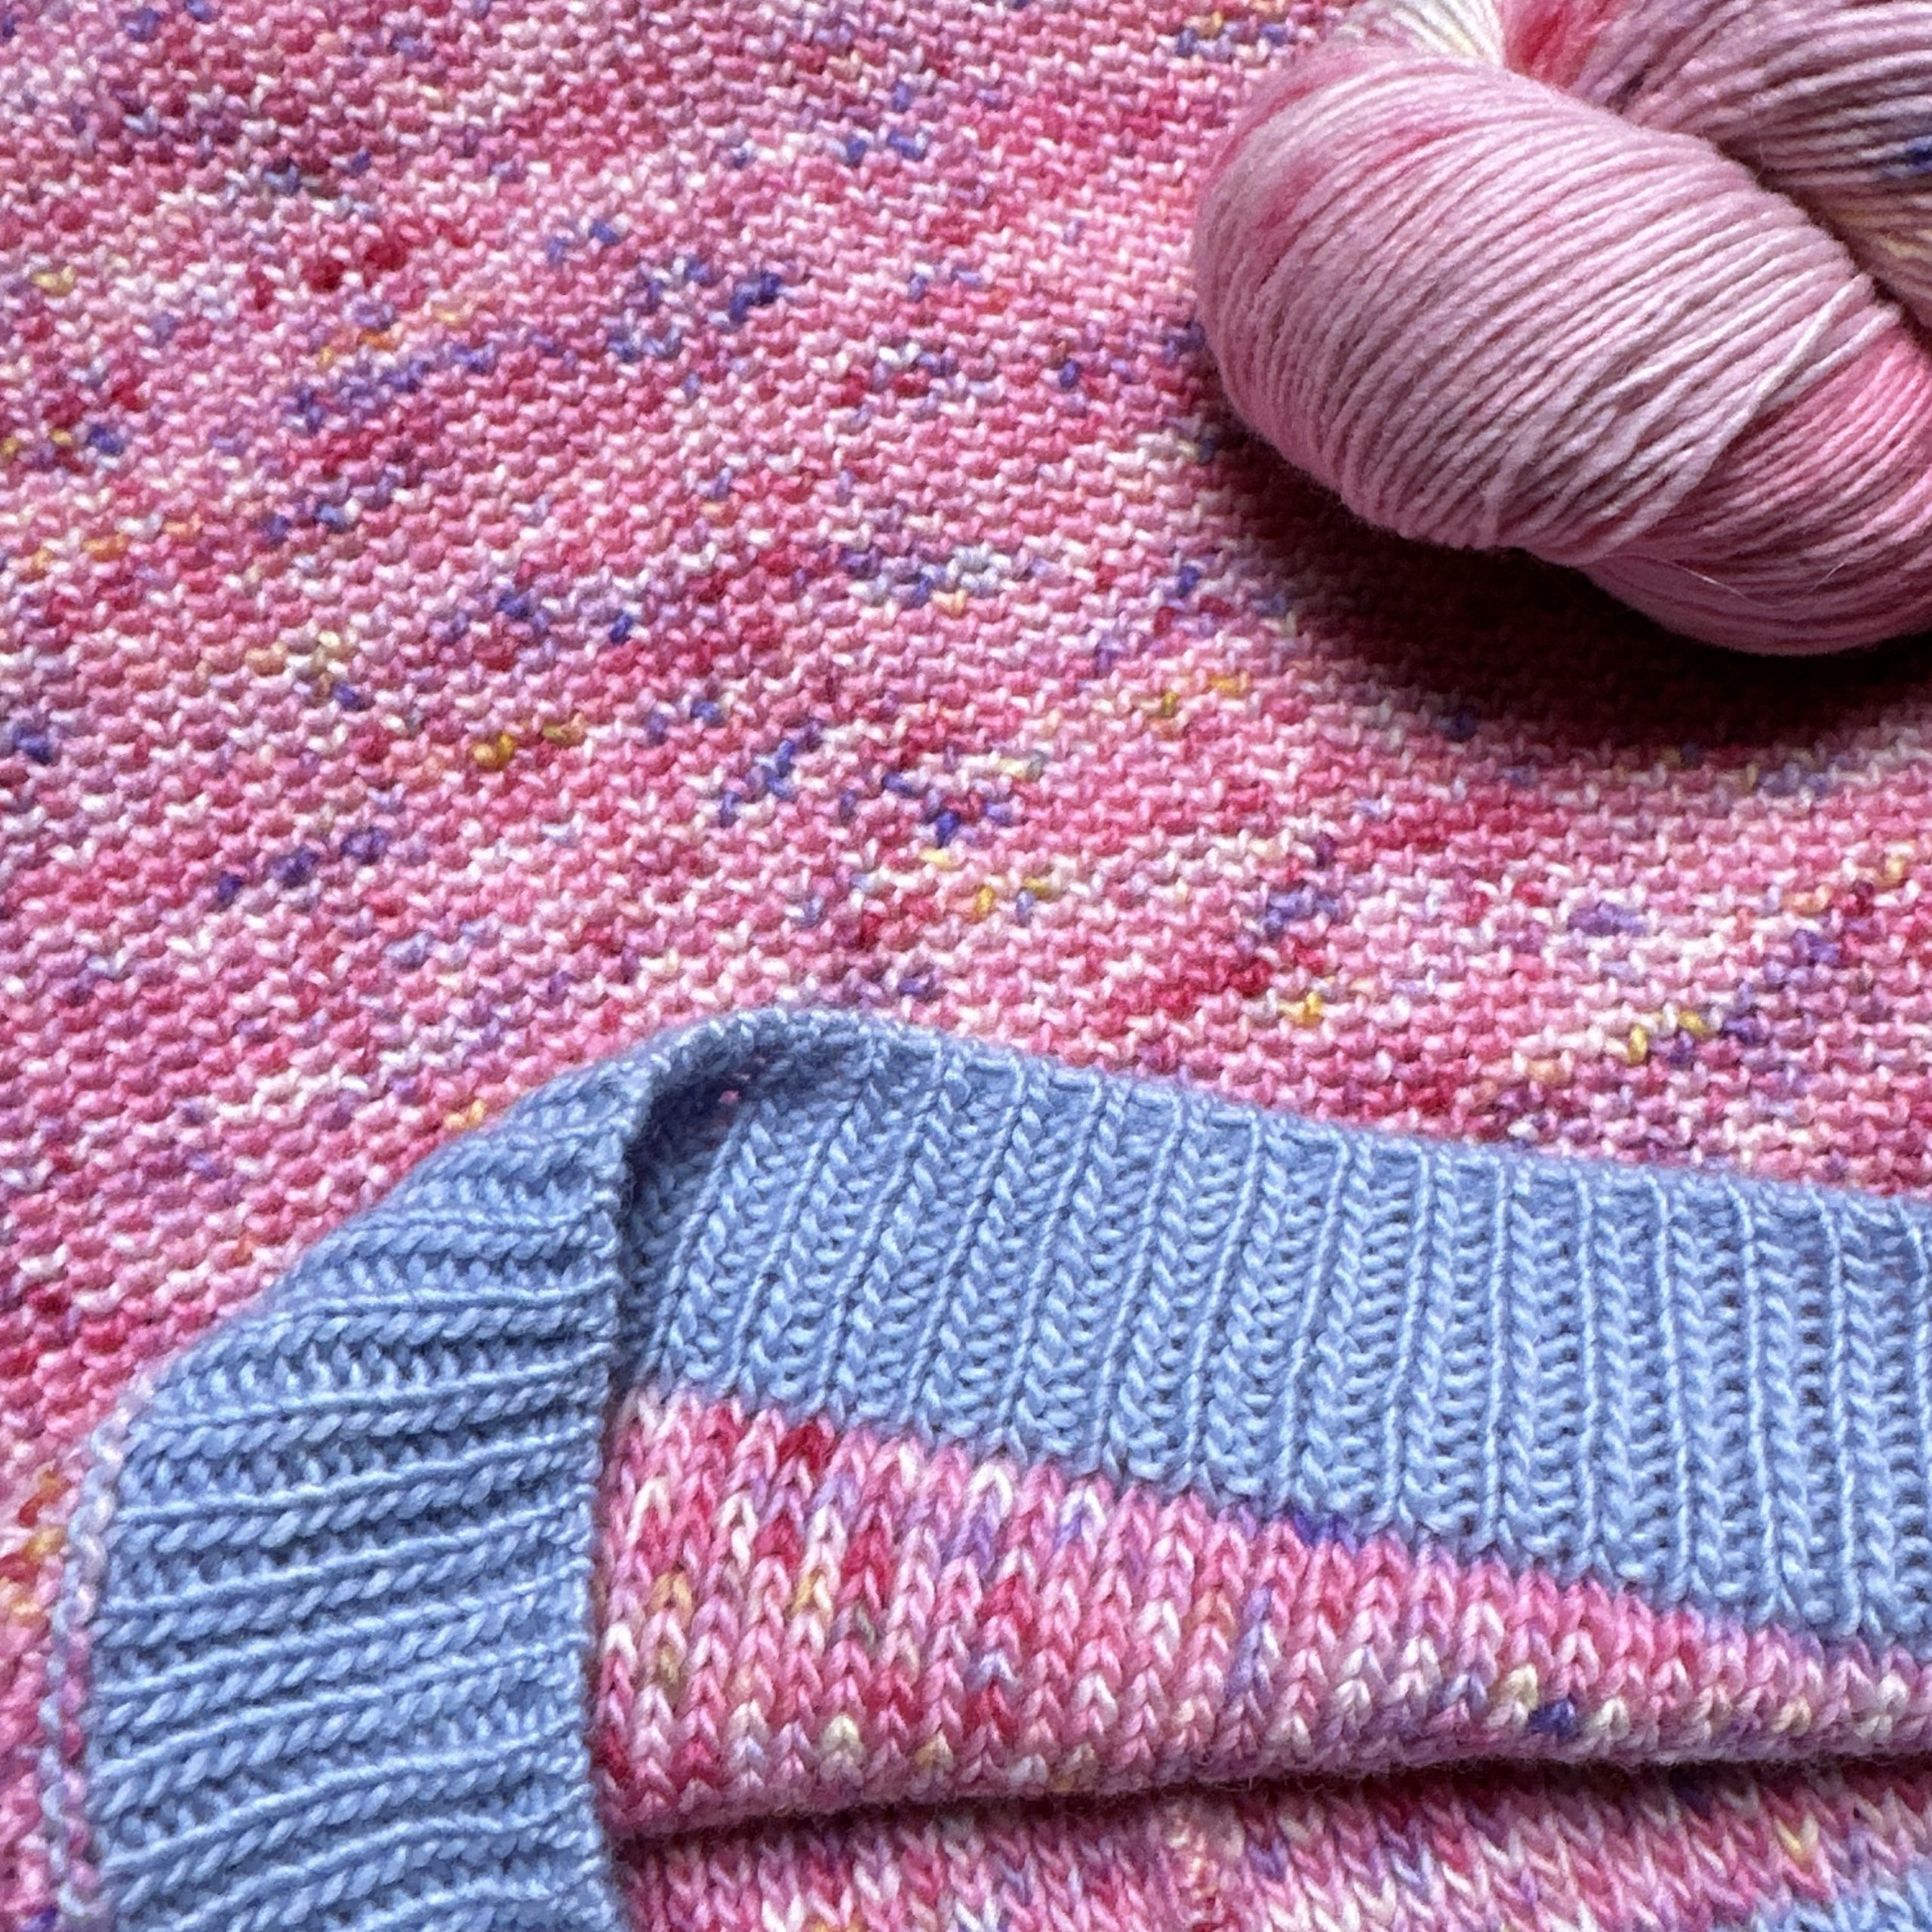
Here is the result, which I knitted with the single-ply yarn mentioned above:
🇩🇪 Ich hatte schon vor einer ganzen Weile diese Anleitung für einen mit der Strickmaschine gearbeiteten Cowl gefunden, den ich für den Herbst stricken wollte. Allerdings ist die Anleitung nicht für eine Maschine mit Standard-Nadelabstand und dünnem Garn sondern für eine Maschine mit größerem Nadelabstand und dickerem Garn geschrieben. Das (und das gute Wetter) hat mich bisher davon abgehalten, das Projekt in Angriff zu nehmen.
Nun wo das Wetter herbstlicher geworden ist, wollte ich mich daran machen, die Anleitung so umzuschreiben, dass ich den Cowl mit meiner Standard-Maschine stricken kann. Als erstes habe ich eine Maschenprobe für das Garn gestrickt, welches ich für den Cowl nehmen möchte. Im Sommer hatte ich ein wunderschön weiches, single-ply Garn gefärbt, das ich mir für ein besonderes Projekt aufheben wollte. Dieses Garn wollte ich nun verwenden.
Während die Maschenprobe nach dem Waschen am Trocknen war, habe ich mir weitere Gedanken über die Anleitung gemacht. Um sie an die Maschenstärke meiner Maschine anzupassen, würde ich alle Maße und Schritte der Anleitung anhand der Maschenprobe neu berechnen müssen. Dazu kam eine Bemerkung einer anderen Strickerin, dass sie keine guten Erfahrungen gemacht hätte, wenn sie eine Anleitung mit einer komplett anderen Garnstärke als vorgesehen gearbeitet hat, weil das Gestrickt eine ganz andere Dicke und damit einen ganz anderen Stand haben würde, als der ursprüngliche Designer in seiner Anleitung vorgesehen hatte. Damit hatte sie einen nicht unerheblichen Punkt angesprochen. Etwas Gestricktes aus dickem Garn hat einen ganz anderen “Griff” als etwas Gestricktes aus dünnem Garn. Das mich auf die Idee brachte, die ursprüngliche Cowl-Anleitung nur als grobe Inspiration zu verwenden und selbst kreativ zu werden.
Ich dachte, wenn ich mit einem strukturierten Maschinenmuster arbeiten würde, das dem Gestricken direkt mehr Dicke und damit Stand verleiht, könnte ich das fehlende Volumen, das durch ein dickere Garn entstehen würde, möglicherweise ausgleichen. Also habe ich zusätzlich zu meiner bereits glatt rechts gestrickten Maschenprobe noch eine Maschenprobe in einem Fang-Patent-Muster erstellt, wobei ich die Brother-Standardlochkarte J1 verwendet habe. Bei diesem Muster wird jede zweite Masche abgehoben und das Gestrick erhält viel mehr Volumen.
Anhand der Maschenproben habe ich die benötigte Anzahl Maschen und Reihen berechnet, um einen Cowl zu stricken, der einen Umfang von ca. 61 cm (30,5 cm breit) und eine Höhe von 33 cm hat. Hierbei habe ich ich an dem Originalmuster orientiert. Normalerweise werden Rippenbündchen wegen ihres elastischen Verhaltens mit einer kleineren Nadelstärke gestrickt. Da im Fang-Patent-Muster Gestricktes allerdings immer breiter ausfällt als etwas, das glatt rechts gestrickt wurde, habe ich für das Rippenbündchen die gleiche Nadelstärke bzw. Maschinenspannung geplant wie für den rechtlichen Cowl. Insgesamt habe ich den Cowl flach mit einer Naht auf der Rückseite geplant. Da ich vor allem die Dicke und den Griff des Stoffes ausprobieren wollte, habe ich die Kordelzüge, die in der original Anleitung vorgesehen waren (noch) nicht eingeplant.
Die Gallerie oben zeigt das Ergebnis, das ich mit dem erwähnten single-ply Garn gestrickt habe.
🇳🇱 Wordt aan gewerkt.


